

I honestly havent really shared many raspberry based recipes in my blog and yet this Raspberry Breakfast Bars recipe was one I had to share. This recipe is inspired by cozy breakfast baking and is easy to prepare and make. Its a super tasty dish packed full of oats and fruit and is quite filling.
If you enjoy simple morning bakes you may also like our Zucchini Oatmeal Bake for another comforting breakfast idea. When people think about Raspberry Breakfast Bars they probably imagine something that takes a lot of time because the layers look bakery style. But trust me on this when its prepared in the right way it offers a sweet and buttery taste thats very satisfying.
This recipe is super tasty and quick to make and I recommend this treat for those who want a sweet breakfast bar that feels cozy and homemade.
Ingredients

Here is what I use for this recipe and you can adjust nuts or spices based on preference:
- old fashioned rolled oats: Creates a chewy crumb base and topping with hearty texture.
- all purpose flour: Helps bind the crust and gives the bars a tender structure.
- light brown sugar: Sweetens the oat mixture and adds warm caramel flavor.
- unsalted butter: Moistens the crumb mixture and helps it bake golden and crisp.
- ground cinnamon: Adds gentle warmth that balances the bright raspberry filling.
- fine salt: Sharpens the sweetness and keeps the bars from tasting flat.
- fresh raspberries: Creates the juicy fruit layer with tart flavor and soft jammy texture.
- raspberry jam: Thickens the fruit layer and gives the bars a glossy berry center.
- lemon juice: Brightens the raspberry flavor and keeps the filling lively.
- cornstarch: Helps the raspberry layer set so the bars slice cleanly.
- vanilla extract: Rounds out the buttery crumb with soft bakery style flavor.
Tools You’ll Need
- mixing bowl: Used to combine the oat crumb mixture and help the butter coat the dry ingredients evenly.
- small bowl: Used to fold the raspberry filling with jam and cornstarch before layering.
- ceramic baking dish: Holds the crust and filling while the bars bake into a structured slab.
- measuring cups and spoons: Keeps the oat base and berry filling balanced for reliable texture.
- spatula: Helps spread the raspberry filling and press the crumb mixture into place.
- sharp knife: Cuts the cooled bars into neat servings while showing the jammy center.
Instructions
Step 1: Mix the oat crumb

The oats and flour and brown sugar begin as separate dry pieces and then turn into a damp crumb mixture once the melted butter and vanilla are worked in. The texture changes from powdery and loose to clumpy and buttery with irregular pieces that look ready to press and scatter.
Tip: Pinch the crumb between your fingers and stop mixing once it holds together in small uneven clusters.
Step 2: Press the crust layer

Most of the oat mixture moves into the baking dish and changes from loose crumbs into a packed base with bumpy edges. The surface stays imperfect with uneven thickness and small oat flakes showing across the pressed crust.
Tip: Press firmly enough to hold the base together while leaving the surface a little uneven for homemade texture.
Step 3: Fold the raspberry filling

The raspberries and jam and lemon juice and cornstarch come together and change into a glossy berry mixture with some berries still whole. The filling looks thick and uneven with streaks of jam clinging to crushed and whole raspberries.
Tip: Fold gently so some raspberries break down while others stay whole for pockets of bright fruit.
Step 4: Layer the raspberry filling

The raspberry filling spreads over the crust and changes the pale oat base into a bright layered bar with red fruit pooling in uneven patches. Some areas stay thicker and some edges show exposed crust so the layer looks casual and homemade.
Tip: Spread the filling gently and leave a few uneven patches so the berries bake into pretty ruby pockets.
Step 5: Scatter the crumb topping

The reserved oat crumb lands over the raspberry layer and changes the surface into a rough crumble top with red fruit still visible between clusters. The topping sits unevenly with larger clumps near the center and smaller oat bits near the edges.
Tip: Scatter the topping loosely instead of covering the fruit completely so the berry layer can bubble through.
Step 6: Bake until golden
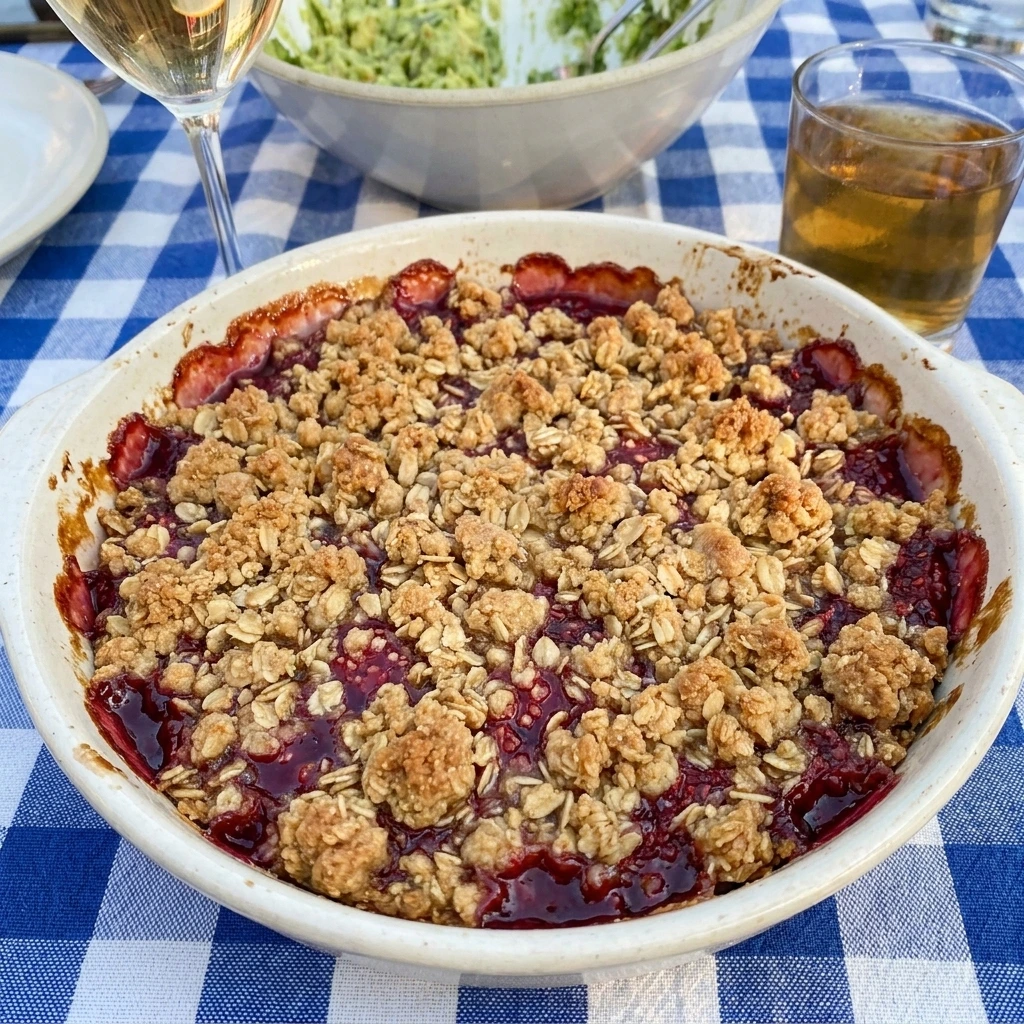
The pale oat topping turns golden and the raspberry filling thickens into glossy bubbling pockets around the crumb. The edges brown more deeply than the center and the surface looks uneven with crisp oat ridges and jammy berry spots.
Tip: Bake until the edges are golden and the raspberry spots bubble so the filling sets as it cools.
Step 7: Serve one sliced bar

One bar moves from the pan to the plate and reveals a firm oat base with a soft red raspberry center and crumbly golden top. The slice has uneven edges and a few loose oat crumbs around it so it looks homemade and ready to eat.
Tip: Let the bars cool before slicing so the raspberry layer holds together without losing its soft jammy texture.
Pro Tips
- Use old fashioned oats rather than quick oats so the crumb topping stays hearty and lightly chewy after baking.
- Let the bars cool fully before slicing because the raspberry layer firms up as it rests and cuts cleaner.
- Keep a few raspberry pieces whole in the filling so every slice has bright fruit pockets and natural texture.
- Do not overpack the top crumb because loose clusters bake into a prettier golden surface with berry gaps.
Storage Instructions
Store the cooled Raspberry Breakfast Bars in an airtight container once the filling has fully set. Keep them at room temperature for up to two days when your kitchen is cool and dry. For longer storage place the bars in the refrigerator for up to five days with parchment between layers to protect the crumb topping. Freeze individual bars for up to two months and thaw them in the refrigerator before serving. Warm a chilled bar briefly if you want the oat topping to taste soft and buttery again.
Frequently Asked Questions
Yes they hold well for meal prep and taste even better once the berry layer has fully set.
Yes use frozen berries without thawing and add a few extra minutes if the filling looks loose.
Cool them completely before cutting and press the bottom crust firmly into the baking dish.
Yes they slice neatly and bring sweet berry flavor to brunch tables and casual gatherings.
See You in the Kitchen
I hope you enjoy all the recipes I share with you including this delicious Raspberry Breakfast Bars recipe.
I hope you try it enjoy it rate it and share it with your friends and family and if you love cozy breakfast bakes try our Chocolate Chip Zucchini Muffins or our Zucchini Breakfast Casserole next!
Print
Raspberry Breakfast Bars
- Total Time: 45 minutes
- Yield: 4 servings
Description
These Raspberry Breakfast Bars are an easy and quick bake with a simple oat crumb crust and bright raspberry filling. They are one of the best healthy ideas for brunch and meal prep because the bars slice neatly and taste fresh for days. Serve them for a potluck or party and enjoy a sweet breakfast treat that feels homemade without extra fuss.
Ingredients
- 2 cups old fashioned rolled oats
- 1 cup all purpose flour
- 3/4 cup light brown sugar
- 3/4 cup melted unsalted butter
- 1 teaspoon ground cinnamon
- 1/4 teaspoon fine salt
- 2 cups fresh raspberries
- 1/2 cup raspberry jam
- 1 tablespoon lemon juice
- 1 tablespoon cornstarch
- 1 teaspoon vanilla extract
Instructions
- The oats and flour and brown sugar begin as separate dry pieces and then turn into a damp crumb mixture once the melted butter and vanilla are worked in. The texture changes from powdery and loose to clumpy and buttery with irregular pieces that look ready to press and scatter.
- Most of the oat mixture moves into the baking dish and changes from loose crumbs into a packed base with bumpy edges. The surface stays imperfect with uneven thickness and small oat flakes showing across the pressed crust.
- The raspberries and jam and lemon juice and cornstarch come together and change into a glossy berry mixture with some berries still whole. The filling looks thick and uneven with streaks of jam clinging to crushed and whole raspberries.
- The raspberry filling spreads over the crust and changes the pale oat base into a bright layered bar with red fruit pooling in uneven patches. Some areas stay thicker and some edges show exposed crust so the layer looks casual and homemade.
- The reserved oat crumb lands over the raspberry layer and changes the surface into a rough crumble top with red fruit still visible between clusters. The topping sits unevenly with larger clumps near the center and smaller oat bits near the edges.
- The pale oat topping turns golden and the raspberry filling thickens into glossy bubbling pockets around the crumb. The edges brown more deeply than the center and the surface looks uneven with crisp oat ridges and jammy berry spots.
- One bar moves from the pan to the plate and reveals a firm oat base with a soft red raspberry center and crumbly golden top. The slice has uneven edges and a few loose oat crumbs around it so it looks homemade and ready to eat.
Notes
Pro Tips:
- Use old fashioned oats rather than quick oats so the crumb topping stays hearty and lightly chewy after baking.
- Let the bars cool fully before slicing because the raspberry layer firms up as it rests and cuts cleaner.
- Keep a few raspberry pieces whole in the filling so every slice has bright fruit pockets and natural texture.
- Do not overpack the top crumb because loose clusters bake into a prettier golden surface with berry gaps.
Storage: Store the cooled Raspberry Breakfast Bars in an airtight container once the filling has fully set. Keep them at room temperature for up to two days when your kitchen is cool and dry. For longer storage place the bars in the refrigerator for up to five days with parchment between layers to protect the crumb topping. Freeze individual bars for up to two months and thaw them in the refrigerator before serving. Warm a chilled bar briefly if you want the oat topping to taste soft and buttery again.
- Prep Time: 15 minutes
- Cook Time: 30 minutes
- Category: Desserts
- Cuisine: American
Nutrition
- Serving Size: 1 bar
- Calories: 340
- Sugar: 24g
- Sodium: 160mg
- Fat: 16g
- Carbohydrates: 47g
- Fiber: 5g
- Protein: 5g
- Cholesterol: 40mg