

Raspberry Danish brings one of the best bakery style pastries I have ever baked at home, a soft and flaky pastry with creamy filling and bright berry sweetness, Today I will show how I make my Raspberry Danish recipe at home easily just with some easy to find ingredients. Just To know that my Raspberry Danish turned out so tender and so fruity almost like the bakery one, I really love this pastry, Also I tried the same breakfast mood with Chocolate Chip Zucchini Muffins, and the result was even better, So I will leave some tasty other variations below you can try using the same easy brunch feeling.
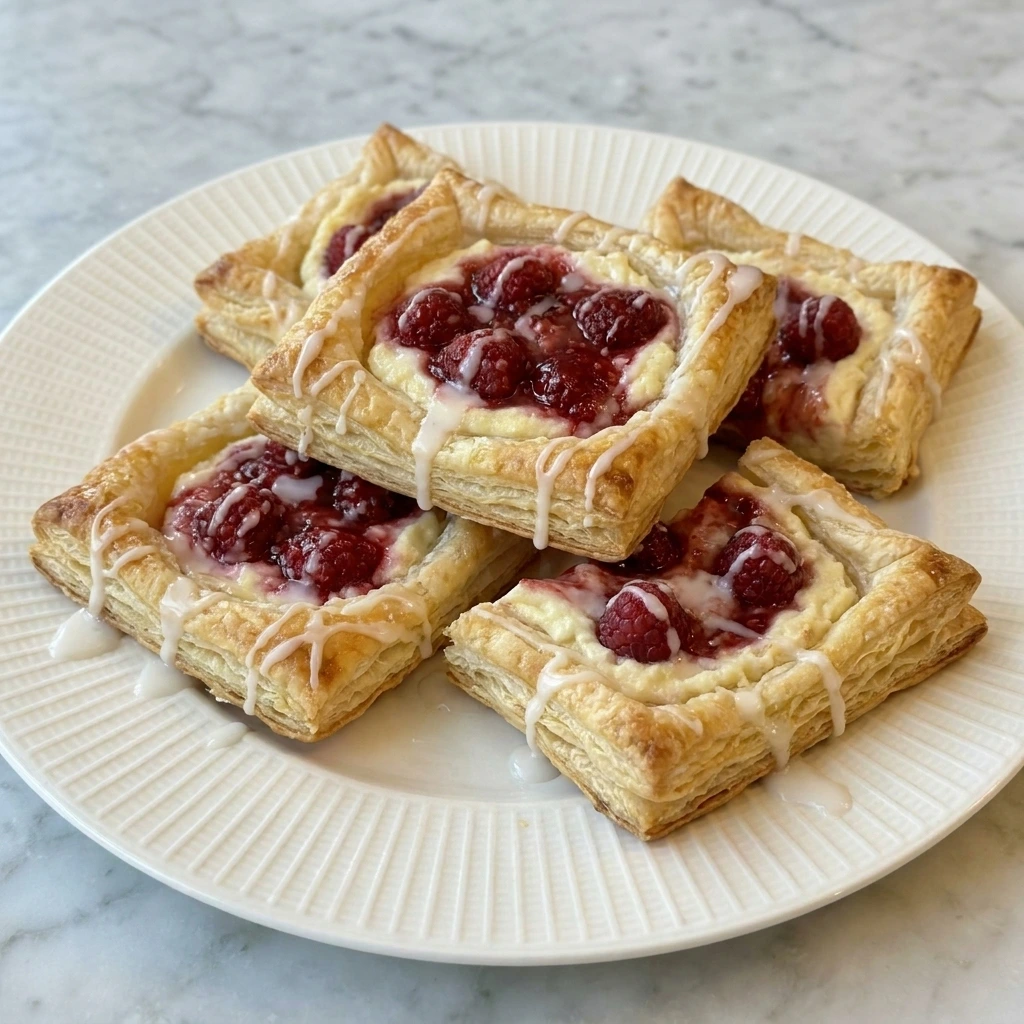
Usually, Raspberry Danish is served at a slow weekend brunch, it’s so incredible! I recommend anyone to enjoy it, and if you can’t, you can try out my recipe.
Also, for my recipe, I use a baking tray for baking, but I recommend using the oven instead of any shortcut. Simply fill your pastry and bake it for some time until it is puffed and golden.
Ingredients
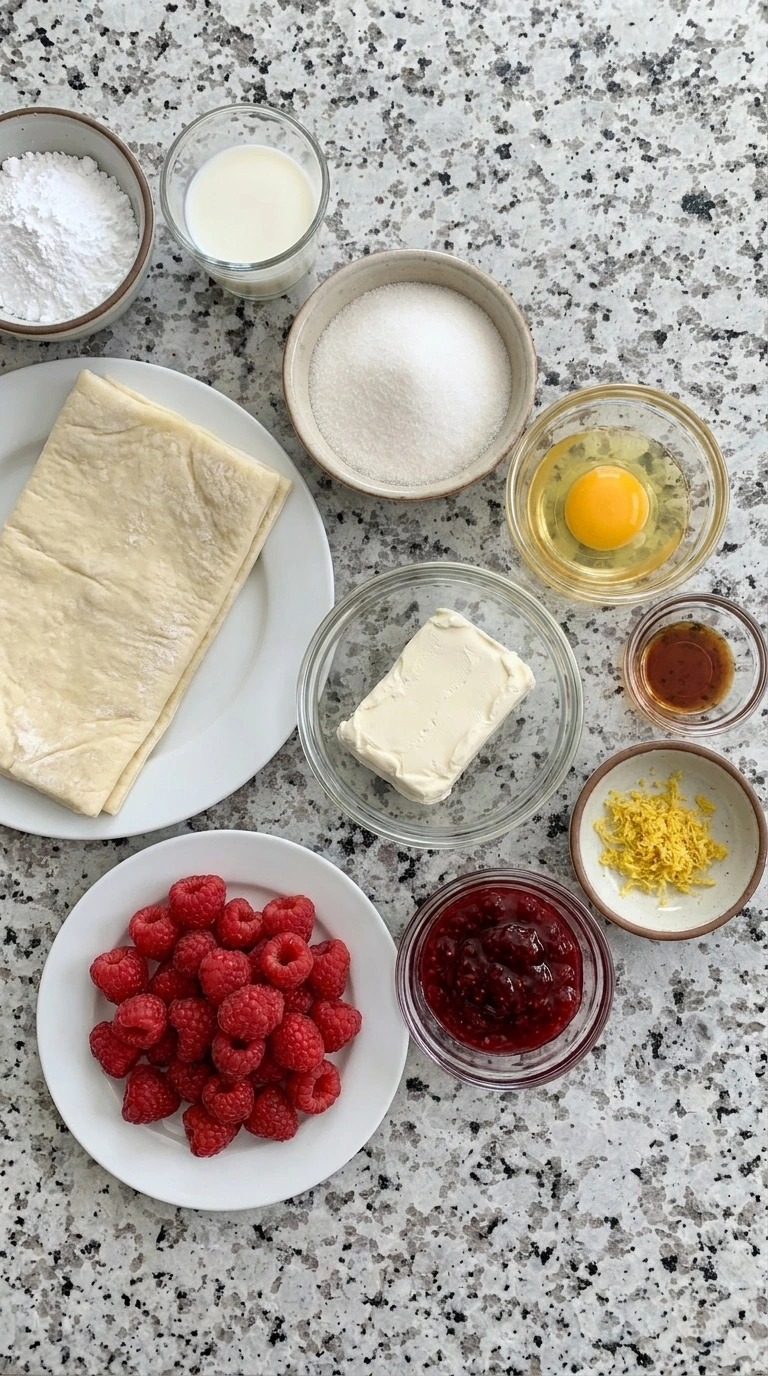
Here is what I use for this recipe and you can adjust nuts or spices based on preference:
- Puff pastry sheet: Creates the flaky buttery base and crisp golden edges for the danish.
- Cream cheese: Makes the filling creamy rich and slightly tangy so the berries taste brighter.
- Granulated sugar: Sweetens the cream cheese filling and balances the tart raspberry flavor.
- Egg: Binds the filling and creates a glossy egg wash for browning the pastry.
- Vanilla extract: Adds warm bakery flavor that rounds out the cream cheese filling.
- Lemon zest: Adds fresh citrus aroma that lifts the raspberry flavor without making it sour.
- Raspberry preserves: Forms the jammy center and gives the pastry a bright berry layer.
- Fresh raspberries: Add juicy texture and fresh raspberry pockets across each danish.
- Powdered sugar: Creates a smooth sweet glaze that finishes the baked pastries.
- Milk: Loosens the powdered sugar into a drizzleable glaze.
Tools You’ll Need
- Mixing bowl: Holds and blends the cream cheese filling until smooth.
- Baking tray: Supports the pastry while the edges puff and brown in the oven.
- Parchment paper: Prevents sticking and helps the pastries lift cleanly after baking.
- Small bowl: Holds the egg wash or glaze ingredients for quick mixing.
- Pastry brush: Spreads egg wash over the pastry edges for glossy browning.
- Sharp knife: Cuts the puff pastry into four even portions with clean edges.
- White plate: Presents the finished single portion and shows the flaky layers clearly.
Instructions
Step 1: Mix the cream cheese filling
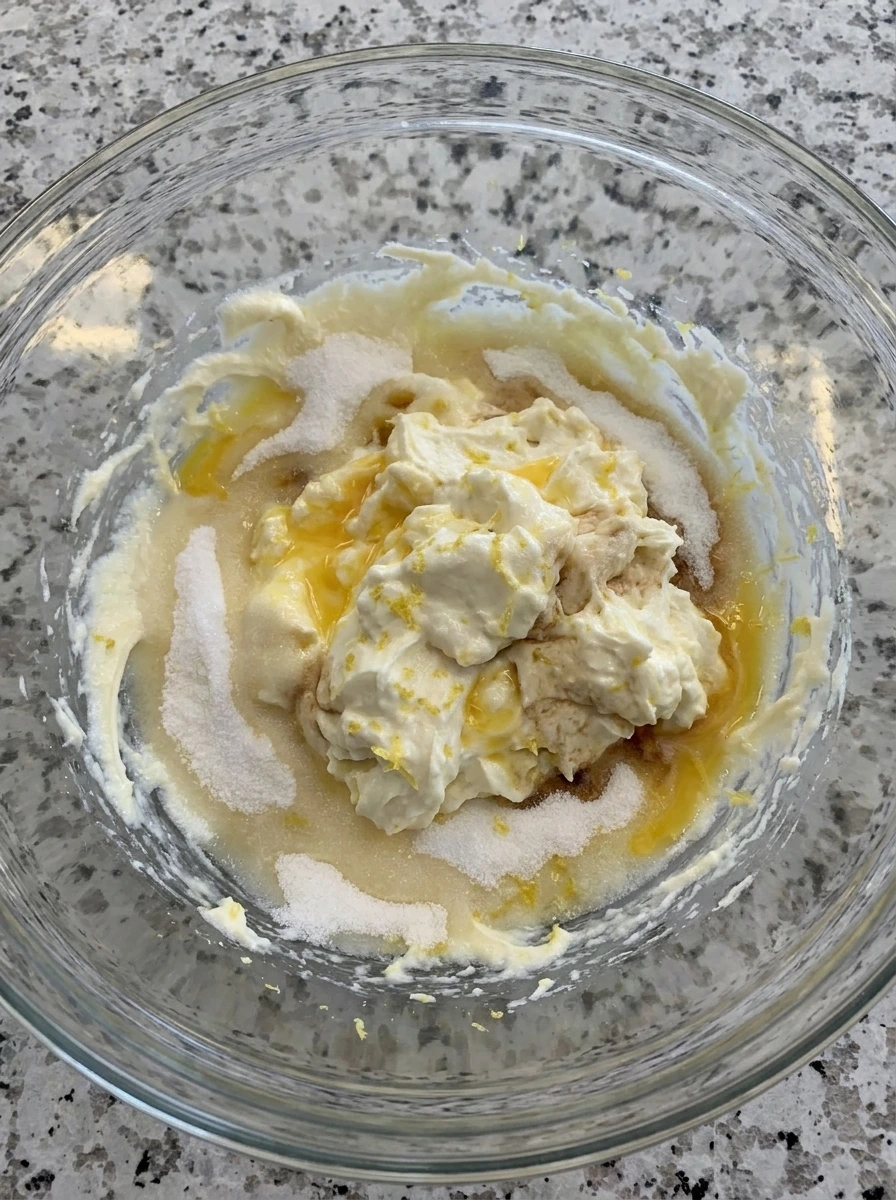
The softened cream cheese changes from a firm block into a smooth pale filling once sugar egg yolk vanilla and lemon zest are mixed in. The texture should look thick and creamy with tiny uneven specks of zest scattered through it.
Tip: Use truly softened cream cheese so the filling blends smooth without hard lumps and spreads easily over the pastry.
Step 2: Shape the puff pastry squares
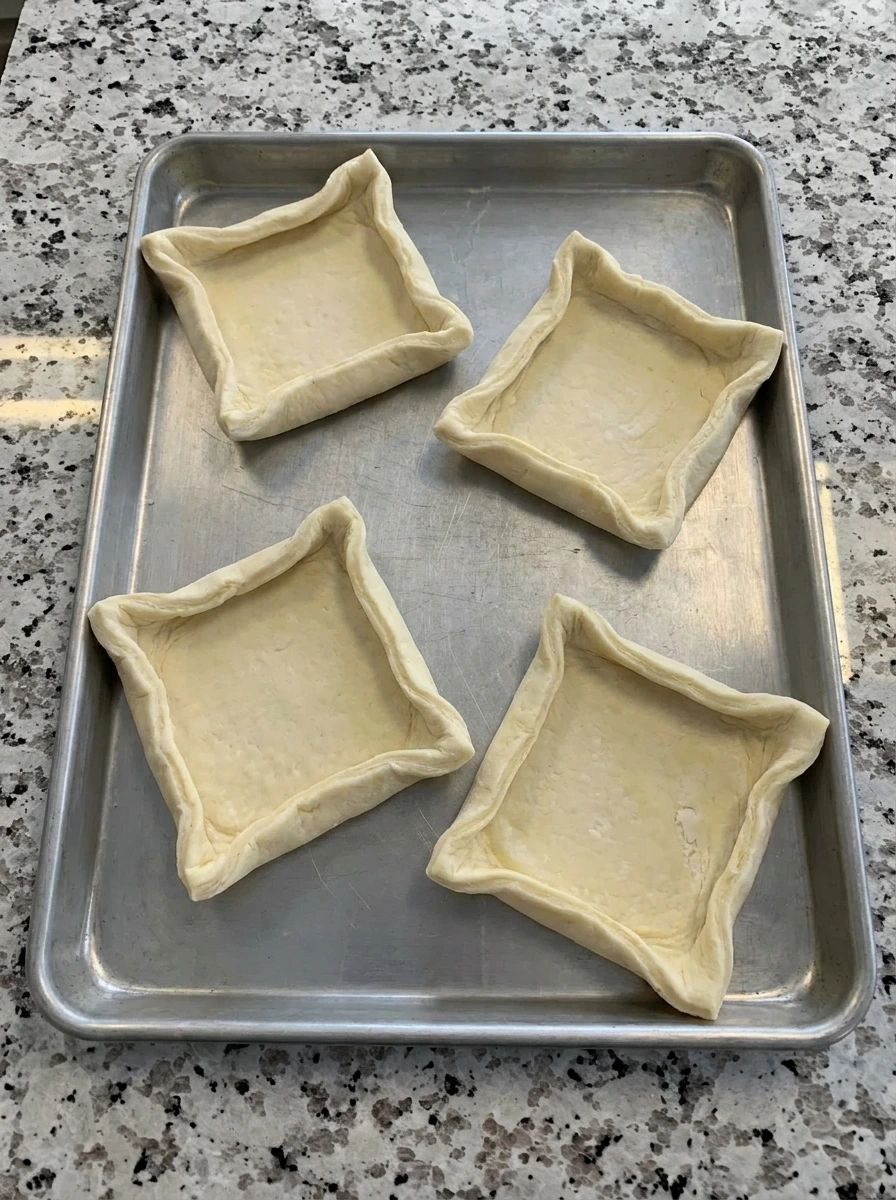
The puff pastry changes from one flat sheet into four uneven squares with folded borders and shallow centers. Each pastry looks slightly different with casual corners and soft creases that will puff while baking.
Tip: Keep the pastry cool while shaping because warm pastry becomes sticky and loses its flaky lift in the oven.
Step 3: Layer the cream filling and raspberries

The pale cream filling is spooned into the center of each pastry and the raspberry preserves spread over it in glossy uneven streaks. Fresh raspberries sit partly pressed into the filling so the centers look layered and bright rather than flat.
Tip: Leave the borders mostly clear so they can rise and brown around the juicy raspberry center.
Step 4: Brush the pastry edges
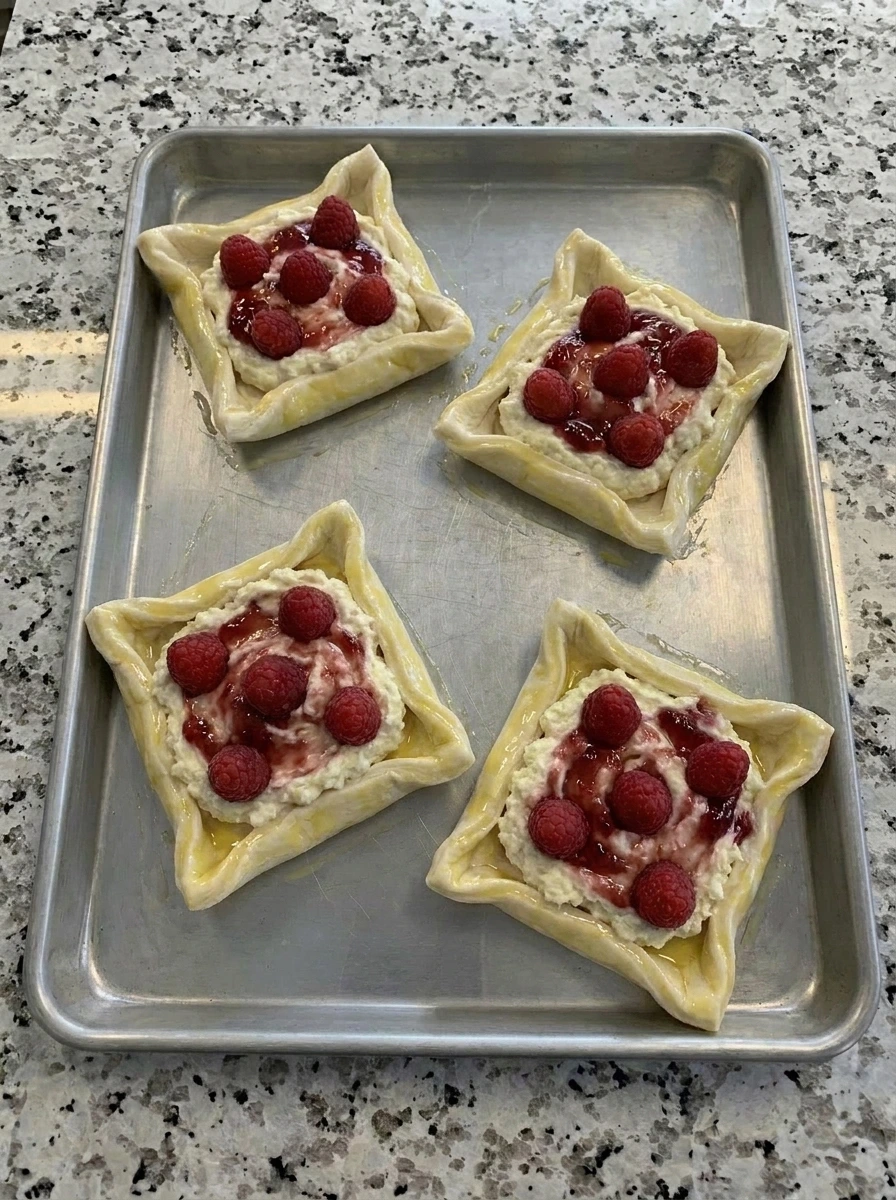
The pastry edges turn shiny after the egg wash is brushed over the folded borders. The filling stays visible in the center while the glossy edges show where the pastry will brown first.
Tip: Brush only the exposed pastry edges so the centers stay creamy and the borders bake deeply golden.
Step 5: Bake until puffed and golden

The flat pastry changes into puffed flaky layers with golden edges and bubbling raspberry centers. The raspberries soften and slump into the preserves while the cream filling sets with tiny browned spots around the edges.
Tip: Bake until the corners look deeply puffed and golden because pale pastry can taste soft instead of flaky.
Step 6: Glaze and serve one danish
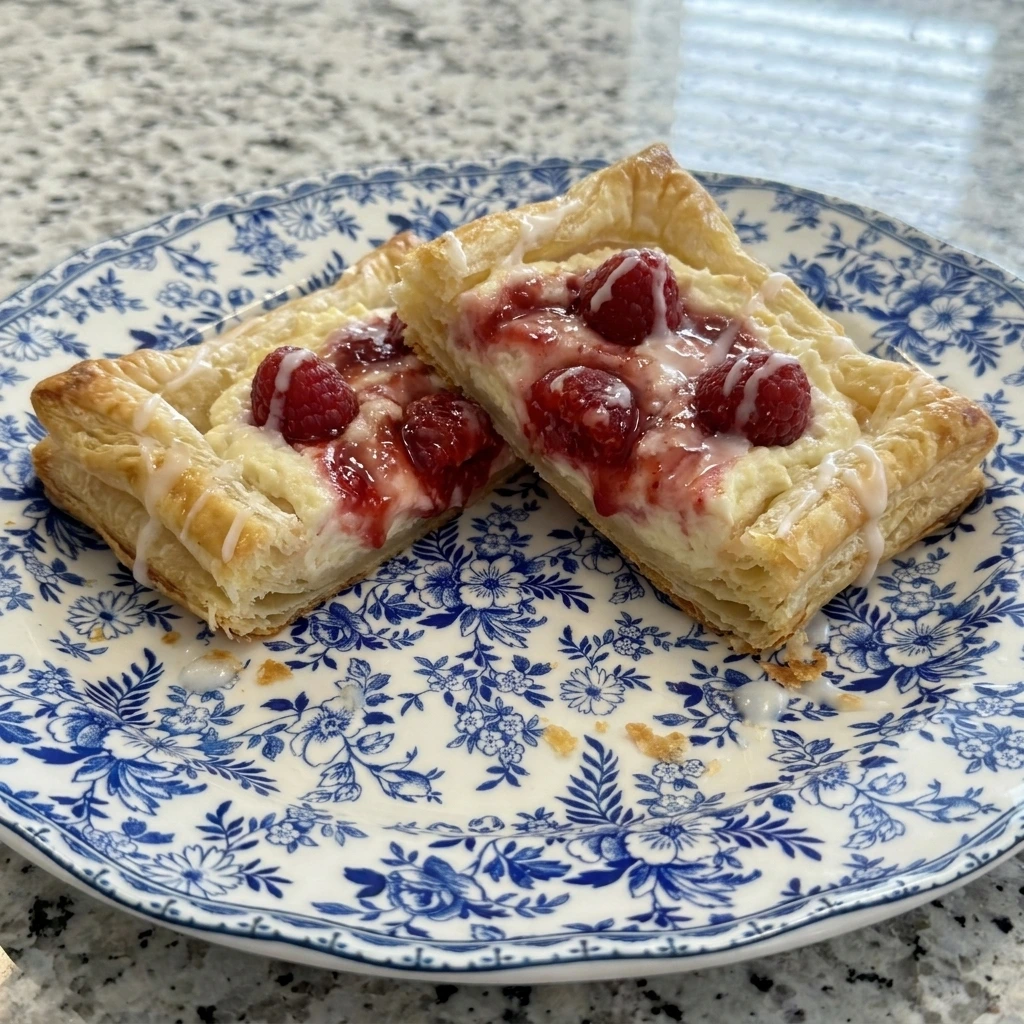
One baked danish is moved to a white plate and finished with a thin uneven glaze. The cut edge shows flaky layers and creamy raspberry filling with natural crumbs and non uniform berry color.
Tip: Let the danish cool briefly before glazing so the drizzle settles into thin lines instead of melting away.
Pro Tips
- Chill the shaped pastries for a few minutes before baking so the butter stays firm and the borders rise higher.
- Do not overload the centers with preserves because too much jam can spill over and make the pastry soggy.
- Use fresh raspberries that are firm and dry so they soften gently without flooding the cream cheese layer.
- Drizzle the glaze after cooling slightly so the lines stay visible and the pastry keeps its crisp texture.
Storage Instructions
Store cooled Raspberry Danish in an airtight container in the refrigerator for up to three days. The pastry will soften as it sits because the raspberry filling adds moisture to the flaky layers. To refresh the texture, warm the danish in a low oven until the edges feel lightly crisp again. Avoid microwaving for too long because the pastry can turn soft and chewy instead of flaky.
Frequently Asked Questions
Yes. Shape and fill the pastries then chill them overnight and bake fresh in the morning.
Yes. Use frozen raspberries without thawing and add only a few so the centers stay thick.
Keep jam in the center and bake until the pastry edges are deeply golden and crisp.
Cream cheese filling works best because it balances the tart berries and flaky pastry.
See You in the Kitchen
This Raspberry Danish is a great way to satisfy your bakery pastry cravings without picking up the phone to order a box.
I typically make Zucchini Egg Bites at the same time I bake my danish, that way all of my brunch components will be ready at the same time.
Even my kids love this one, and Zucchini Oatmeal Bake is another cozy recipe to try with it.
Print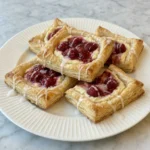
Raspberry Danish
- Total Time: 45 minutes
- Yield: 4 servings
Description
This Raspberry Danish is an easy and quick pastry idea with flaky layers and sweet berry cream cheese filling. It feels simple enough for brunch yet special enough for holiday mornings and party trays. It is one of the best healthy inspired bakery style ideas for meal prep when you want a homemade treat that still feels bright and fresh. The simple steps make it quick for potluck planning and the best sweet idea for a cozy weekend brunch with family.
Ingredients
- 1 large sheet thawed Puff pastry sheet
- 4 ounces softened Cream cheese
- 3 tablespoons Granulated sugar
- 1 large divided Egg
- 1 teaspoon Vanilla extract
- 1 teaspoon Lemon zest
- 1/3 cup Raspberry preserves
- 3/4 cup Fresh raspberries
- 1/2 cup Powdered sugar
- 1 tablespoon Milk
Instructions
- The softened cream cheese changes from a firm block into a smooth pale filling once sugar egg yolk vanilla and lemon zest are mixed in. The texture should look thick and creamy with tiny uneven specks of zest scattered through it.
- The puff pastry changes from one flat sheet into four uneven squares with folded borders and shallow centers. Each pastry looks slightly different with casual corners and soft creases that will puff while baking.
- The pale cream filling is spooned into the center of each pastry and the raspberry preserves spread over it in glossy uneven streaks. Fresh raspberries sit partly pressed into the filling so the centers look layered and bright rather than flat.
- The pastry edges turn shiny after the egg wash is brushed over the folded borders. The filling stays visible in the center while the glossy edges show where the pastry will brown first.
- The flat pastry changes into puffed flaky layers with golden edges and bubbling raspberry centers. The raspberries soften and slump into the preserves while the cream filling sets with tiny browned spots around the edges.
- One baked danish is moved to a white plate and finished with a thin uneven glaze. The cut edge shows flaky layers and creamy raspberry filling with natural crumbs and non uniform berry color.
Notes
Pro Tips:
- Chill the shaped pastries for a few minutes before baking so the butter stays firm and the borders rise higher.
- Do not overload the centers with preserves because too much jam can spill over and make the pastry soggy.
- Use fresh raspberries that are firm and dry so they soften gently without flooding the cream cheese layer.
- Drizzle the glaze after cooling slightly so the lines stay visible and the pastry keeps its crisp texture.
Storage: Store cooled Raspberry Danish in an airtight container in the refrigerator for up to three days. The pastry will soften as it sits because the raspberry filling adds moisture to the flaky layers. To refresh the texture, warm the danish in a low oven until the edges feel lightly crisp again. Avoid microwaving for too long because the pastry can turn soft and chewy instead of flaky.
- Prep Time: 15 minutes
- Cook Time: 30 minutes
- Category: Desserts
- Cuisine: American
Nutrition
- Serving Size: 1 danish
- Calories: 335
- Sugar: 18g
- Sodium: 230mg
- Fat: 20g
- Carbohydrates: 34g
- Fiber: 2g
- Protein: 5g
- Cholesterol: 55mg