
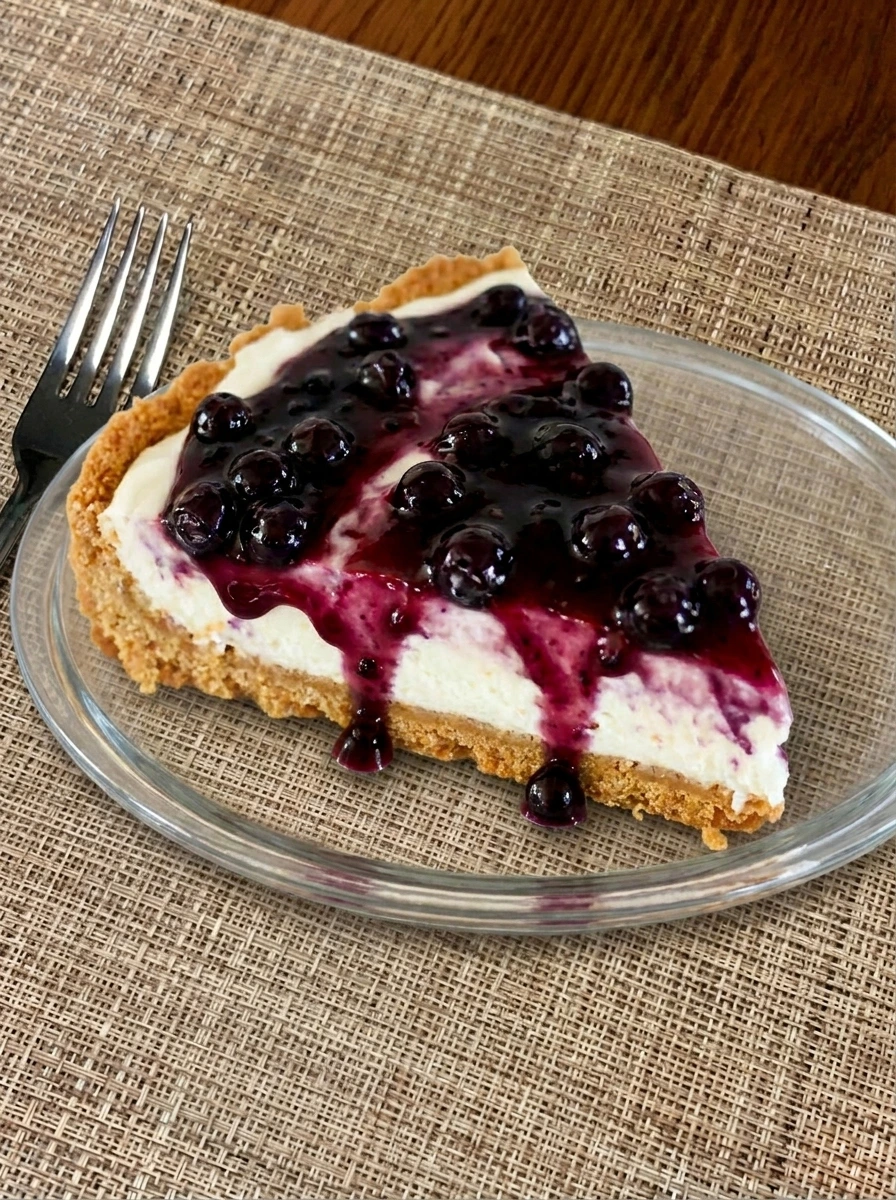
This No-Bake Blueberry Cheesecake Lush Dessert recipe is an easy and comforting dessert that comes together so quickly in the fridge and with creamy layers and soft crust and bright blueberry topping.
We love warm days because it means that easy desserts like this No-Bake Blueberry Cheesecake Lush Dessert are back on the table and if you enjoy fresh flavors then you should also try our Pineapple Salsa for a fun contrast that feels just as .
Sweet treats and especially those that feel light and refreshing and still satisfy every craving are my favorite kinds of desserts.
Ingredients
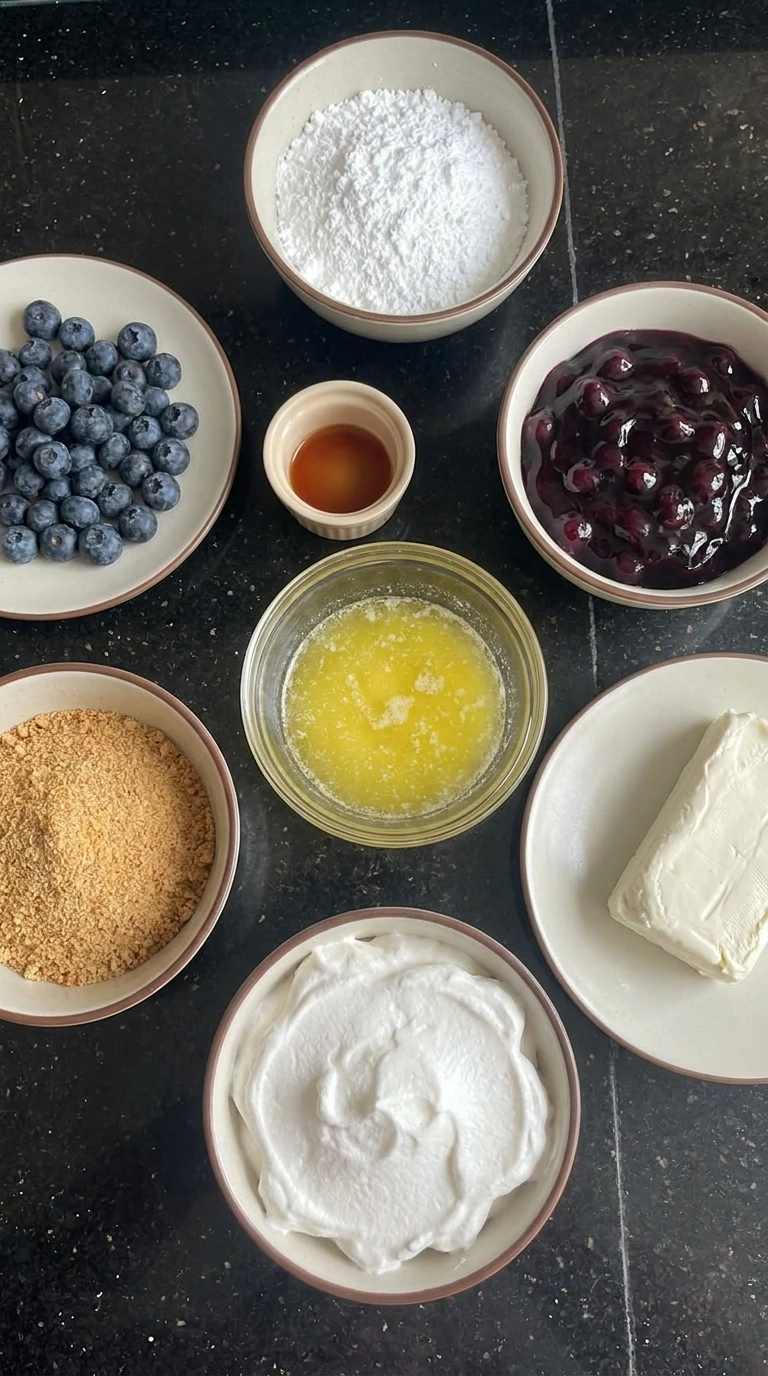
Here is what I use for this recipe and you can adjust nuts or spices based on preference:
- graham cracker crumbs: Forms the soft base layer that holds structure when chilled.
- unsalted butter melted: Binds crumbs together to create a cohesive crust.
- cream cheese softened: Creates the rich and smooth cheesecake filling base.
- powdered sugar: Sweetens the filling while keeping texture silky.
- vanilla extract: Enhances overall flavor with warm sweetness.
- whipped topping: Lightens the filling and adds airy texture.
- blueberry pie filling: Provides fruity topping with thick glossy texture.
- fresh blueberries: Adds bursts of fresh flavor and slight texture contrast.
Tools You’ll Need
- mixing bowl: Used to combine filling ingredients.
- hand mixer: Helps create smooth creamy texture.
- glass dish: Holds layered dessert for chilling.
Instructions
Step 1: Press the crumb crust
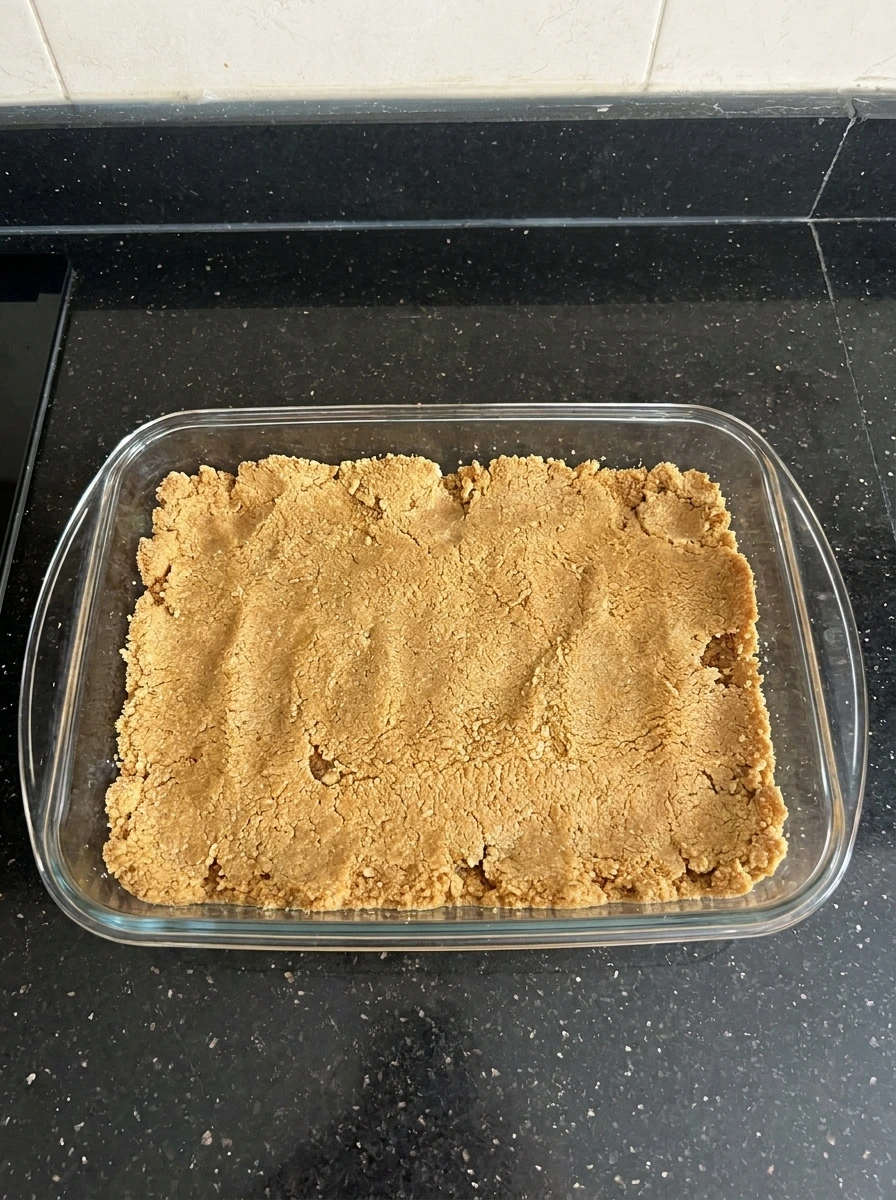
I mix the graham crumbs and melted butter together and the texture changes from dry crumbs into a damp sand like mixture and the color deepens slightly as everything absorbs. I press the mixture down firmly into a dish and it spreads unevenly at first and then becomes a packed base with slight rough edges and visible crumb texture.
Tip: Press firmly but leave slight unevenness for a homemade look.
Step 2: Blend the creamy filling
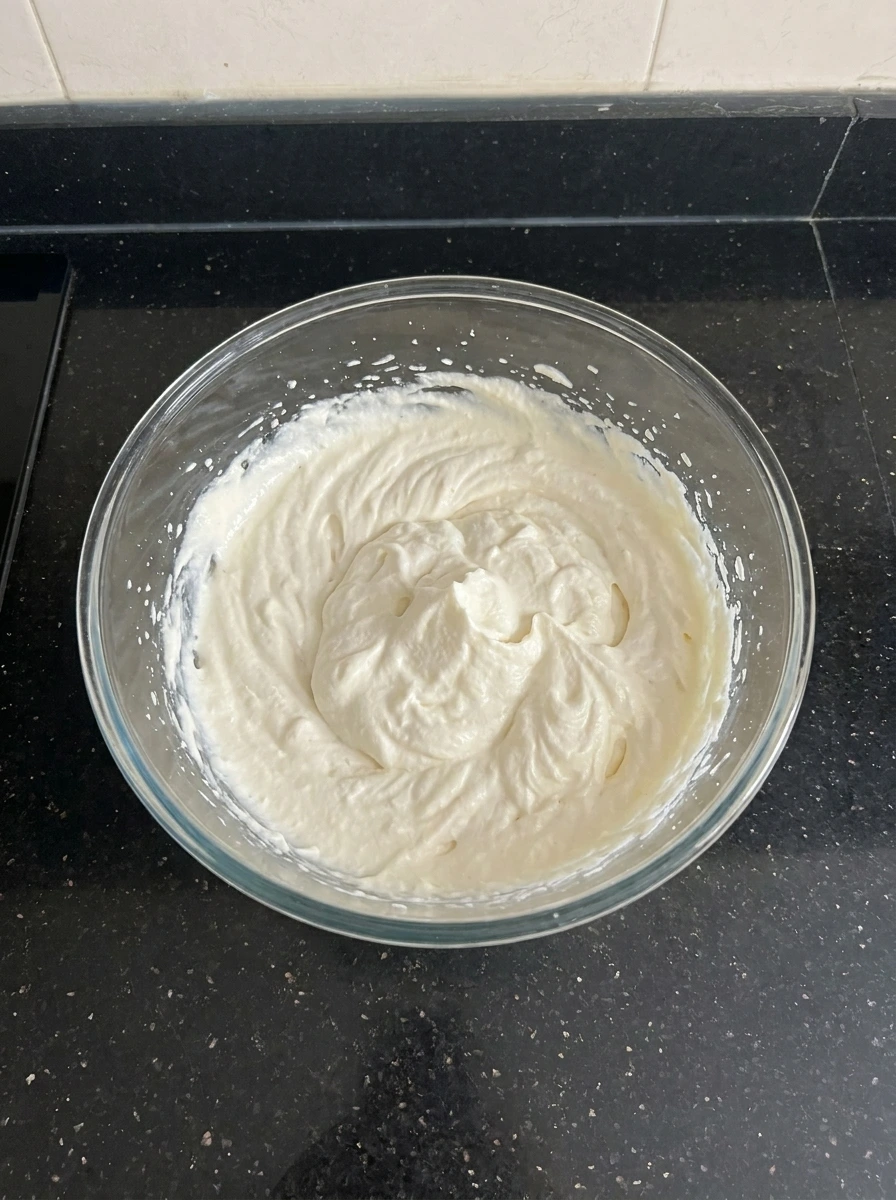
I beat the cream cheese with sugar and vanilla and it changes from thick and dense into a smoother glossy mixture with fewer lumps and a softer look. I fold in the whipped topping and the mixture becomes lighter and fluffier and slightly airy with soft peaks forming.
Tip: Do not overmix once whipped topping is added to keep it airy.
Step 3: Spread the filling layer
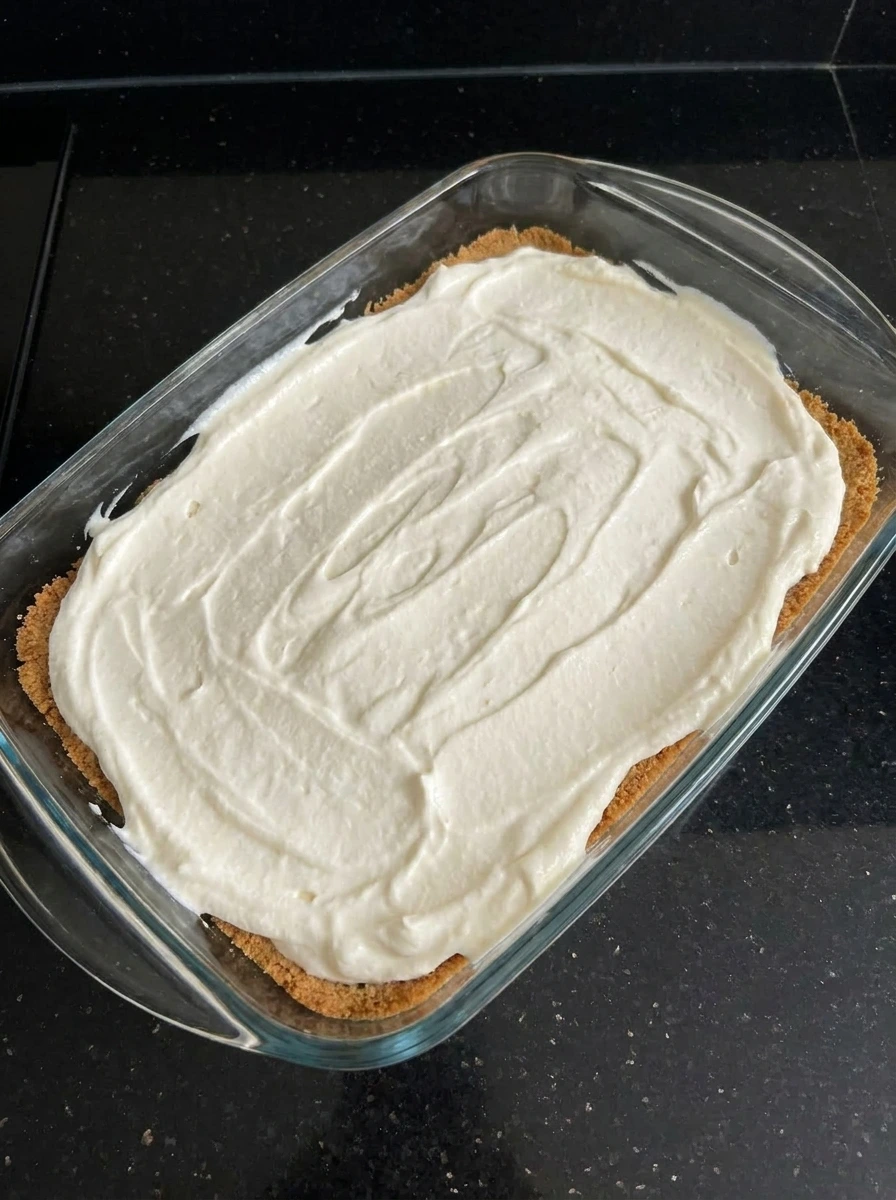
I spread the filling over the crust and it transforms into a thick creamy layer covering most of the base and some crumbs peek through edges. The surface looks slightly uneven and soft with gentle swirls from spreading which gives a natural homemade feel.
Tip: Use a gentle hand to keep layers fluffy.
Step 4: Add the blueberry topping
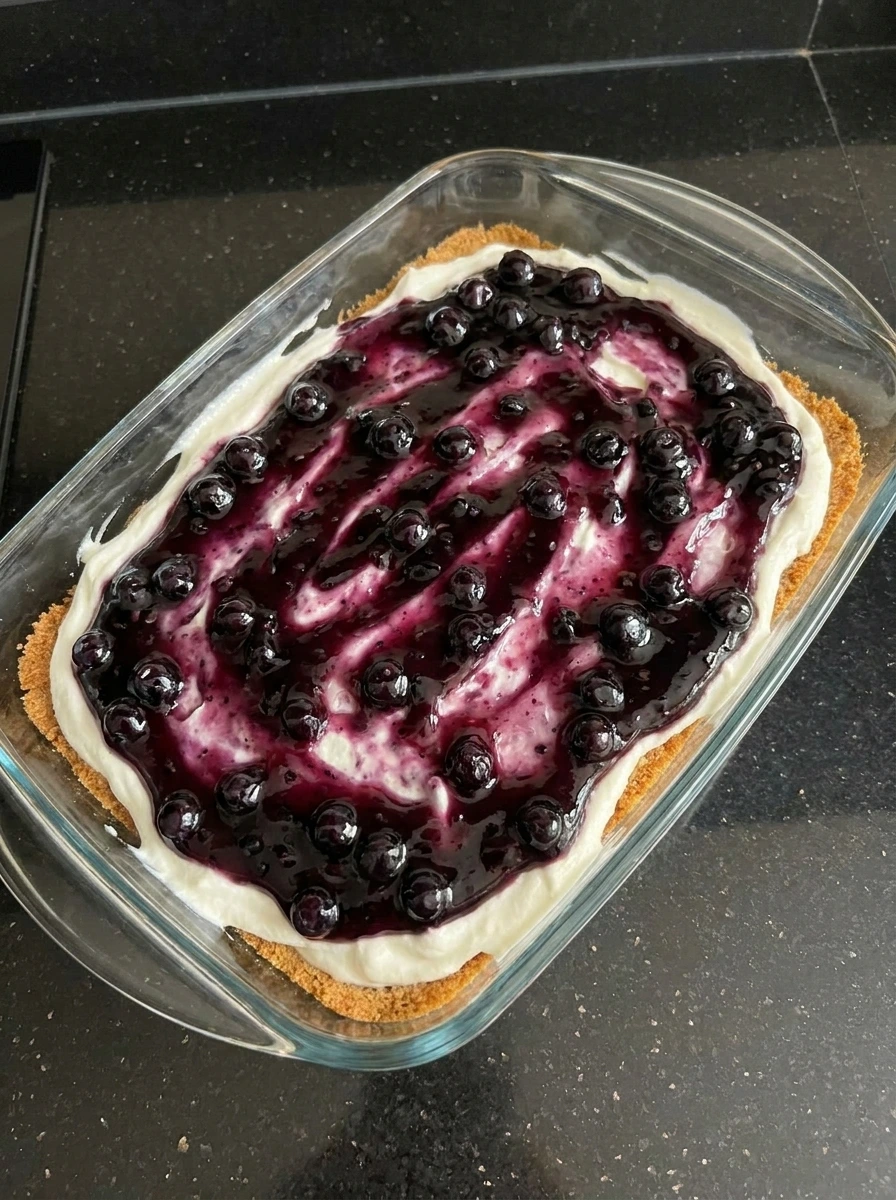
I spoon the blueberry filling over the cream layer and it creates bold contrast with deep purple tones spreading unevenly across the surface. I scatter fresh blueberries and they sit on top with slight sinking into the topping and create texture variation.
Tip: Leave some cream visible for contrast.
Step 5: Chill and slice
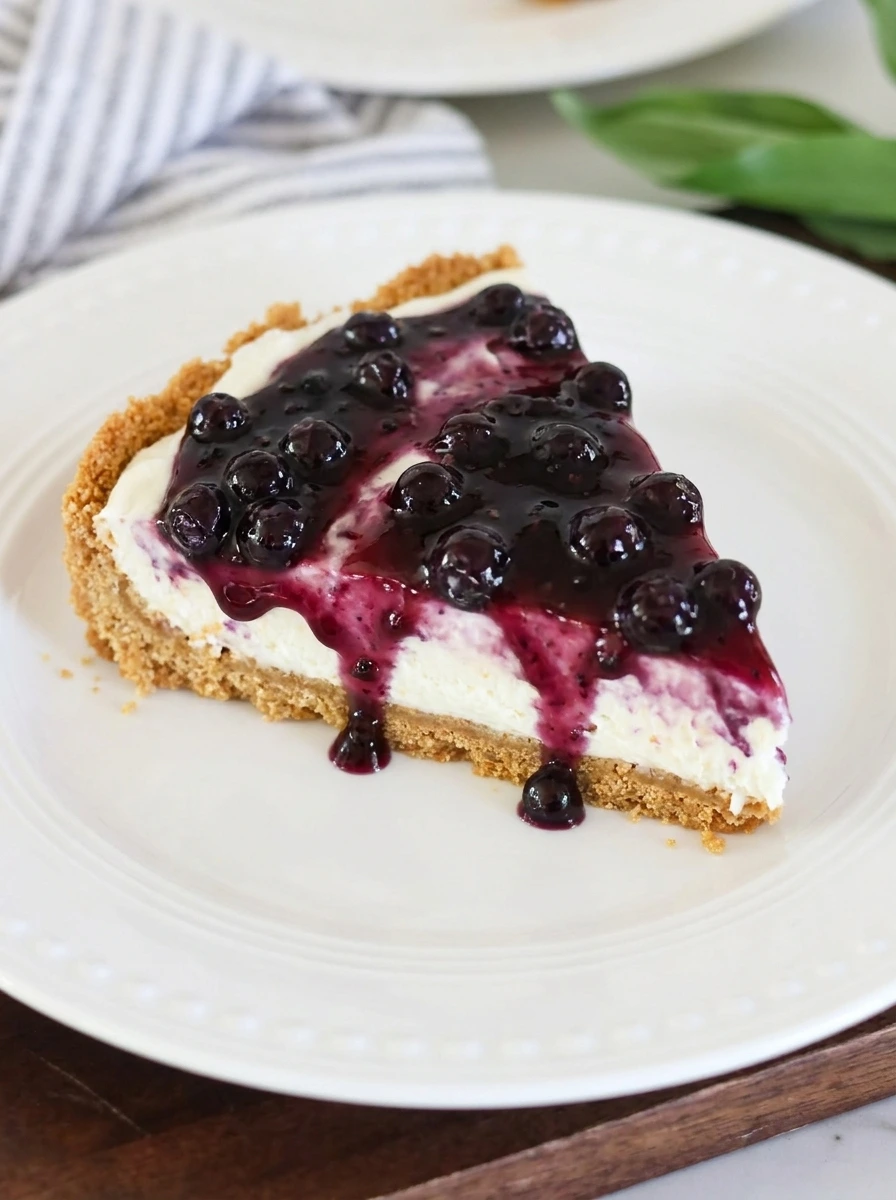
I chill the dessert and the layers firm up and become structured while still looking soft and creamy with slight settling lines. I slice into it and the cut reveals layered textures with slight uneven edges and some topping shifting which shows a natural homemade finish.
Tip: Chill at least 4 hours for clean slices.
Pro Tips
- Use room temperature cream cheese so the filling blends smoothly without lumps and creates a more even texture.
- Chill the crust slightly before adding filling to help keep layers defined and prevent mixing.
- Do not overmix whipped topping into filling or it will lose air and become dense instead of fluffy.
- Add fresh berries just before chilling so they keep their shape and bright color in the final dish.
Storage Instructions
Store the dessert covered in the refrigerator and keep it chilled at all times to maintain structure and freshness. The layers will stay stable for up to three days and the flavor becomes even better as it rests. Avoid leaving it at room temperature for long periods because the cream layer will soften too much. For best texture always slice directly from chilled state and return leftovers to fridge quickly.
Frequently Asked Questions
Yes and it actually tastes better when made ahead since chilling allows layers to set fully and flavors to blend nicely.
It should chill at least four hours and overnight works even better for cleaner slices and firmer texture.
You can freeze it for short periods and texture will remain creamy but thaw slowly in fridge before serving.
Graham cracker crust works best since it holds well and adds a slightly sweet crunch to balance the creamy layers.
See You in the Kitchen
I hope you enjoy all the recipes I share with you and including this delicious No-Bake Blueberry Cheesecake Lush Dessert recipe and I hope you try it and enjoy it and rate it and share it with your friends and family and if you want more fun ideas try our Cowboy Crack Dip or Pineapple Salsa.
Print
No-Bake Blueberry Cheesecake Lush Dessert
- Total Time: 4 hours 20 minutes
- Yield: 8 servings
Description
This No-Bake Blueberry Cheesecake Lush Dessert is an easy and quick and simple treat that brings the best creamy layers together in one pan and it is a healthy style dessert idea for a party or brunch or potluck or even a weeknight dinner sweet finish so you get bright blueberry flavor with smooth cheesecake filling and a soft crust that chills into perfect slices everyone will love.
Ingredients
- 2 cups graham cracker crumbs
- 1/2 cup unsalted butter melted
- 16 oz cream cheese softened
- 1 cup powdered sugar
- 1 tsp vanilla extract
- 2 cups whipped topping
- 2 cups blueberry pie filling
- 1/2 cup fresh blueberries
Instructions
- I mix the graham crumbs and melted butter together and the texture changes from dry crumbs into a damp sand like mixture and the color deepens slightly as everything absorbs. I press the mixture down firmly into a dish and it spreads unevenly at first and then becomes a packed base with slight rough edges and visible crumb texture.
- I beat the cream cheese with sugar and vanilla and it changes from thick and dense into a smoother glossy mixture with fewer lumps and a softer look. I fold in the whipped topping and the mixture becomes lighter and fluffier and slightly airy with soft peaks forming.
- I spread the filling over the crust and it transforms into a thick creamy layer covering most of the base and some crumbs peek through edges. The surface looks slightly uneven and soft with gentle swirls from spreading which gives a natural homemade feel.
- I spoon the blueberry filling over the cream layer and it creates bold contrast with deep purple tones spreading unevenly across the surface. I scatter fresh blueberries and they sit on top with slight sinking into the topping and create texture variation.
- I chill the dessert and the layers firm up and become structured while still looking soft and creamy with slight settling lines. I slice into it and the cut reveals layered textures with slight uneven edges and some topping shifting which shows a natural homemade finish.
Notes
Pro Tips:
- Use room temperature cream cheese so the filling blends smoothly without lumps and creates a more even texture.
- Chill the crust slightly before adding filling to help keep layers defined and prevent mixing.
- Do not overmix whipped topping into filling or it will lose air and become dense instead of fluffy.
- Add fresh berries just before chilling so they keep their shape and bright color in the final dish.
Storage: Store the dessert covered in the refrigerator and keep it chilled at all times to maintain structure and freshness. The layers will stay stable for up to three days and the flavor becomes even better as it rests. Avoid leaving it at room temperature for long periods because the cream layer will soften too much. For best texture always slice directly from chilled state and return leftovers to fridge quickly.
- Prep Time: 20 minutes
- Cook Time: 0 minute
- Category: Desserts
- Cuisine: American
Nutrition
- Serving Size: 1 slice
- Calories: 320
- Sugar: 18g
- Sodium: 210mg
- Fat: 18g
- Carbohydrates: 32g
- Fiber: 2g
- Protein: 4g
- Cholesterol: 45mg