
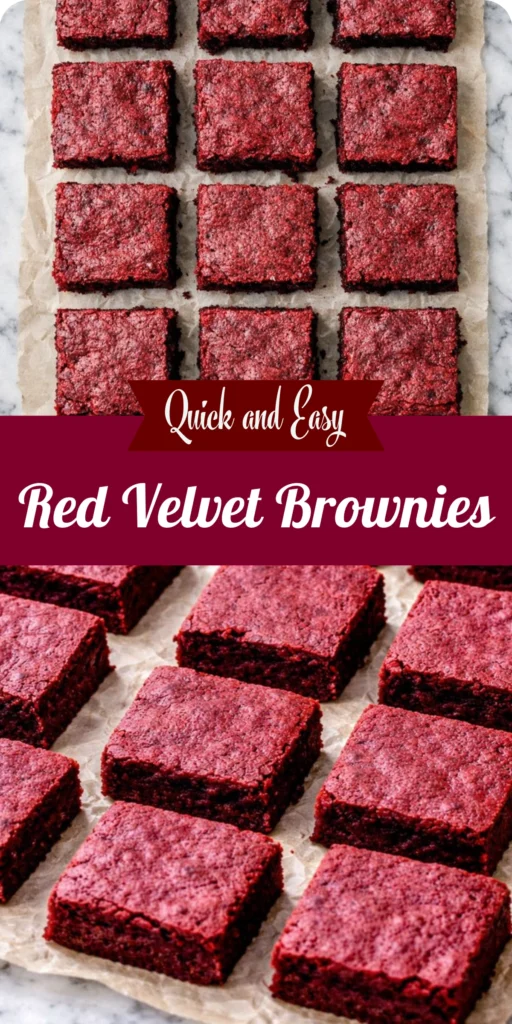
These Red Velvet Brownies are a fun and easy way to turn classic brownie baking into something a little more festive and memorable.
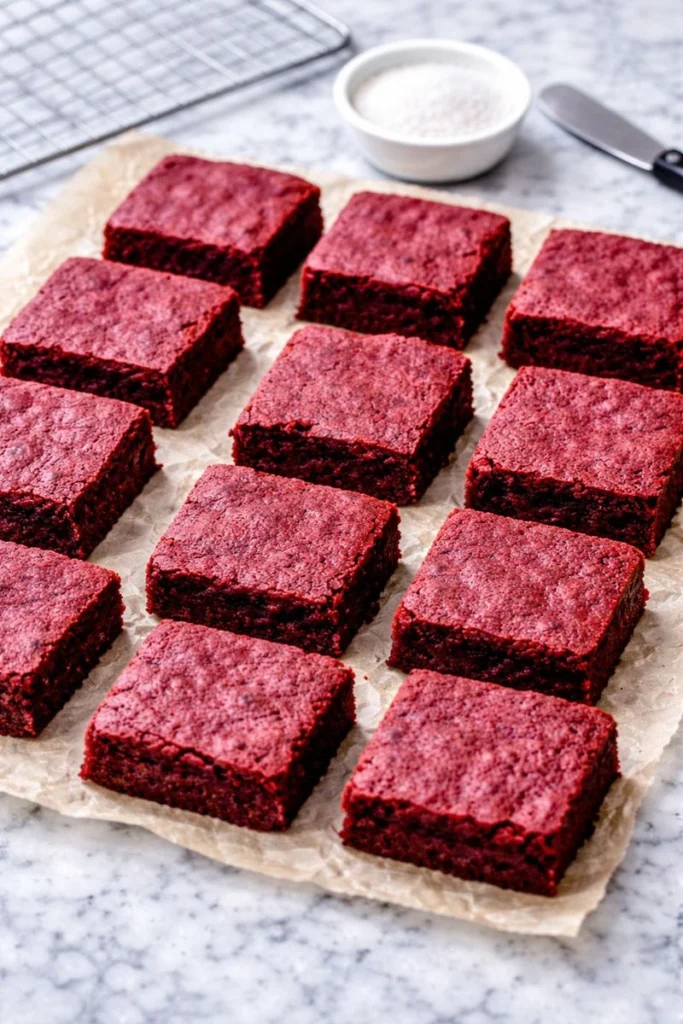
I love this recipe because it delivers rich chocolate flavor with a soft red velvet texture and it works beautifully for casual baking days or special occasions when you want something that feels homemade but impressive.
Ingredients
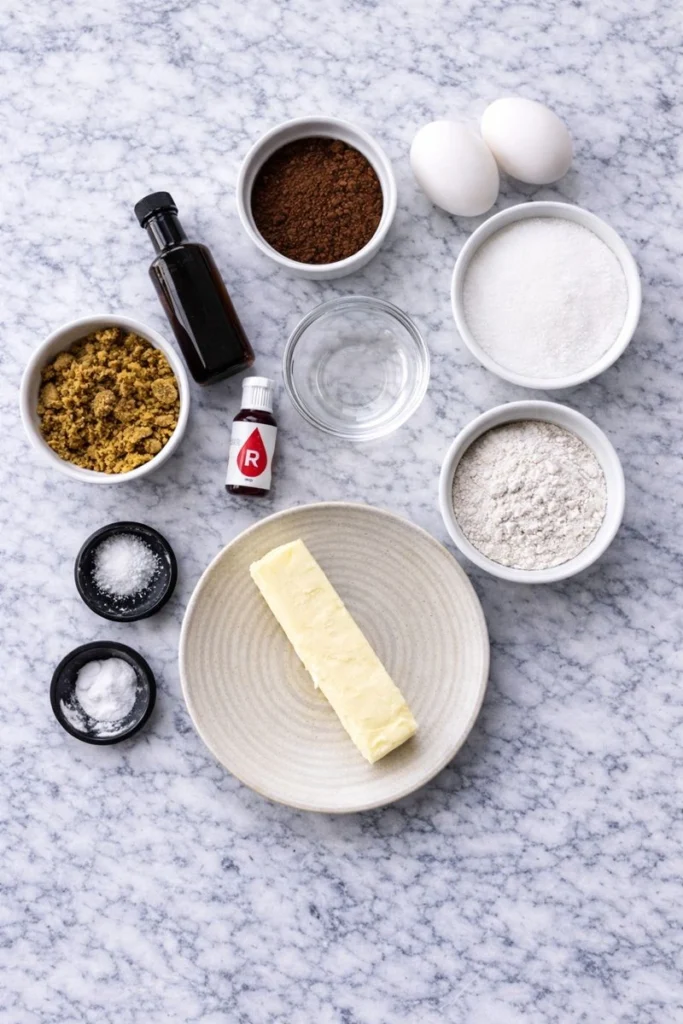
Here’s what I use for this recipe and how each ingredient contributes to the final brownies.
- All purpose flour: Gives structure while keeping the brownies tender.
- Cocoa powder: Adds depth and the signature chocolate flavor.
- Granulated sugar: Sweetens the batter and helps create a soft crumb.
- Butter: Provides richness and moisture.
- Eggs: Bind the batter and create a fudgy texture.
- Vanilla extract: Enhances the chocolate notes.
- Red food coloring: Gives the brownies their classic red velvet appearance.
- Baking powder: Helps the brownies rise slightly without becoming cakey.
- Salt: Balances sweetness and sharpens flavor.
Tools You’ll Need
- Mixing bowls: Used to combine wet and dry ingredients smoothly.
- Whisk: Helps blend ingredients evenly and remove lumps.
- Spatula: Ideal for folding the batter gently.
- Measuring cups and spoons: Ensure accuracy for consistent results.
- Square baking pan: Shapes the brownies evenly.
- Parchment paper: Prevents sticking and makes lifting easy.
- Cooling rack: Allows brownies to cool evenly before slicing.
Instructions
Step 1 Prepare the Pan
I start by lining my baking pan with parchment paper and lightly greasing it. This makes removing the brownies much easier later.
Step 2 Mix the Wet Ingredients
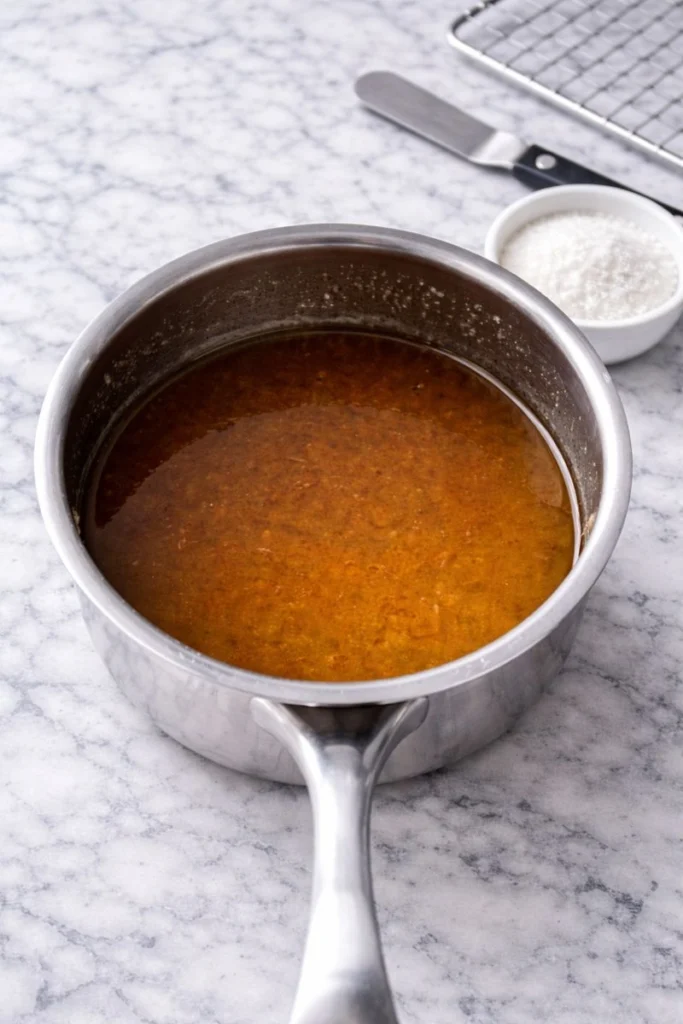
I melt the butter and whisk it with the sugar until smooth. Then I add the eggs vanilla extract and red food coloring and mix until fully combined.
Step 3 Combine the Dry Ingredients
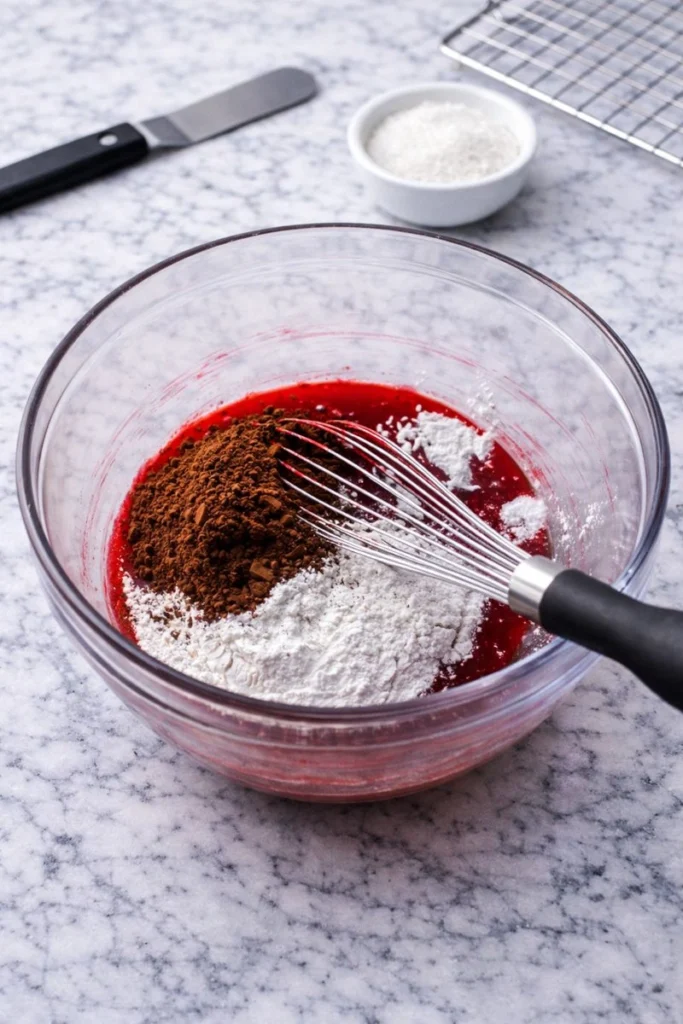
In a separate bowl I whisk together the flour cocoa powder baking powder and salt. This ensures everything is evenly distributed.
Step 4 Make the Batter
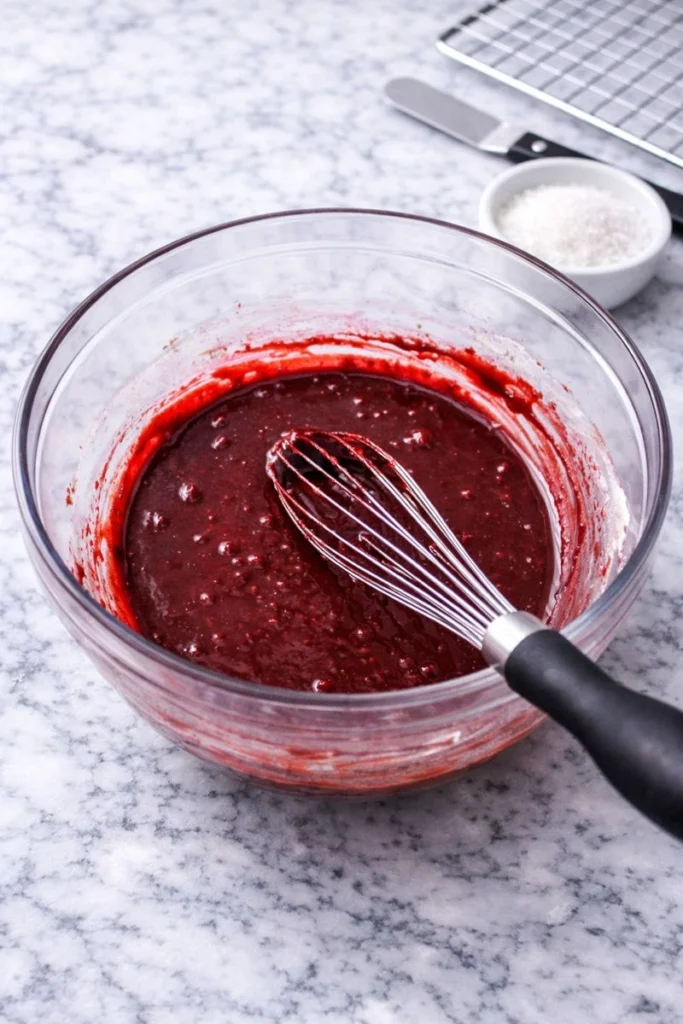
I gently fold the dry ingredients into the wet mixture. I mix just until combined so the brownies stay soft and fudgy.
Step 5 Bake
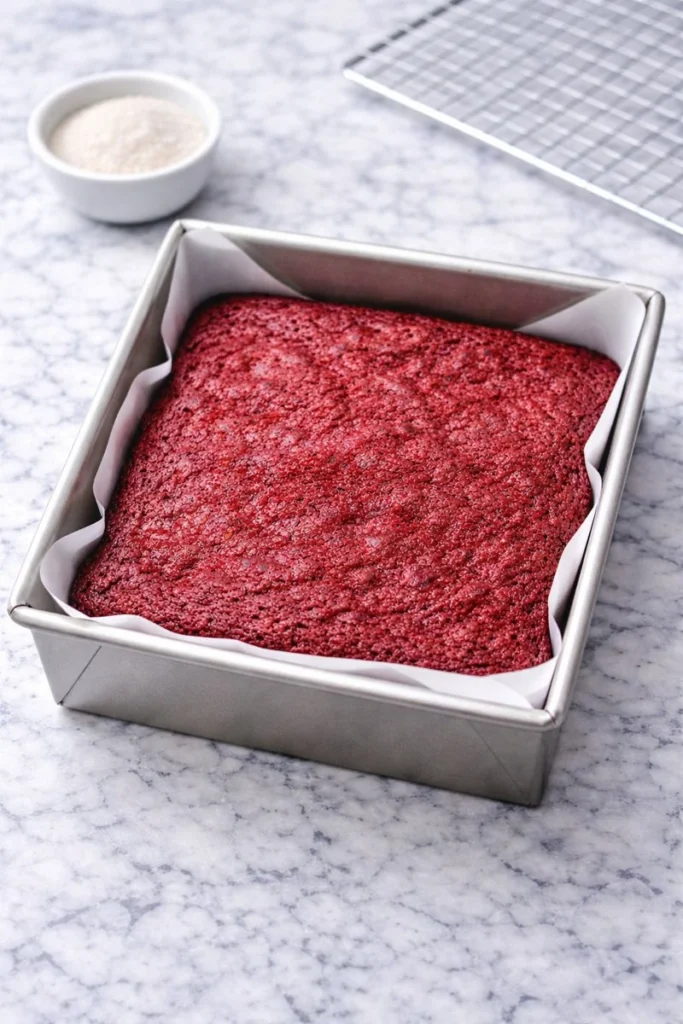
I pour the batter into the prepared pan and smooth the top. I bake until the center is just set and a toothpick comes out with a few moist crumbs.
Step 6 Cool and Slice
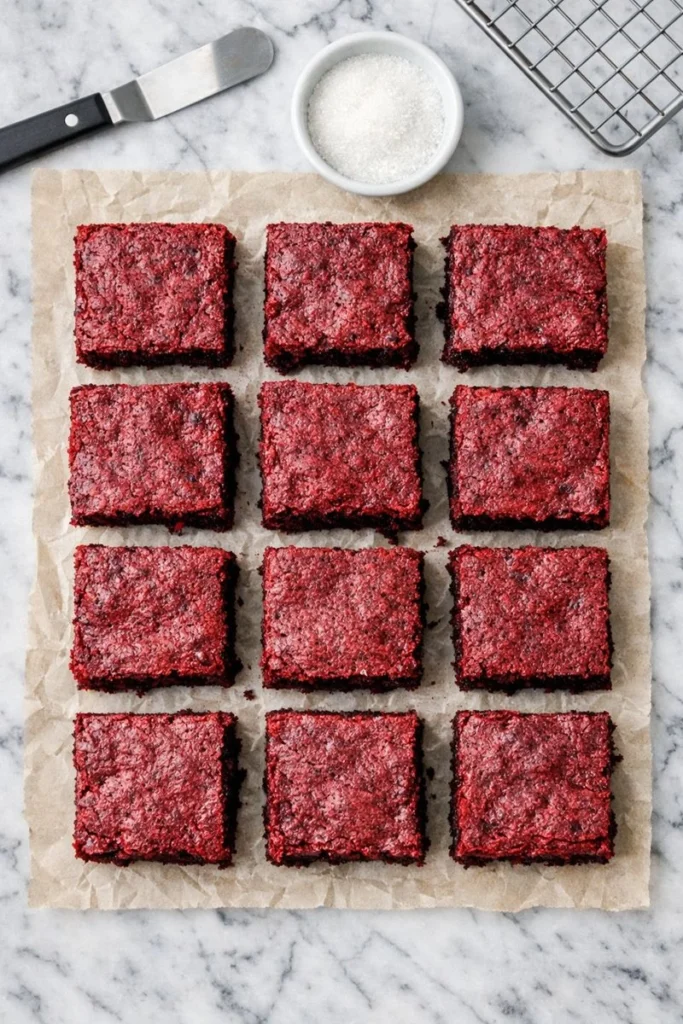
I let the brownies cool completely in the pan before lifting them out and slicing into squares.
Tips
From my experience using room temperature eggs helps the batter blend smoothly. I also recommend not overbaking because red velvet brownies are best when slightly fudgy in the center. If you want cleaner slices I chill the brownies briefly before cutting.
Ways to Serve
I like serving Red Velvet Brownies plain to highlight their texture but they also pair well with a dusting of powdered sugar or a drizzle of chocolate sauce. For parties I arrange them on a platter with other small desserts or serve them warm with a scoop of vanilla ice cream for a simple dessert plate.
Storage Instructions
I store these brownies in an airtight container at room temperature for up to three days. For longer storage I refrigerate them which helps maintain their texture. They can also be frozen individually wrapped then thawed at room temperature when ready to enjoy.
Frequently Asked Questions
Can I make Red Velvet Brownies ahead of time?
Yes I often bake them a day in advance and store them covered.
Why are my Red Velvet Brownies dry?
This usually means they were baked too long or overmixed.
Can I freeze Red Velvet Brownies?
Yes they freeze very well once fully cooled.
Do Red Velvet Brownies need refrigeration?
No but refrigeration can extend freshness.
See You in the Kitchen
I hope you enjoy baking these Red Velvet Brownies as much as I do. They are simple colorful and perfect for sharing with friends and family. Save this recipe and come back whenever you want an easy dessert that always works.
Happy Cooking!
Print
Red Velvet Brownies
- Total Time: 40 minutes
- Yield: 9 brownies
- Diet: Vegetarian
Description
Looking for the best red velvet dessert ideas that are quick easy and reliable? These Red Velvet Brownies are simple to make and deliver a soft fudgy texture with rich chocolate flavor. A healthy feeling homemade treat perfect for holidays Valentine’s Day parties bake sales or family gatherings. This easy recipe is beginner friendly freezer friendly and ideal for meal prep or last minute desserts. Save this best brownie recipe for sweet celebrations anytime.
Ingredients
- 1 cup all purpose flour
- 2 tablespoons cocoa powder
- 1 cup granulated sugar
- 1/2 cup unsalted butter melted
- 2 large eggs
- 1 teaspoon vanilla extract
- 1 tablespoon red food coloring
- 1/2 teaspoon baking powder
- 1/4 teaspoon salt
Instructions
- Preheat oven to 350°F and line an 8×8 inch pan with parchment paper.
- Whisk melted butter and sugar until smooth.
- Add eggs vanilla and red food coloring and mix well.
- Whisk flour cocoa powder baking powder and salt in a bowl.
- Fold dry ingredients into wet mixture gently.
- Pour batter into pan and smooth the top.
- Bake for 22 to 25 minutes until just set.
- Cool completely before slicing into squares.
Notes
- Do not overbake for best texture.
- Chill before slicing for clean edges.
- Use gel food coloring for vibrant color.
- Prep Time: 15 minutes
- Cook Time: 25 minutes
- Category: Dessert
- Method: Baking
- Cuisine: American
Nutrition
- Serving Size: 1 brownie
- Calories: 190
- Sugar: 18g
- Sodium: 95mg
- Fat: 9g
- Saturated Fat: 5g
- Unsaturated Fat: 3g
- Trans Fat: 0g
- Carbohydrates: 25g
- Fiber: 1g
- Protein: 3g
- Cholesterol: 40mg