
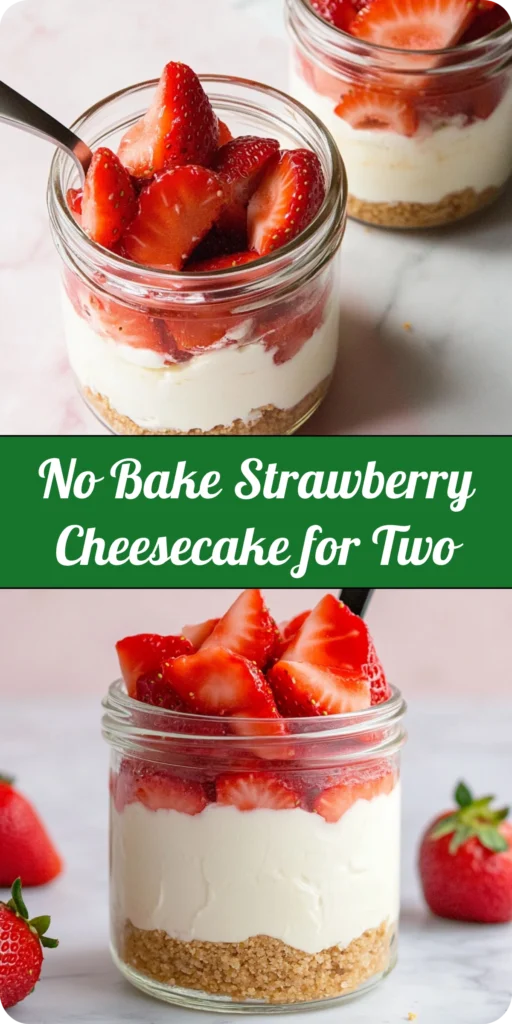
No-Bake Strawberry Cheesecake Jars always make me excited to get into the kitchen because they come together so quickly while still looking elegant and irresistible. I love beginning this recipe since there’s something incredibly fun about layering textures from the buttery crumbs to the creamy filling to the glossy strawberries on top. I enjoy desserts that feel special without needing an oven and these jars deliver that perfect balance of freshness and indulgence.
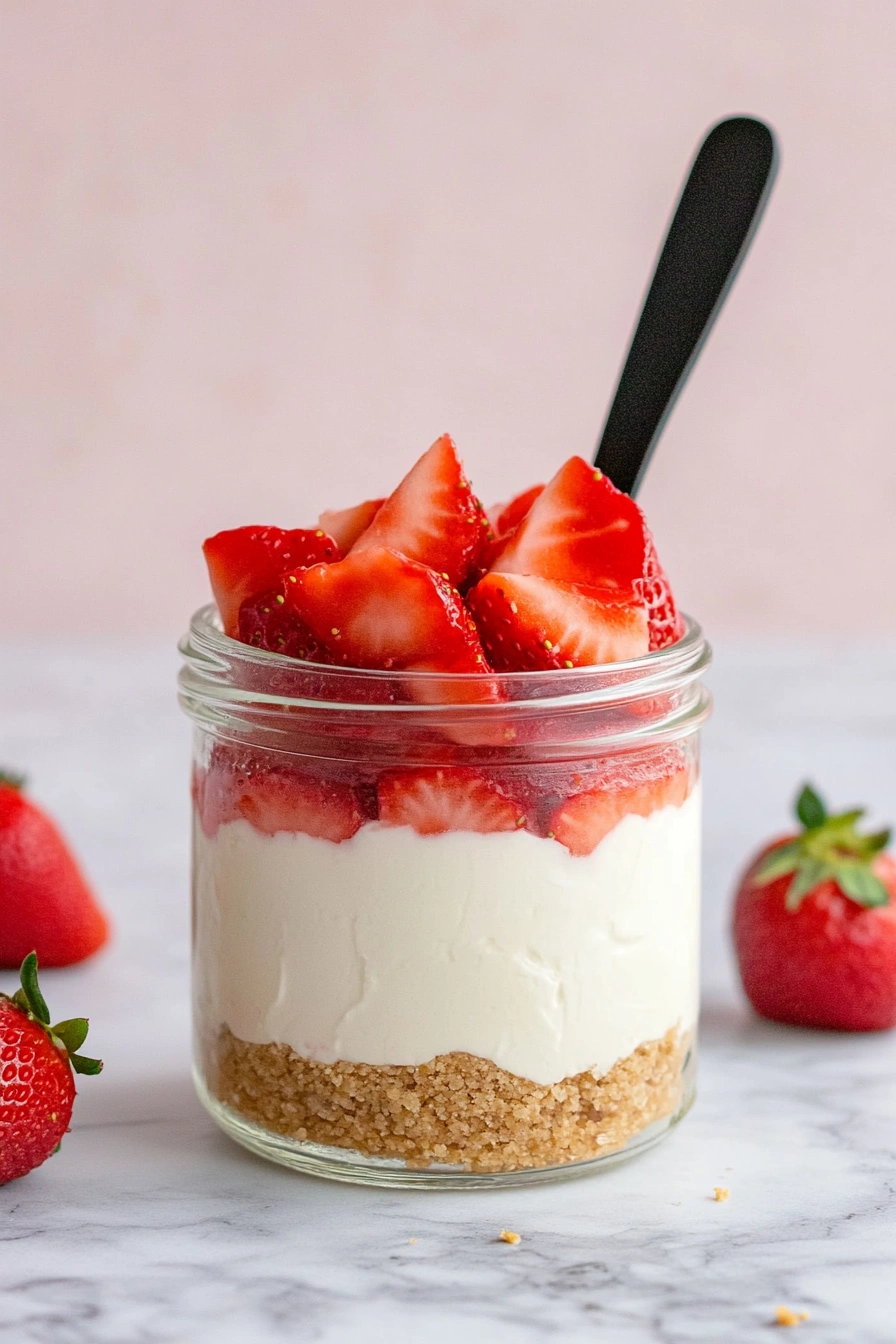
When I first tried making individual cheesecake jars I realized how convenient they are especially when serving guests or planning ahead for gatherings. I appreciate how smooth and airy the cheesecake layer becomes once everything is whipped together because it creates a satisfying contrast with the sweet juicy strawberries. Every time I prepare a batch I feel like I’m crafting a little dessert that’s both beautiful and comforting.
I also love that these jars are customizable because I can switch the fruit use flavored crumbs or even swirl in different sauces. They’re simple enough for busy days yet fancy enough to impress and I’m excited to guide you through making them step by step.
Ingredients
Here’s what I use for this recipe and feel free to adjust to your taste!
- Graham cracker crumbs – Bring a buttery sweet crunch to the base.
- Butter – Helps the crumbs stick together.
- Sugar – Sweetens both the berries and the cheesecake layer.
- Fresh strawberries – Add juicy brightness and color.
- Cream cheese – Creates the rich creamy cheesecake filling.
- Heavy cream – Adds lightness and volume when whipped.
- Vanilla extract – Enhances flavor and warmth.
- Lemon juice – Adds a slight tang to balance the sweetness.
Tools You’ll Need
- Mixing bowls – I use separate bowls for the crumbs berries and cheesecake mix.
- Spoon – Helps combine and scoop each layer.
- Electric mixer – Whips the cheesecake layer until fluffy.
- Small jars or cups – Perfect for assembling individual servings.
- Refrigerator – Essential for firming the layers before serving.
Instructions
Step 1: Prepare the Crumb Layer
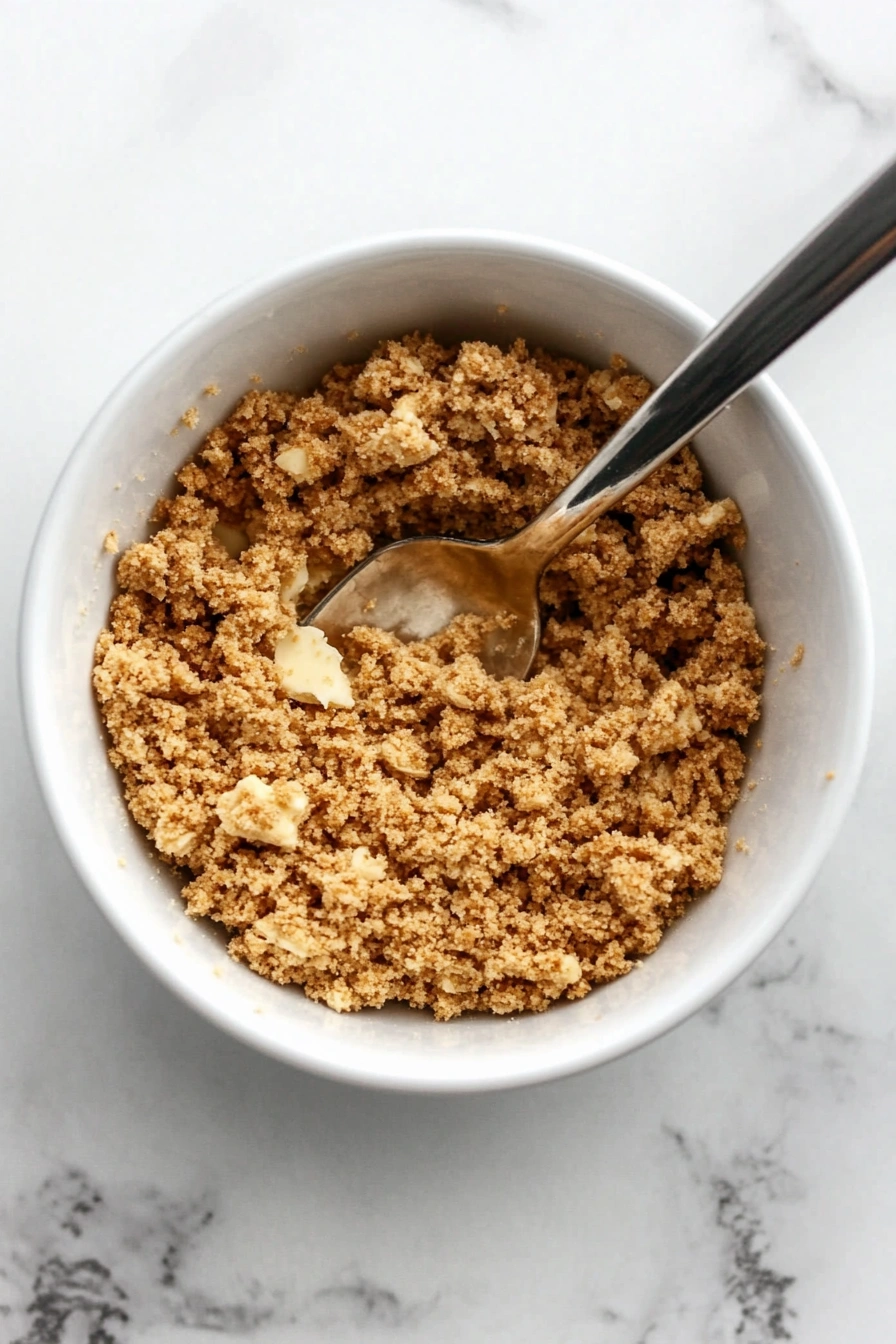
I start by mixing the graham cracker crumbs with melted butter and a little sugar until the mixture resembles damp sand.
Step 2: Marinate the Strawberries
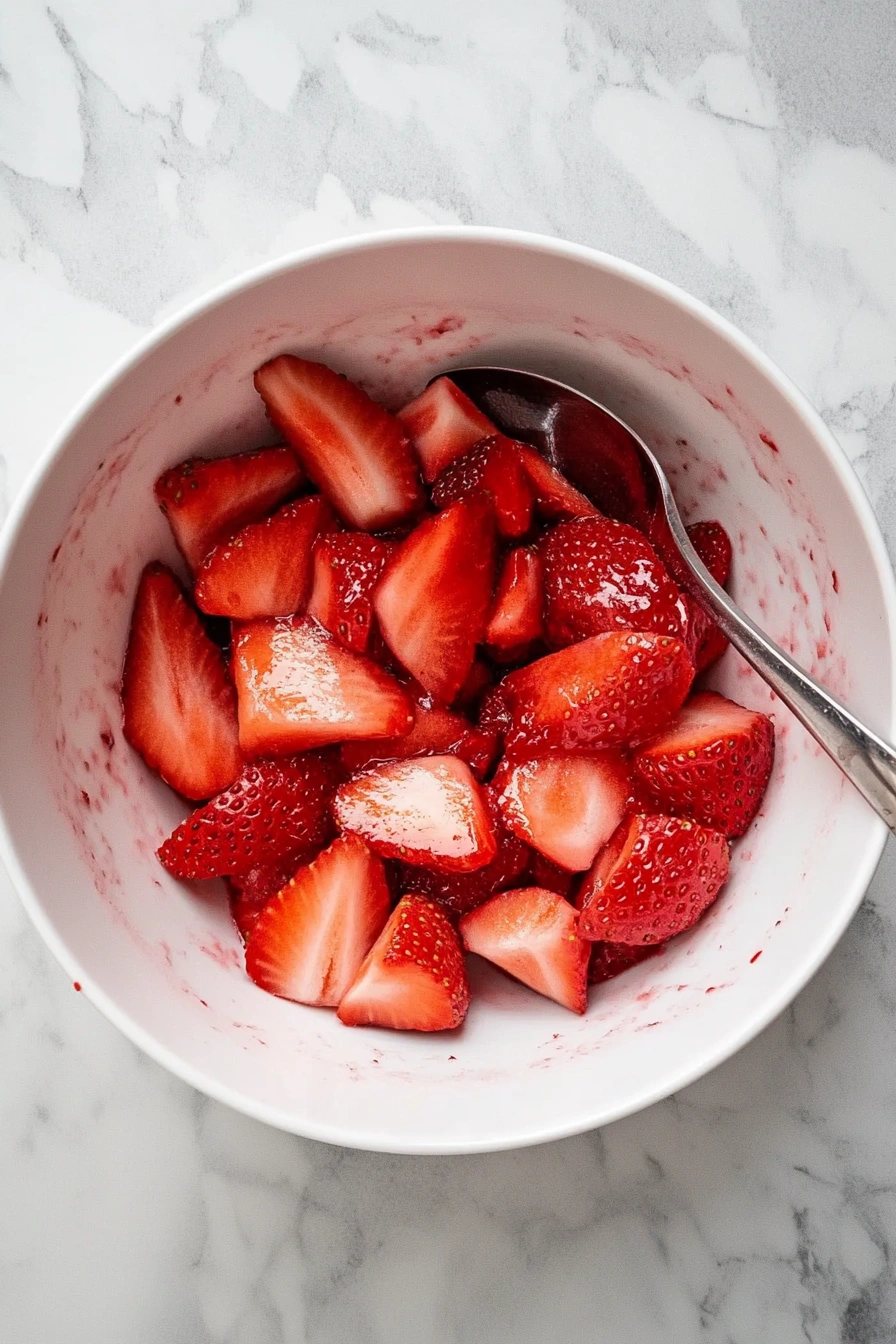
I slice the strawberries and toss them with sugar and lemon juice then let them sit so they release their natural juices.
Step 3: Make the Cheesecake Filling
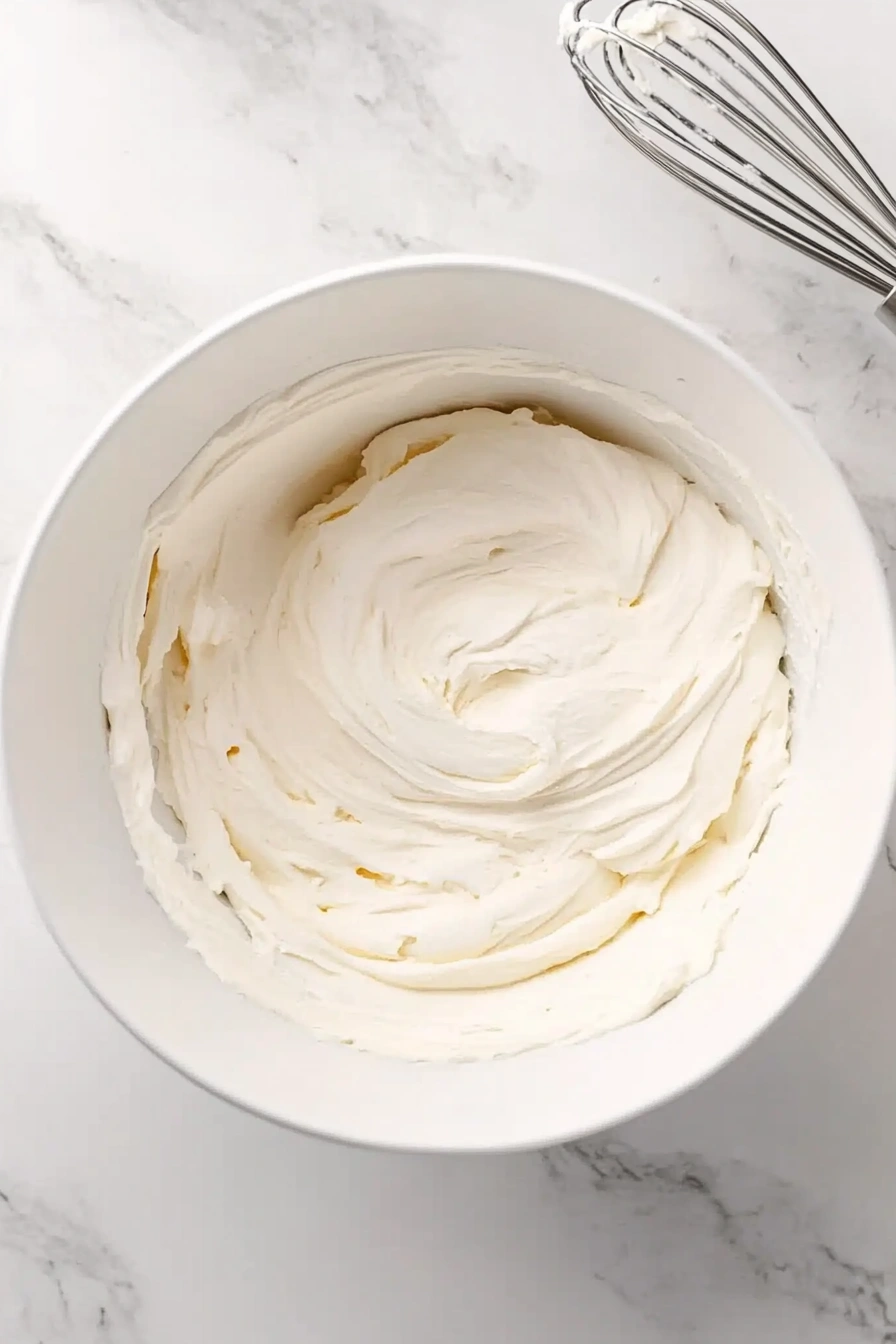
In a bowl I whip the softened cream cheese with sugar vanilla and heavy cream until smooth thick and fluffy.
Step 4: Assemble the Jars
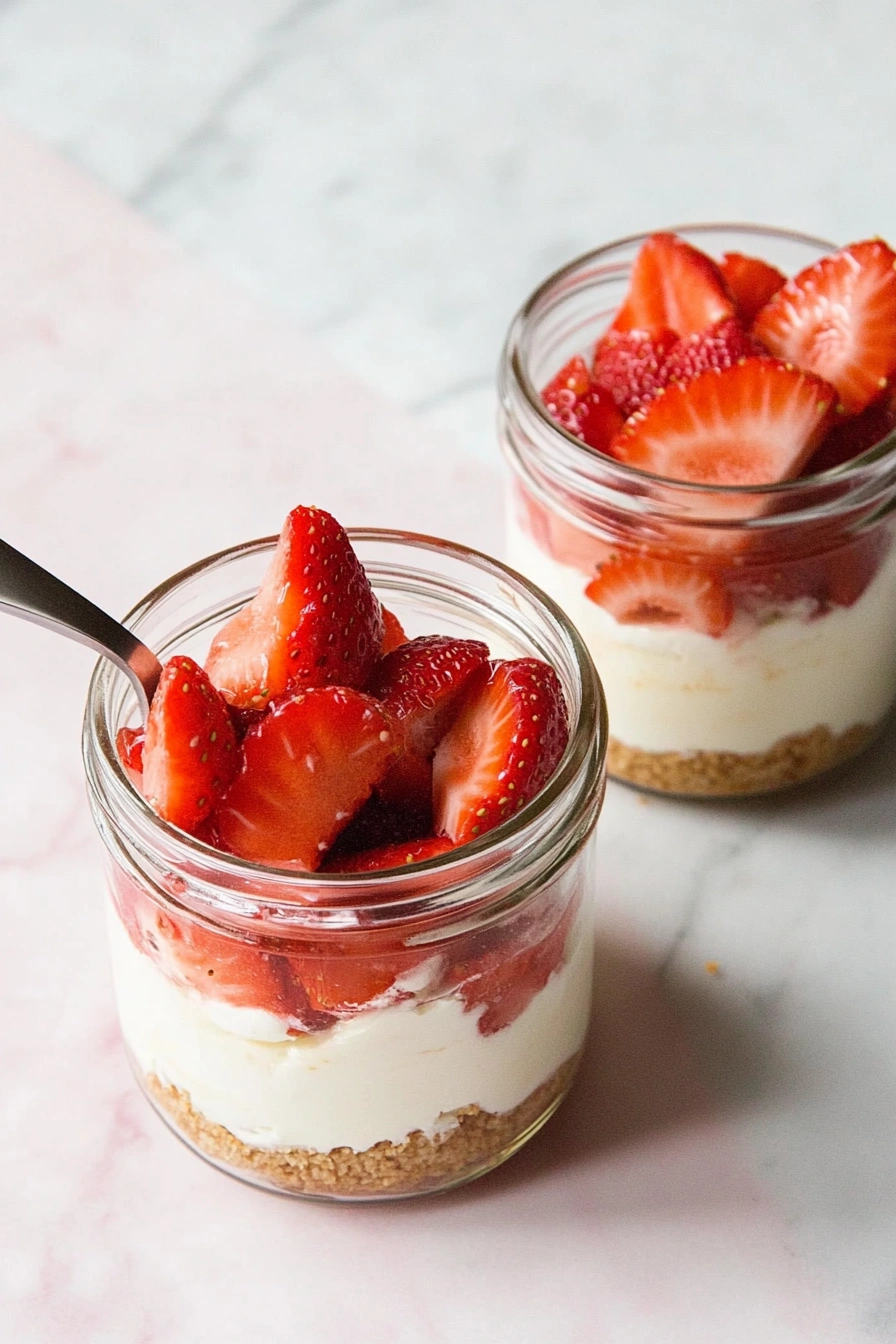
I spoon the crumb mixture into the bottom of each jar then add a generous layer of the cheesecake filling.
Step 5: Add the Strawberries
I top each jar with the marinated strawberries and a spoonful of their syrup.
Step 6: Chill
I refrigerate the jars for at least 1 to 2 hours so all the flavors can meld beautifully.
Tips
I sometimes zest a bit of lemon into the cheesecake mixture because it adds brightness. If you like a firmer filling you can whip the cream separately before folding it in. I also find that using very ripe strawberries gives the best natural sweetness without needing much added sugar.
Ways to Serve
These No-Bake Strawberry Cheesecake Jars make a lovely dessert for picnics date nights brunch tables or family gatherings because they’re easy to transport and portioned perfectly. I enjoy serving them chilled with a mint leaf on top or pairing them with fresh berries on the side for extra color. They’re elegant enough for parties yet simple enough for everyday cravings.
Storage Instructions
I store the jars in the refrigerator with lids on and they stay fresh for up to three days. If preparing ahead I keep the strawberry topping separate and add it just before serving to maintain the best texture. I don’t freeze these jars because the creamy filling can lose its smoothness after thawing.
Frequently Asked Questions
Why is my cheesecake filling too runny?
Chill it longer or whip the cream separately before folding in for extra structure.
Can I use other fruits instead of strawberries?
Yes blueberries raspberries or mixed berries work beautifully.
Do I need to bake the crust?
Not at all the butter helps the crumbs set perfectly without baking.
See You in the Kitchen
I hope you try these No-Bake Strawberry Cheesecake Jars because they’re fresh creamy and incredibly simple to make. I’d love to hear how yours turn out so feel free to save the recipe and share your creations with me.
Happy Cooking!
Print
No-Bake Strawberry Cheesecake Jars
- Total Time: 20 minutes plus chilling
- Yield: 4 jars
- Diet: Vegetarian
Description
These easy no bake strawberry cheesecake jars are the best quick dessert ideas when you want something fresh simple and healthy-inspired. With creamy cheesecake layers sweet strawberries and a buttery crumb base they make a perfect treat for parties brunches picnics or everyday cravings. Simple to prep and irresistibly delicious!
Ingredients
- 1 cup graham cracker crumbs
- 4 tablespoons melted butter
- 3 tablespoons sugar
- 2 cups fresh strawberries sliced
- 1 tablespoon lemon juice
- 8 oz cream cheese softened
- 1/3 cup sugar
- 1 teaspoon vanilla extract
- 1/2 cup heavy cream
Instructions
- Combine graham crumbs melted butter and sugar.
- Toss sliced strawberries with sugar and lemon juice.
- Whip cream cheese sugar vanilla and heavy cream until fluffy.
- Layer crumbs into jars.
- Add cheesecake filling.
- Top with strawberries and chill.
Notes
- Add lemon zest for extra brightness.
- Whip the cream separately for a firmer texture.
- Use very ripe strawberries for best sweetness.
- Prep Time: 20 minutes
- Cook Time: 0 minutes
- Category: Dessert
- Method: No Bake
- Cuisine: American
Nutrition
- Serving Size: 1 jar
- Calories: 310
- Sugar: 26g
- Sodium: 140mg
- Fat: 20g
- Saturated Fat: 12g
- Unsaturated Fat: 6g
- Trans Fat: 0g
- Carbohydrates: 32g
- Fiber: 1g
- Protein: 4g
- Cholesterol: 55mg