
No-bake Oreo pie always reminds me of the first summer I moved into my own apartment when the heat was relentless and I couldn’t imagine turning on the oven so I started experimenting with no-bake desserts then I stumbled upon this creamy Oreo pie idea and it felt like magic in the middle of a hot day so I proudly shared it at a rooftop get together and everyone was amazed that something so decadent didn’t require baking then I knew it would become my go-to summer treat from that moment on.
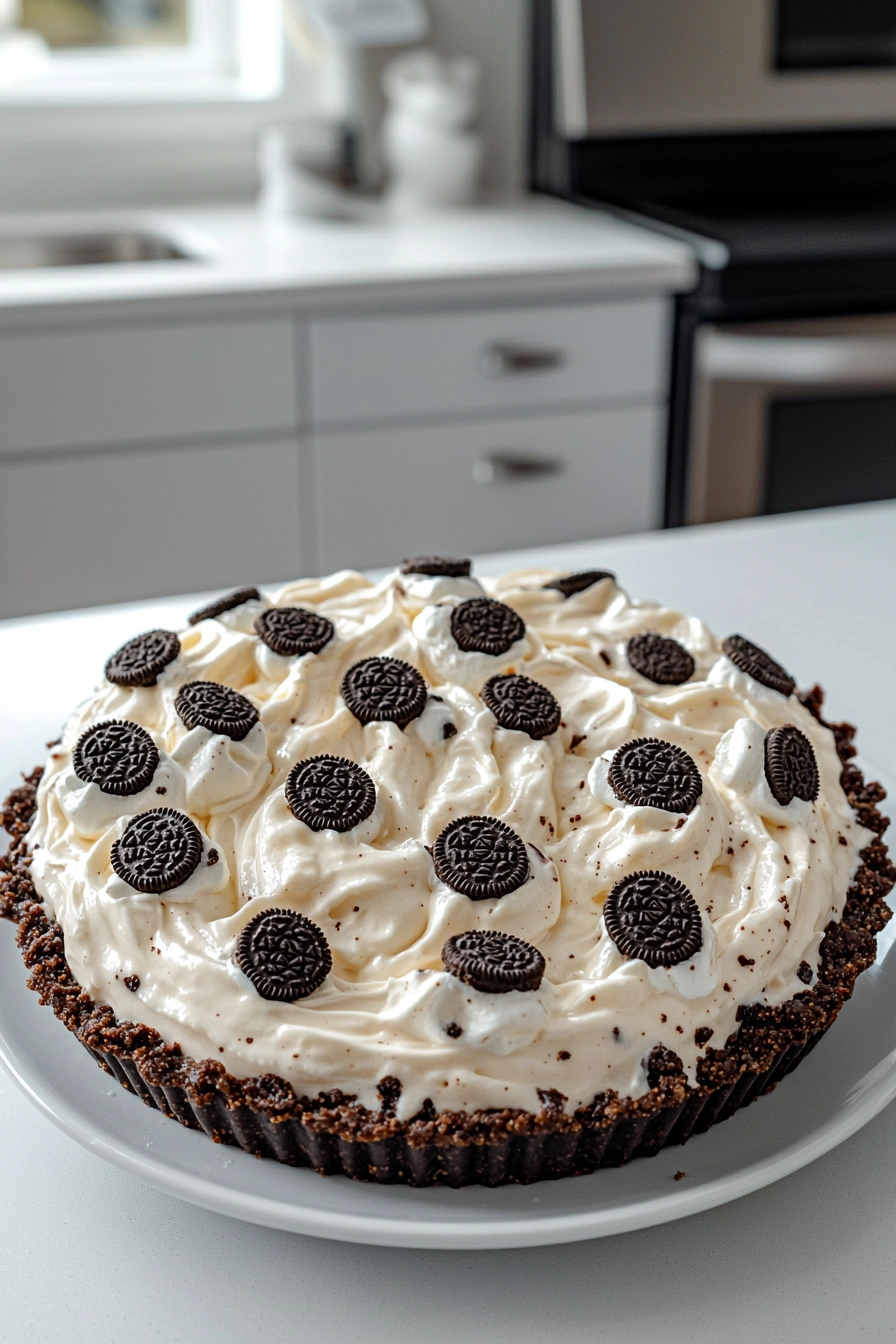
Now every time I make this no-bake Oreo pie I feel like I’m treating myself to something special without any stress so it’s perfect for last minute parties or a sweet craving on a warm evening then the crunchy chocolatey crust paired with the fluffy, creamy filling and extra cookies on top makes each slice totally irresistible so it always disappears faster than I expect.
Ingredients
- Here’s what I use for this recipe. You can always make substitutions if you prefer!
- Oreo cookies – Form the rich, chocolatey crust and add texture throughout.
- Butter – Binds the cookie crumbs together for a sturdy crust.
- Cream cheese – Makes the filling creamy and slightly tangy.
- Powdered sugar – Sweetens the filling and keeps it smooth.
- Vanilla extract – Enhances the flavor of the creamy filling.
- Whipped topping – Creates a light, fluffy texture for the filling.
- Mini Oreo cookies – For decorating the top and adding extra crunch.
Tools You’ll Need
- Food processor or rolling pin – To crush the Oreo cookies finely for the crust.
- Mixing bowls – For combining the crust and filling ingredients.
- Electric mixer or hand mixer – Helps beat the filling until smooth and airy.
- Spatula – To fold in the whipped topping gently.
- 9-inch pie dish – To hold and shape the pie.
- Spoon – To press the crust firmly into the dish and smooth the filling.
Instructions
Step 1: Make the crust
I start by crushing the Oreo cookies into fine crumbs using a food processor then I mix them with melted butter until they resemble wet sand so they press together easily.
Step 2: Form the crust
I press the crumb mixture into the bottom and up the sides of a 9-inch pie dish so it creates a solid base then I chill it in the fridge for at least 30 minutes so it firms up nicely.
Step 3: Prepare the filling
In a bowl I beat the cream cheese until smooth then I add powdered sugar and vanilla extract and continue mixing until creamy and light so it forms a sweet base for the pie.
Step 4: Fold in whipped topping
I gently fold in the whipped topping using a spatula so the mixture stays fluffy and doesn’t deflate.
Step 5: Fill the crust
I spoon the filling into the chilled crust and smooth the top so it looks even and inviting.
Step 6: Add toppings
I decorate the top with mini Oreo cookies and a few crushed pieces so it looks fun and extra tempting.
Step 7: Chill
I refrigerate the pie for at least 4 hours or until fully set so it slices cleanly and holds its shape.
Tips
If you want an extra chocolatey twist I sometimes add a layer of melted chocolate or chocolate ganache on the crust before adding the filling so it adds a rich surprise. You can also mix chopped Oreo pieces into the filling for more texture. For a lighter version use reduced-fat cream cheese and light whipped topping.
Ways to Serve
I love serving this no-bake Oreo pie with a drizzle of chocolate sauce or extra whipped cream on the side. It’s also perfect for summer barbecues, birthday parties, or a fun weekend treat when you don’t want to heat up the kitchen.
Frequently Asked Questions
Can I make no-bake Oreo pie ahead of time?
Yes! I usually make it the night before so it has plenty of time to set and the flavors meld together beautifully.
Can I freeze no-bake Oreo pie?
Absolutely! Just wrap it well and freeze for up to one month so you can enjoy a slice whenever you want.
Can I use store-bought whipped topping for no-bake Oreo pie?
Yes! Store-bought whipped topping works perfectly so it keeps the filling light and easy.
See You in the Kitchen
I hope you give this no-bake Oreo pie a try soon! It’s such a fun, creamy, and easy dessert that always impresses. Let me know how yours turns out and share a photo or story with me! Don’t forget to save this recipe for your next summer gathering or quick dessert fix.
Happy Cooking!
Print
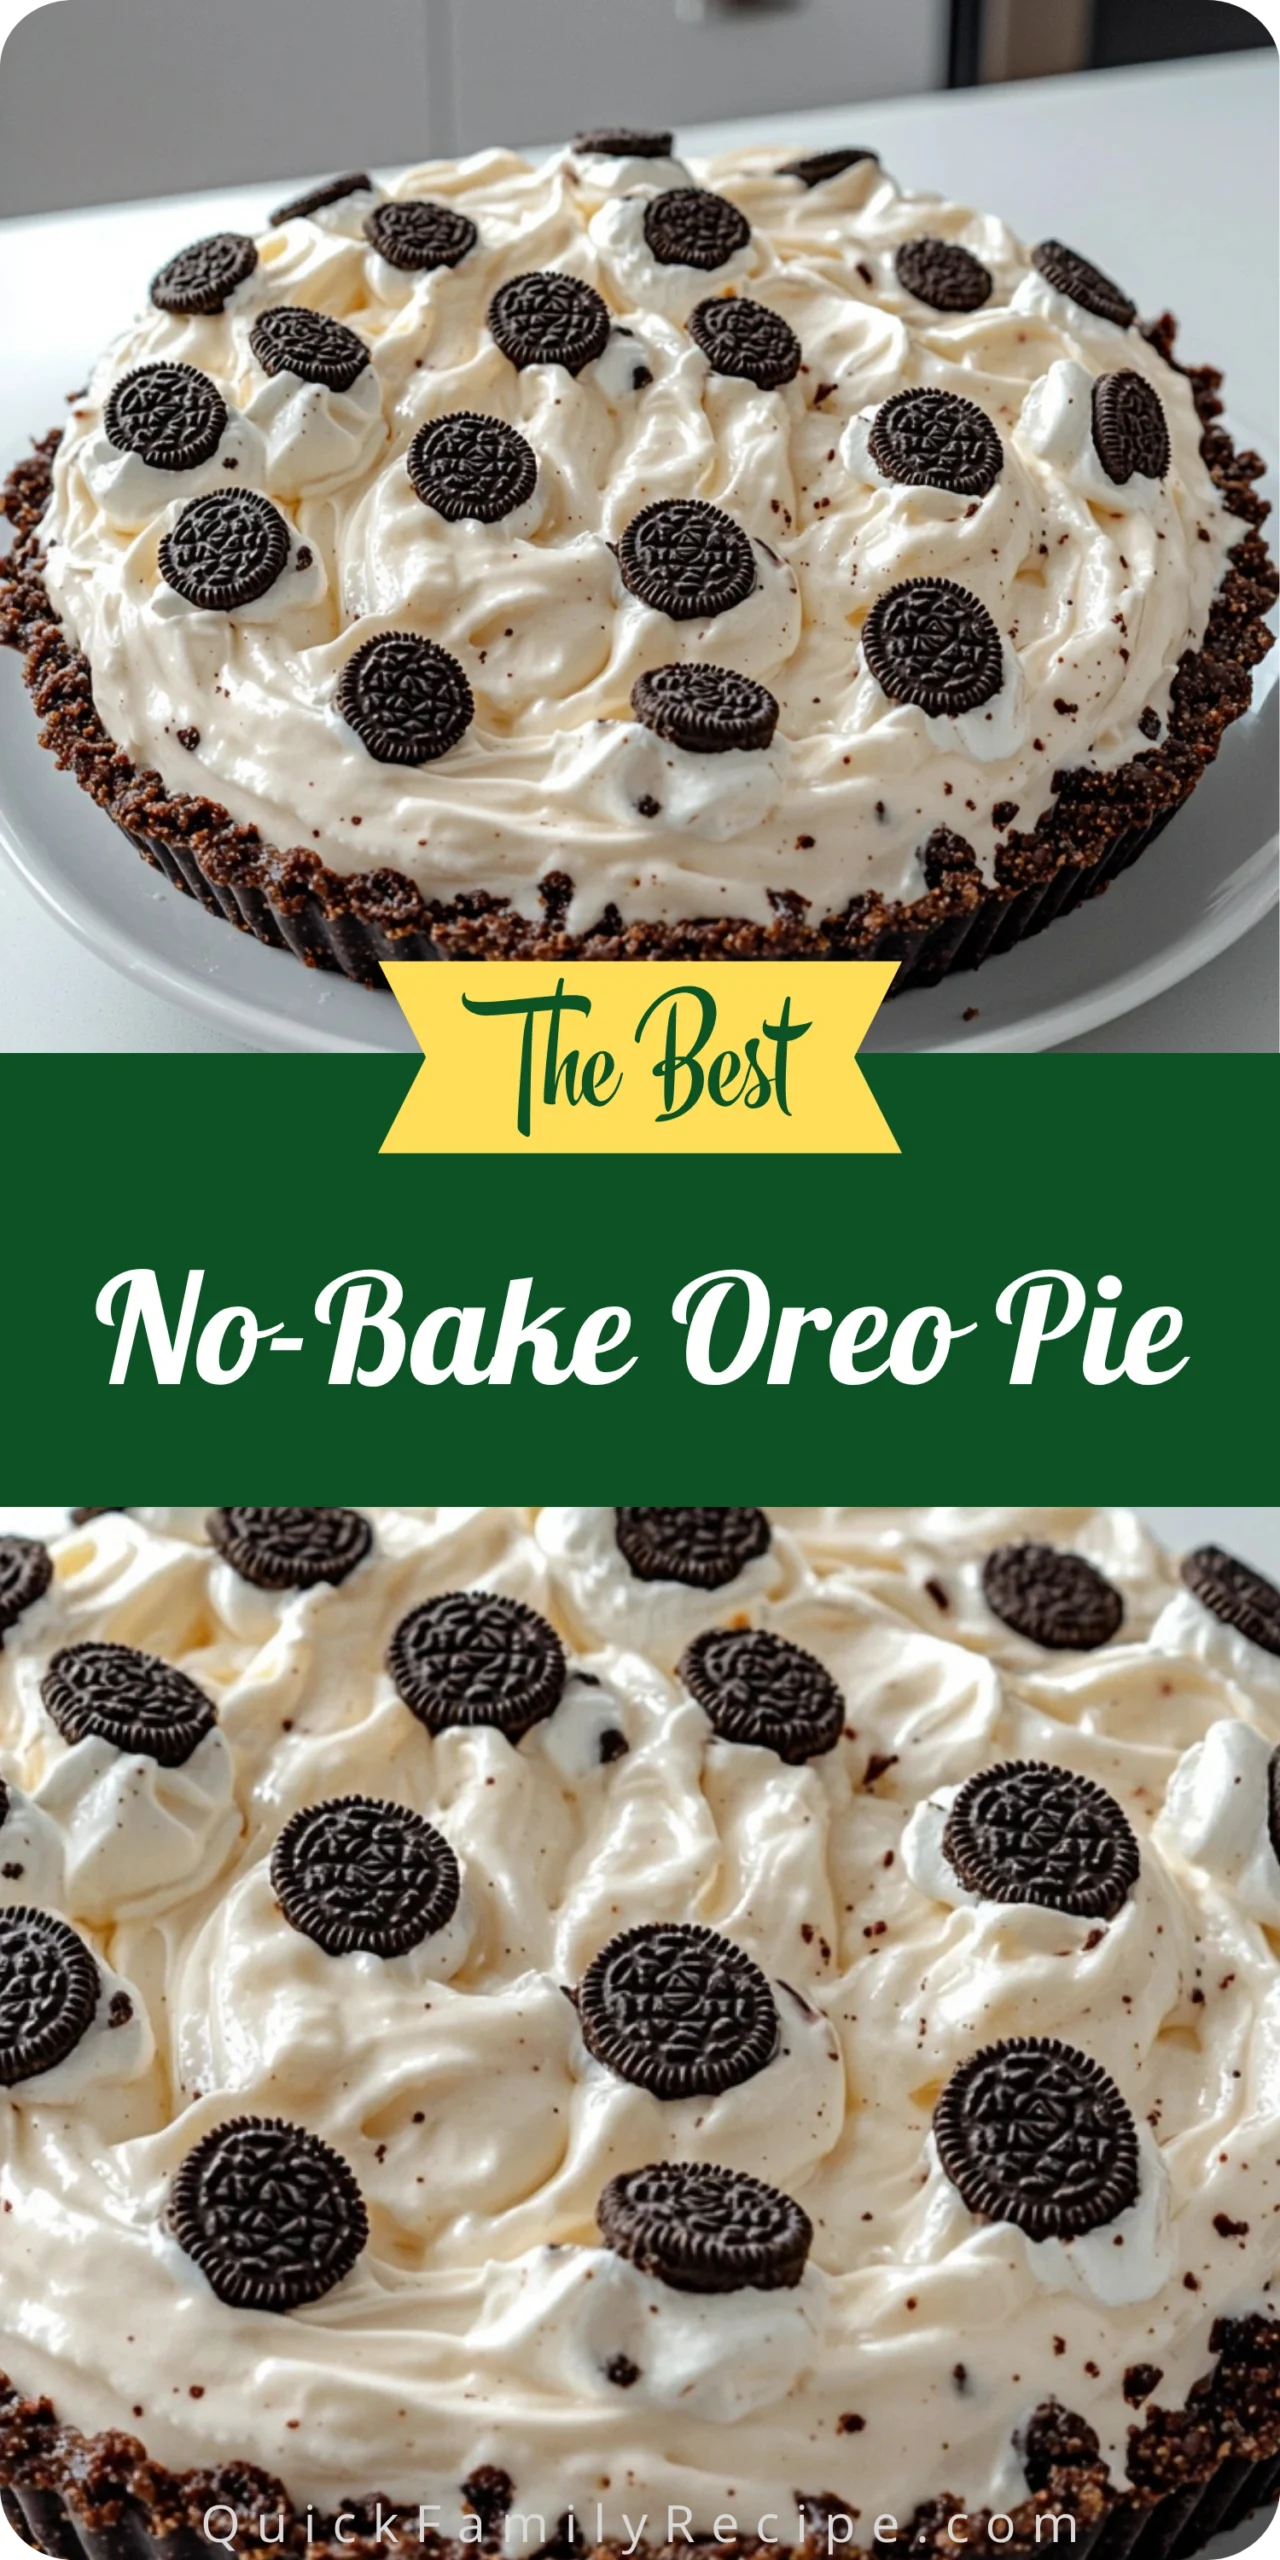
No-Bake Oreo Pie
- Total Time: 4 hours 20 minutes (including chilling)
- Yield: 8 servings
Description
Looking for the best no-bake Oreo pie recipe? This easy and quick dessert idea is creamy, simple, and absolutely the best crowd-pleaser! Perfect for summer parties, birthday treats, or any day you want a quick and fun sweet fix. Save this easy no-bake pie idea for your next dessert craving!
Ingredients
- 24 Oreo cookies, crushed
- 5 tablespoons unsalted butter, melted
- 8 oz cream cheese, softened
- 1 cup powdered sugar
- 1 teaspoon vanilla extract
- 8 oz whipped topping
- Mini Oreo cookies for topping
Instructions
- Crush Oreo cookies into fine crumbs; mix with melted butter until combined.
- Press crumb mixture into bottom and sides of a 9-inch pie dish. Chill for at least 30 minutes.
- Beat cream cheese until smooth. Add powdered sugar and vanilla; mix until creamy.
- Gently fold in whipped topping until fully combined.
- Spread filling into chilled crust and smooth the top.
- Decorate with mini Oreo cookies and crushed pieces.
- Chill in fridge for at least 4 hours or until set.
Notes
- Add a chocolate ganache layer for extra richness.
- Fold chopped Oreo pieces into the filling for more crunch.
- Freeze for a cool treat on hot days.
- Prep Time: 20 minutes
- Cook Time: 0 minutes
- Category: Dessert
- Method: No-Bake
- Cuisine: American
Nutrition
- Serving Size: 1 slice
- Calories: 460
- Sugar: 34g
- Sodium: 320mg
- Fat: 28g
- Saturated Fat: 15g
- Unsaturated Fat: 10g
- Trans Fat: 0g
- Carbohydrates: 51g
- Fiber: 2g
- Protein: 5g
- Cholesterol: 45mg