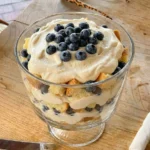


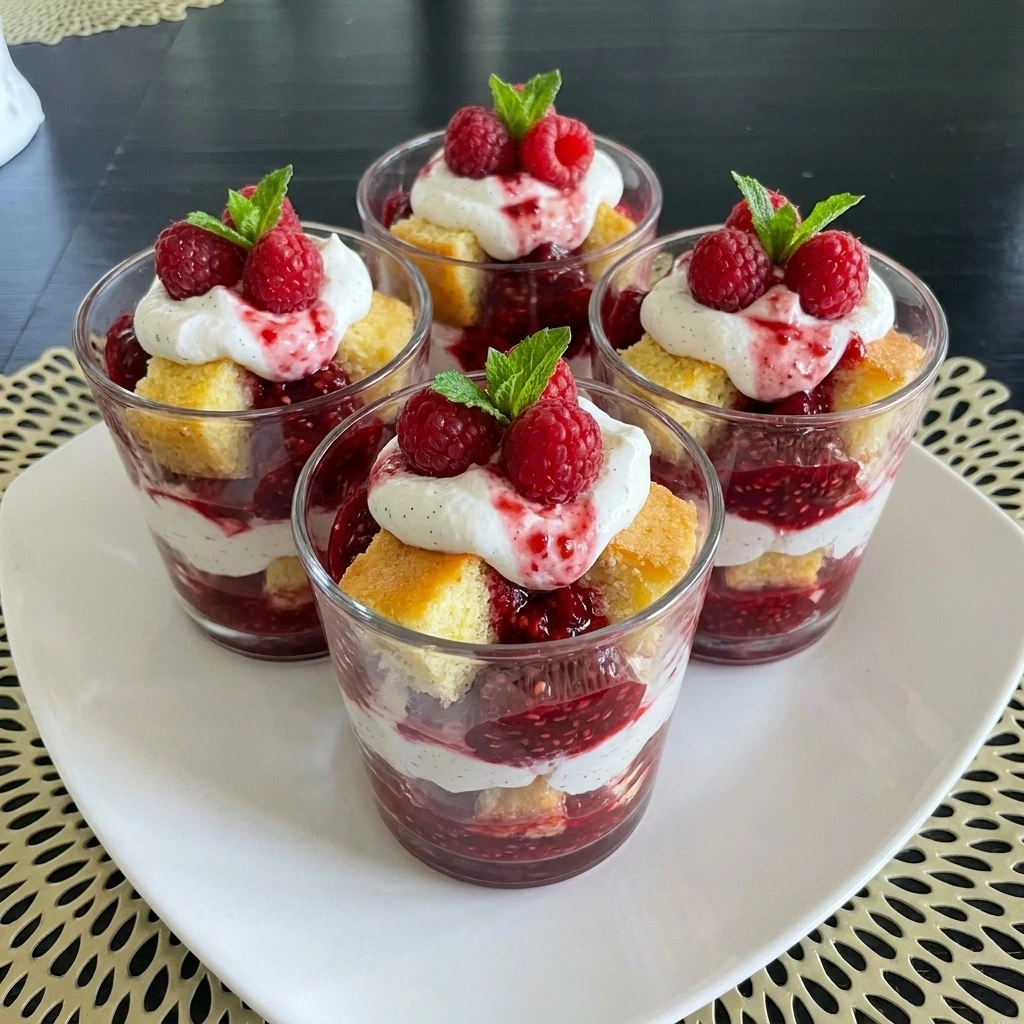
These Raspberry Shortcake Cups are a fun and easy no-bake berry dessert that require simple ingredients and are perfect for those spring brunch trays! In March and April and May all I want to do is make berry desserts.
I can’t get enough cakes and bars and cups and chilled treats and all of it. But sometimes we just don’t have as much time as we want with all of the school events and family plans and weekend errands and party prep.
If you love fruit desserts try our Fresh Fig Muffins for another sweet homemade idea. So these Raspberry Shortcake Cups are one of our favorite quick desserts to make!
Ingredients
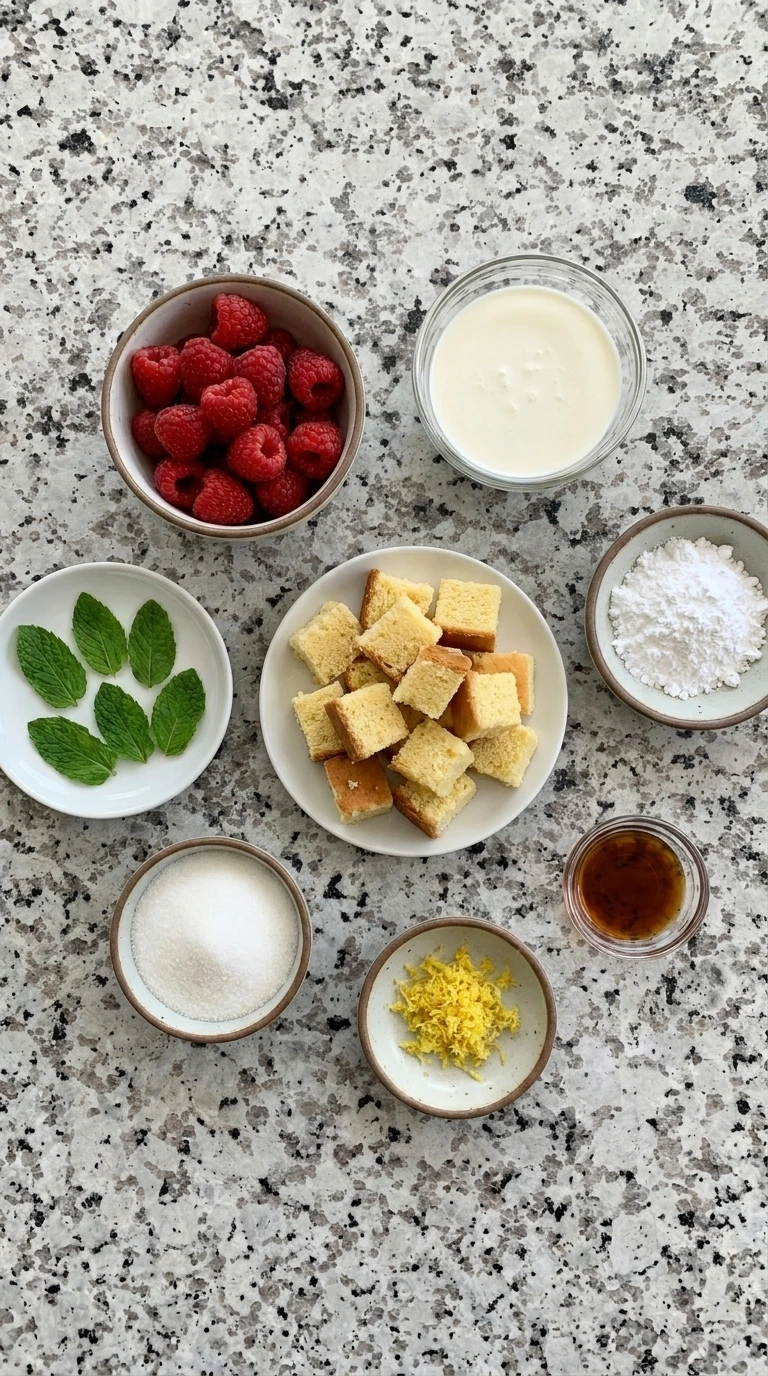
Here is what I use for this recipe and you can adjust nuts or spices based on preference:
- Fresh raspberries: Adds bright berry flavor and juicy texture throughout the cups.
- Pound cake or shortcake cubes: Creates the soft cake base that soaks up berry juices without turning mushy.
- Heavy whipping cream: Whips into a fluffy topping that makes the layers creamy and light.
- Powdered sugar: Sweetens the cream gently while keeping the texture smooth.
- Vanilla extract: Adds warm bakery flavor to the whipped cream.
- Lemon zest: Brightens the berries and balances the sweet cream.
- Granulated sugar: Draws juice from the raspberries so the fruit becomes glossy and saucy.
- Fresh mint leaves: Adds a fresh garnish for the final cups.
Tools You’ll Need
- Mixing bowl: Used to crush raspberries with sugar and lemon zest while keeping the juices contained.
- Large mixing bowl: Used to whip the cream into soft peaks with room for the mixture to expand.
- Dessert cups: Used to build clear visible layers of cake raspberries and whipped cream.
- White plate: Used to present one finished portion for serving.
- Measuring cups and spoons: Used to portion ingredients accurately for balanced sweetness and texture.
Instructions
Step 1: Crush the raspberries with sugar
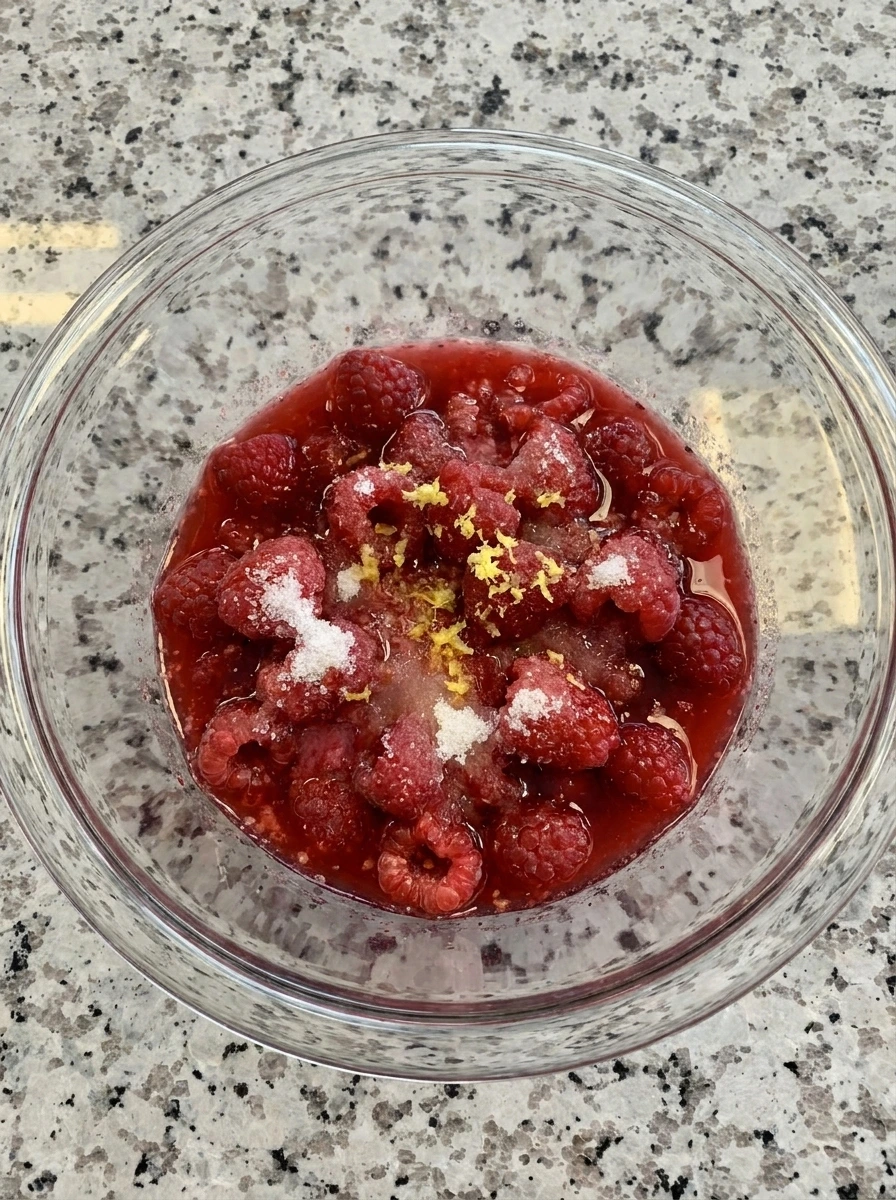
Fresh raspberries start whole and bright in the bowl then become lightly crushed with sugar and lemon zest. The berries should look uneven with some still whole and some broken into glossy red juice. This creates the saucy fruit layer that will soak into the cake without hiding every piece.
Tip: Leave a few raspberries mostly whole so every cup has juicy bites and a more homemade layered look.
Step 2: Whip the vanilla cream
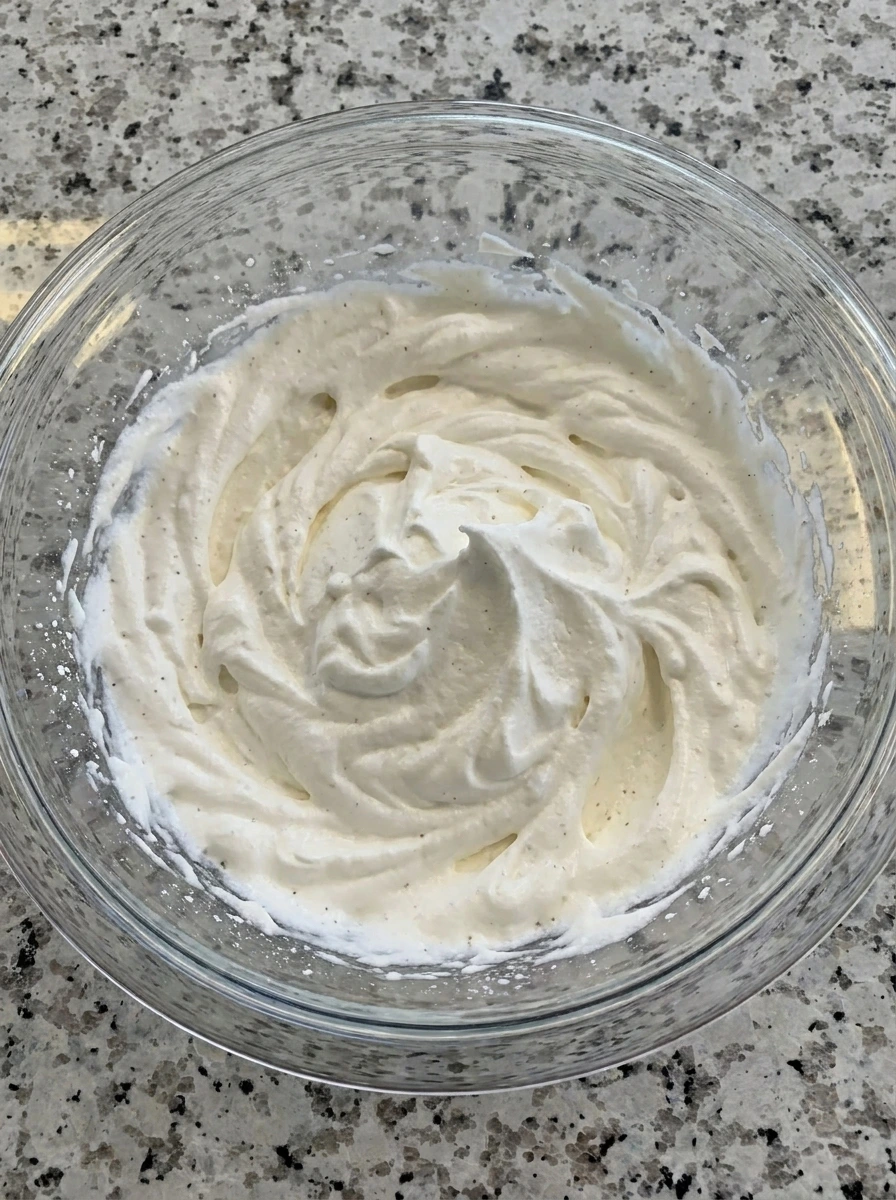
The cream changes from liquid into soft fluffy peaks with powdered sugar and vanilla. It should look billowy and slightly uneven instead of stiff or perfectly smooth. This cream will hold the layers together while keeping the dessert light.
Tip: Stop whipping when soft peaks form because overwhipped cream can look grainy and feel heavy in the cups.
Step 3: Layer the shortcake and berries
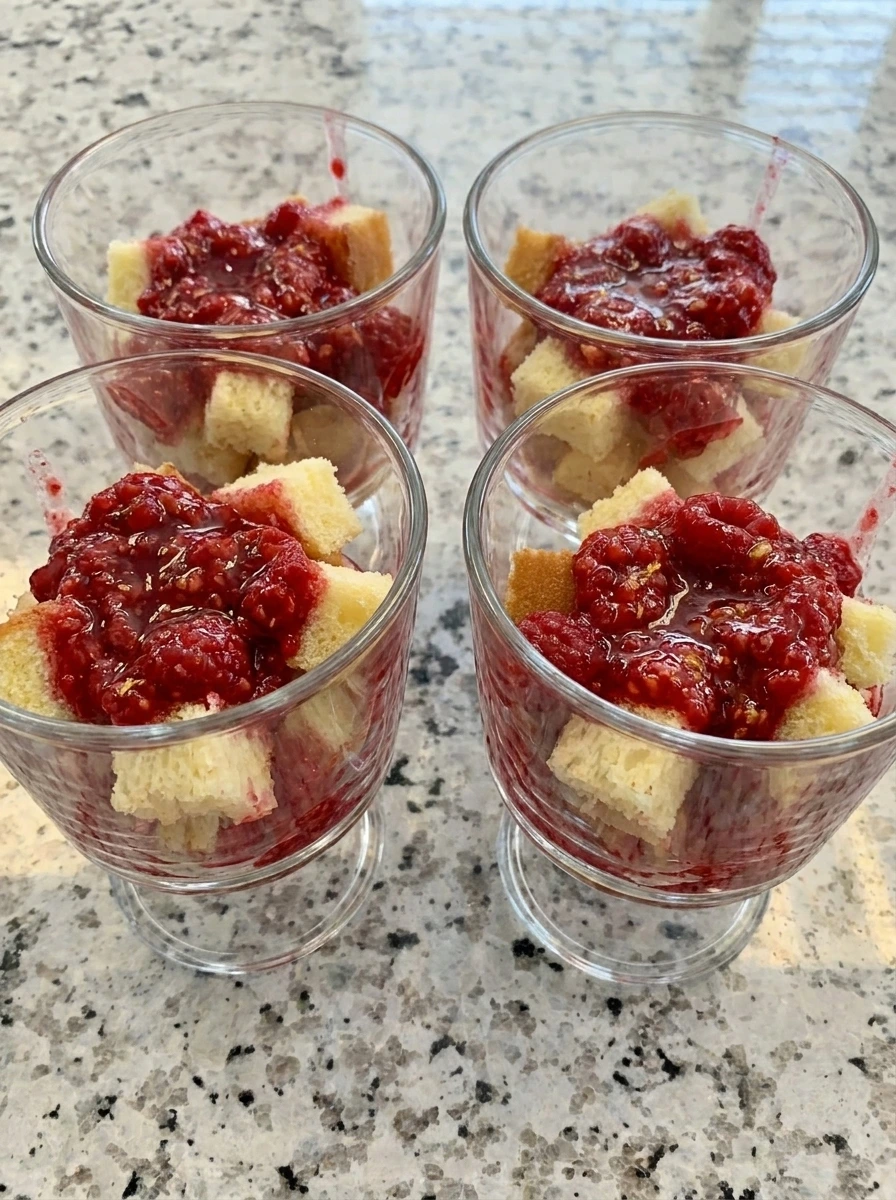
Shortcake cubes move into clear cups and the glossy raspberry mixture is spooned over them. The cake pieces become stained with red juice in spots while some pale edges remain visible. The layers should look casual with uneven cubes and berries tucked into gaps.
Tip: Spoon berry juice over the cake instead of dumping it all at once so the layers stay visible and textured.
Step 4: Add the whipped cream layer
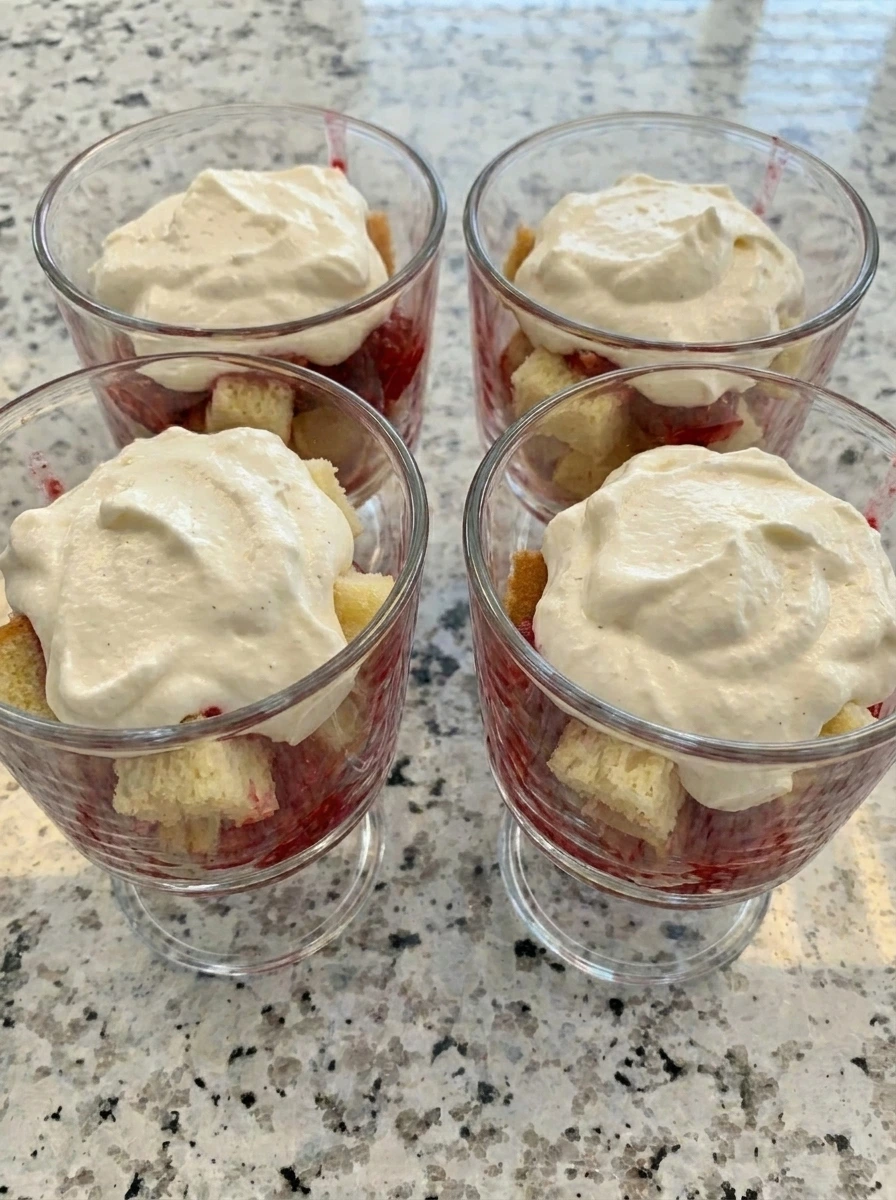
Whipped cream is spooned over the berry soaked cake and settles into soft uneven mounds. Some raspberry streaks peek through the cream and the cup starts to look tall and structured. The contrast changes from red and pale cake to creamy white with berry swirls.
Tip: Use loose spoonfuls rather than a perfectly piped top so the cups feel relaxed and homemade.
Step 5: Finish the cups with berries and mint
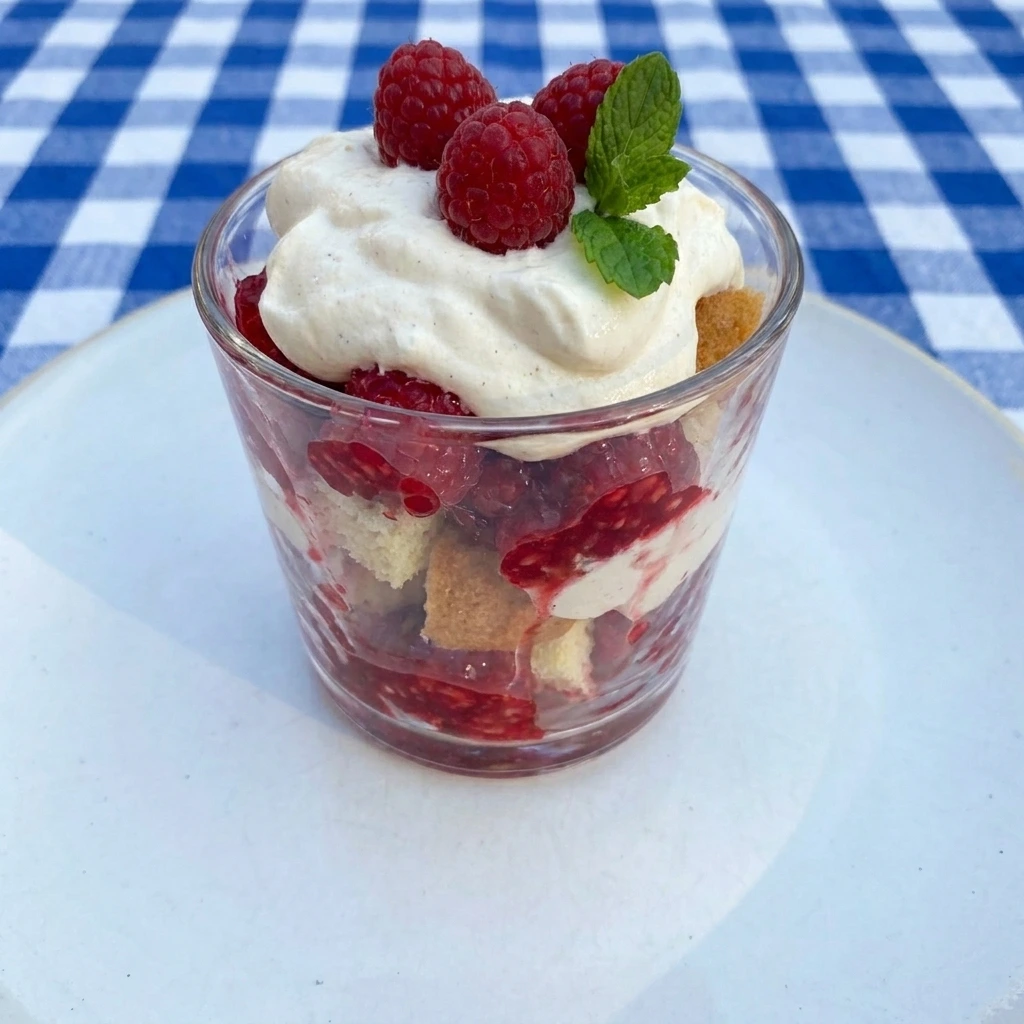
The final cups are topped with extra raspberries and small mint leaves. The tops look fresh and slightly messy with cream ridges and berry juice marks along the sides. Each portion shows soft cake and juicy fruit and fluffy cream in one finished dessert.
Tip: Add the final berries just before serving so the tops stay bright and the cream keeps its soft shape.
Pro Tips
- Use fresh firm raspberries for the brightest color and best texture because very soft berries can turn watery fast.
- Cut the shortcake into uneven bite size cubes so the berry juice catches in the edges and the cups look homemade.
- Chill the cream before whipping because cold cream holds soft peaks better and gives the dessert a lighter finish.
- Assemble close to serving time so the cake softens slightly while still keeping visible layers in each cup.
Storage Instructions
Store Raspberry Shortcake Cups covered in the refrigerator for up to 2 days. The cake will continue to soften as it sits and the raspberry juice will become more visible around the edges. For the freshest texture keep the berry mixture and whipped cream separate until a few hours before serving. Do not freeze assembled cups because whipped cream can separate and the berries can become watery after thawing.
Frequently Asked Questions
Yes assemble them up to 4 hours ahead and keep chilled so the cake softens without turning soggy.
Pound cake angel food cake or biscuit style shortcake all work well with fresh raspberries and cream.
Yes thaw and drain them first because frozen berries release more juice than fresh berries.
Layer the cups shortly before serving and avoid adding too much berry juice to the cake.
See You in the Kitchen
I hope you try these Raspberry Shortcake Cups soon!
It’s a simple recipe that looks beautiful and tastes incredible and makes every occasion a little more special.
Don’t forget to share your results or save this recipe for later and try our Nectarine Coffee Cake or Fig Crumble Bars too it’s one worth keeping.
Print
Raspberry Shortcake Cups
- Total Time: 15 minutes
- Yield: 4 servings
Description
These Raspberry Shortcake Cups are an easy and quick dessert with simple layers of tender shortcake cubes juicy raspberries and whipped cream. They are one of the best healthy inspired ideas for brunch holiday tables potluck gatherings party trays or a sweet weeknight dinner treat. Each cup feels fresh colorful and homemade while still being simple enough for busy days and pretty enough for guests.
Ingredients
- 2 cups Fresh raspberries
- 3 cups Pound cake or shortcake cubes
- 1 cup Heavy whipping cream
- 3 tablespoons Powdered sugar
- 1 teaspoon Vanilla extract
- 1 teaspoon Lemon zest
- 2 tablespoons Granulated sugar
- 8 small leaves Fresh mint leaves
Instructions
- Fresh raspberries start whole and bright in the bowl then become lightly crushed with sugar and lemon zest. The berries should look uneven with some still whole and some broken into glossy red juice. This creates the saucy fruit layer that will soak into the cake without hiding every piece.
- The cream changes from liquid into soft fluffy peaks with powdered sugar and vanilla. It should look billowy and slightly uneven instead of stiff or perfectly smooth. This cream will hold the layers together while keeping the dessert light.
- Shortcake cubes move into clear cups and the glossy raspberry mixture is spooned over them. The cake pieces become stained with red juice in spots while some pale edges remain visible. The layers should look casual with uneven cubes and berries tucked into gaps.
- Whipped cream is spooned over the berry soaked cake and settles into soft uneven mounds. Some raspberry streaks peek through the cream and the cup starts to look tall and structured. The contrast changes from red and pale cake to creamy white with berry swirls.
- The final cups are topped with extra raspberries and small mint leaves. The tops look fresh and slightly messy with cream ridges and berry juice marks along the sides. Each portion shows soft cake and juicy fruit and fluffy cream in one finished dessert.
Notes
Pro Tips:
- Use fresh firm raspberries for the brightest color and best texture because very soft berries can turn watery fast.
- Cut the shortcake into uneven bite size cubes so the berry juice catches in the edges and the cups look homemade.
- Chill the cream before whipping because cold cream holds soft peaks better and gives the dessert a lighter finish.
- Assemble close to serving time so the cake softens slightly while still keeping visible layers in each cup.
Storage: Store Raspberry Shortcake Cups covered in the refrigerator for up to 2 days. The cake will continue to soften as it sits and the raspberry juice will become more visible around the edges. For the freshest texture keep the berry mixture and whipped cream separate until a few hours before serving. Do not freeze assembled cups because whipped cream can separate and the berries can become watery after thawing.
- Prep Time: 15 minutes
- Cook Time: 0 minute
- Category: Desserts
- Cuisine: American
Nutrition
- Serving Size: 1 cup
- Calories: 310
- Sugar: 25g
- Sodium: 180mg
- Fat: 17g
- Carbohydrates: 37g
- Fiber: 5g
- Protein: 4g
- Cholesterol: 55mg