
Our family discovered this Raspberry Lemon Loaf Cake during the height of summer. Our boys were hosting a cousin from Detroit at our remote lake cottage where they frolicked in the lake during the day and toasted marshmallows around the bonfire every night.

That was one of my best weeks of the year and this easy loaf cake quickly became one of my favorite berry dessert recipes. If you love cozy fruit bakes you may also enjoy our Nectarine Coffee Cake for another sweet slice that feels perfect with coffee.
I will never forget the first time I made this and the look on the kids’ faces when they tasted it. Read on and as I show you how to make this unforgettable family dessert.
Ingredients
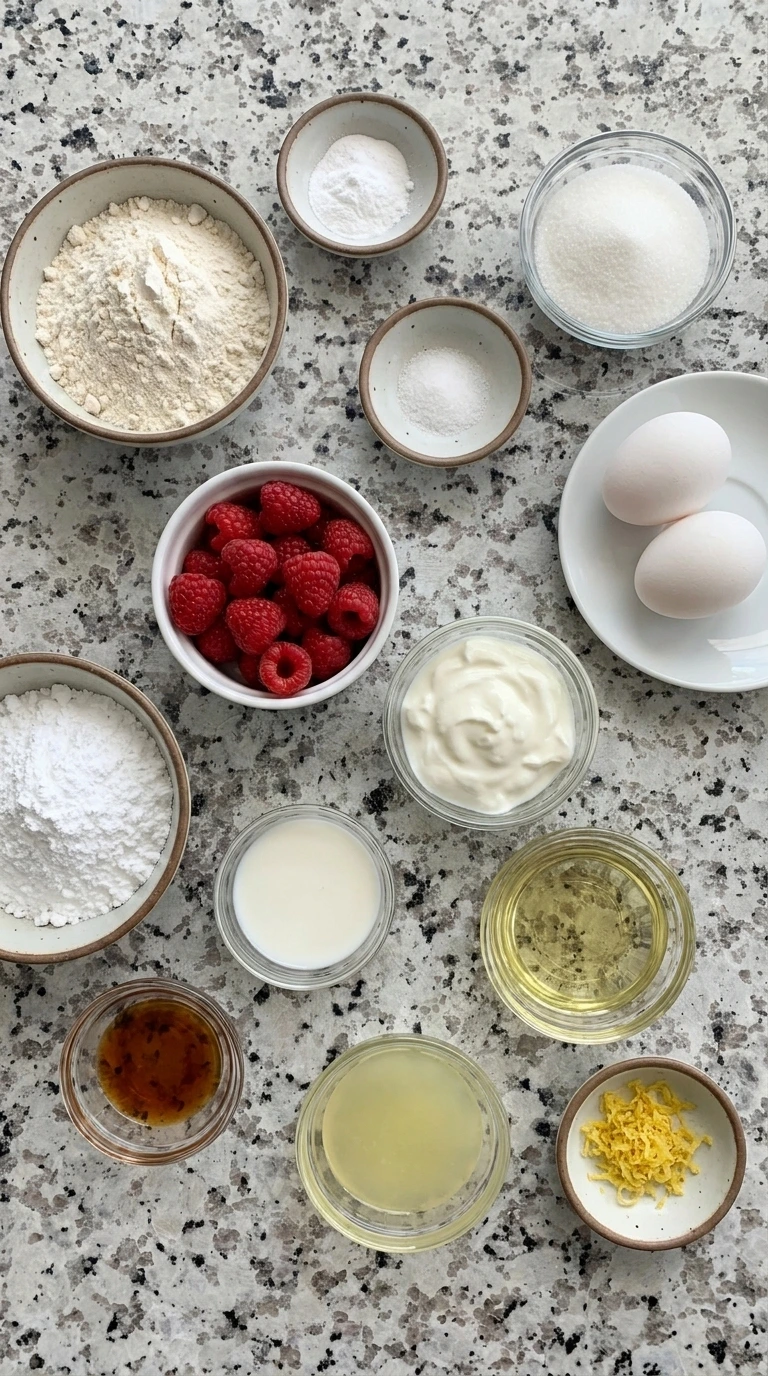
Here is what I use for this recipe and you can adjust nuts or spices based on preference:
- All purpose flour: Builds the tender cake crumb and the extra tablespoon helps keep raspberries from sinking.
- Baking powder: Gives the loaf lift so the center rises with a soft bakery style texture.
- Fine salt: Balances the sweetness and sharpens the lemon flavor.
- Granulated sugar: Sweetens the batter and helps the top bake with a light golden crust.
- Large eggs: Bind the batter and add richness for a moist slice.
- Plain Greek yogurt: Adds moisture and a gentle tang that keeps the loaf soft.
- Neutral oil: Keeps the crumb tender and prevents the cake from drying out.
- Fresh lemon juice: Adds bright citrus flavor to the batter and glaze.
- Lemon zest: Adds fragrant lemon oils for a stronger fresh lemon taste.
- Vanilla extract: Rounds out the fruit flavor and softens the tart lemon edge.
- Fresh raspberries: Bring juicy berry pockets and pink streaks throughout the loaf.
- Powdered sugar: Creates a smooth sweet glaze that sets lightly over the cooled loaf.
- Milk: Thins the glaze so it drips naturally over the loaf.
Tools You’ll Need
- Mixing bowl: Holds the wet batter and folded ingredients while keeping enough space for gentle mixing.
- Small bowls: Keep measured ingredients separate so the batter comes together smoothly.
- Loaf pan: Shapes the batter into a tall sliceable cake with golden edges.
- Cooling rack: Allows air to circulate under the loaf so the crumb cools evenly before glazing.
- White plate: Presents the sliced cake clearly and shows the tender crumb and glaze.
Instructions
Step 1: Coat the raspberries with flour

The raspberries begin as whole bright berries and then become lightly dusted with flour so their surfaces look soft and powdery. This change helps the berries stay suspended in the batter instead of sinking to the bottom during baking.
Tip: Pat the raspberries dry first so the flour clings lightly without making the berries wet or mushy.
Step 2: Whisk the lemon batter base
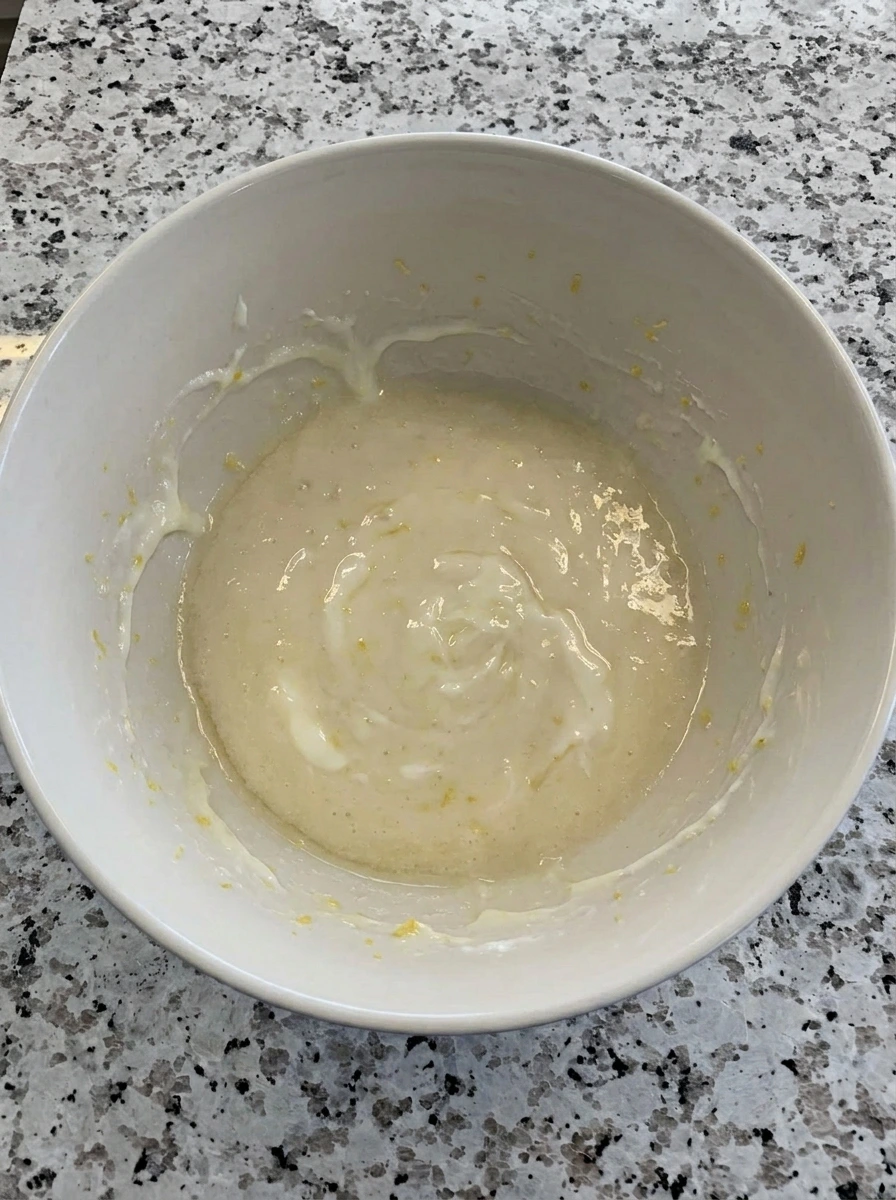
The sugar and eggs and yogurt and oil and lemon juice and lemon zest blend into a pale glossy mixture with tiny yellow zest flecks. The batter base turns smoother and thicker while the lemon zest spreads unevenly through the liquid.
Tip: Rub the lemon zest into the sugar before mixing for stronger citrus flavor in every soft slice.
Step 3: Fold in the dry ingredients and raspberries
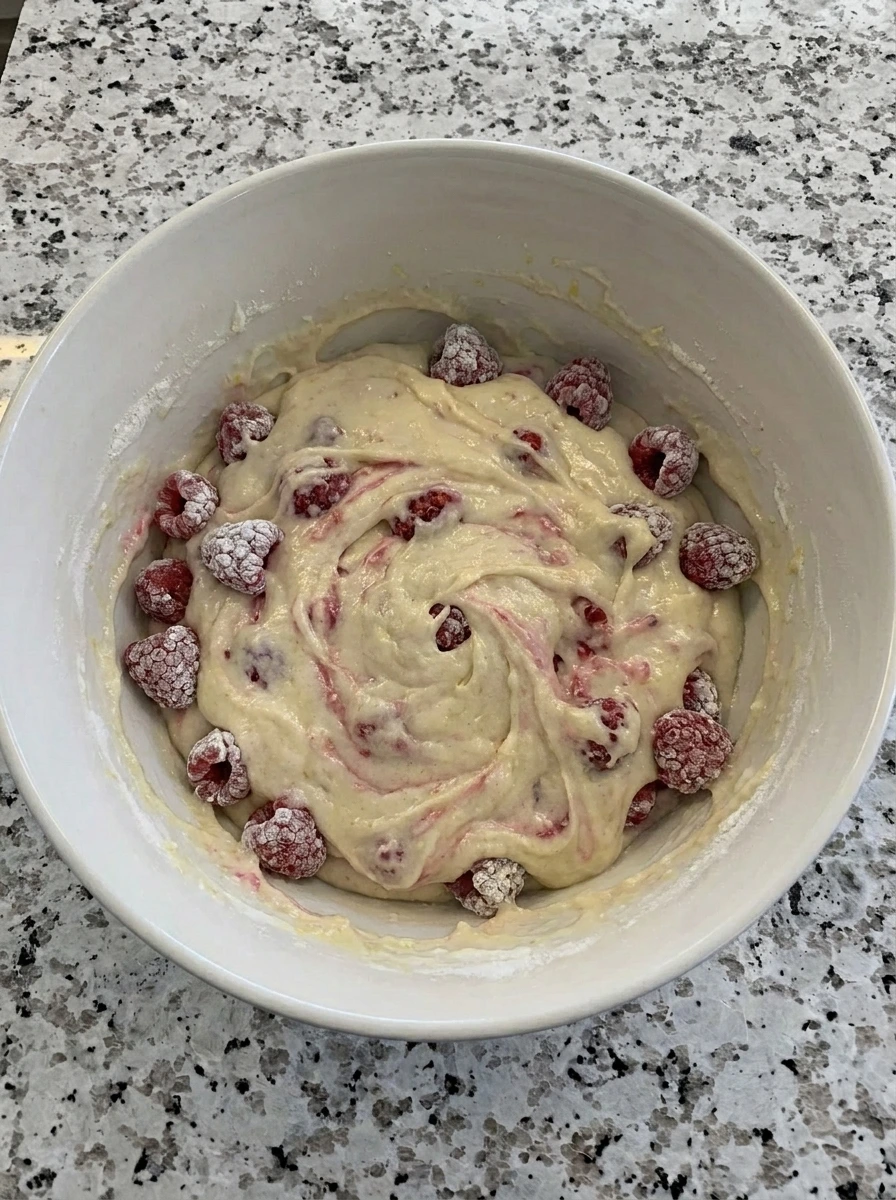
The flour mixture disappears into the lemon base and the batter changes from glossy liquid to thick spoonable cake batter. The raspberries are folded in gently so red streaks and uneven berry pockets stay visible instead of turning the batter fully pink.
Tip: Stop folding as soon as the flour streaks fade so the loaf stays tender and the berries keep their shape.
Step 4: Pour the batter into the loaf pan
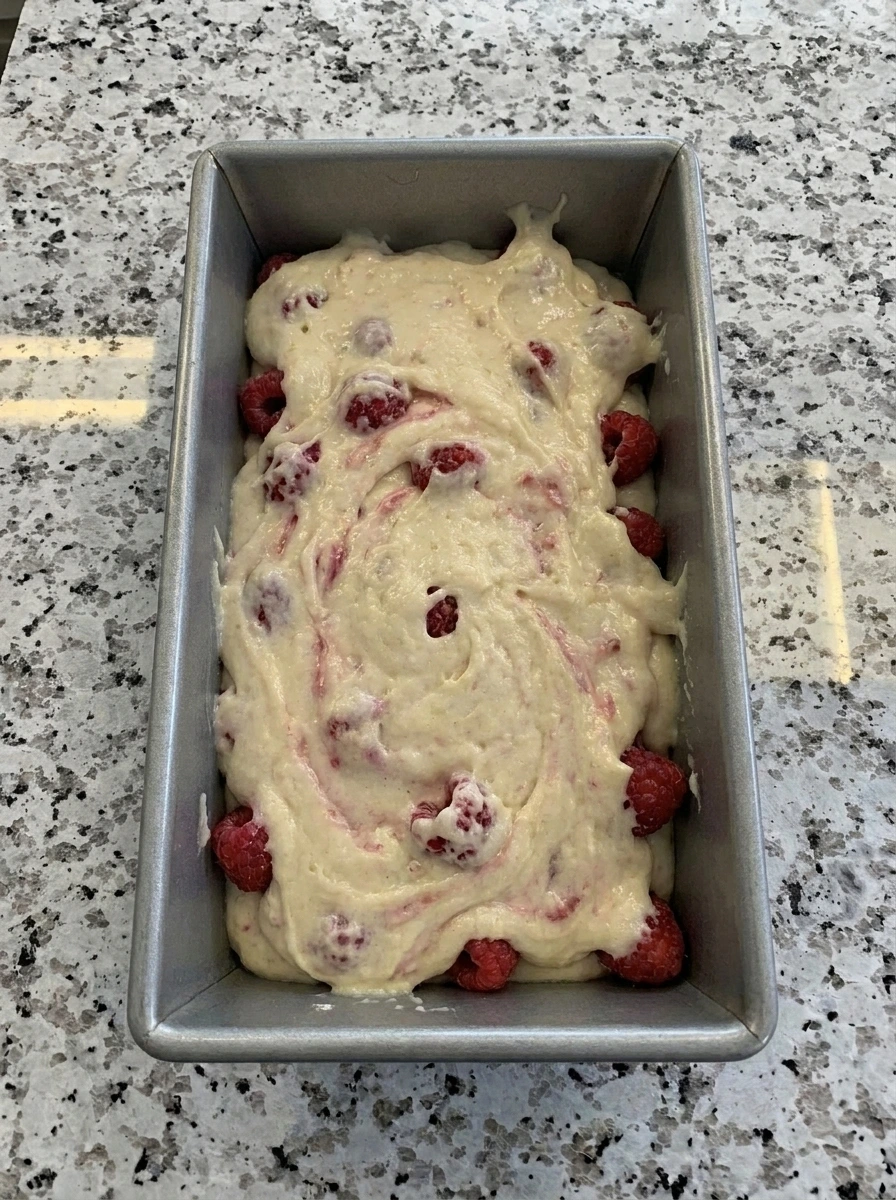
The thick batter moves from the bowl into the loaf pan and spreads into a rough mound with berries peeking through the top. The surface looks uneven and homemade with thicker batter near the center and small raspberry spots scattered naturally.
Tip: Spread the batter gently toward the corners without pressing hard so the berries do not burst too early.
Step 5: Bake the loaf until golden
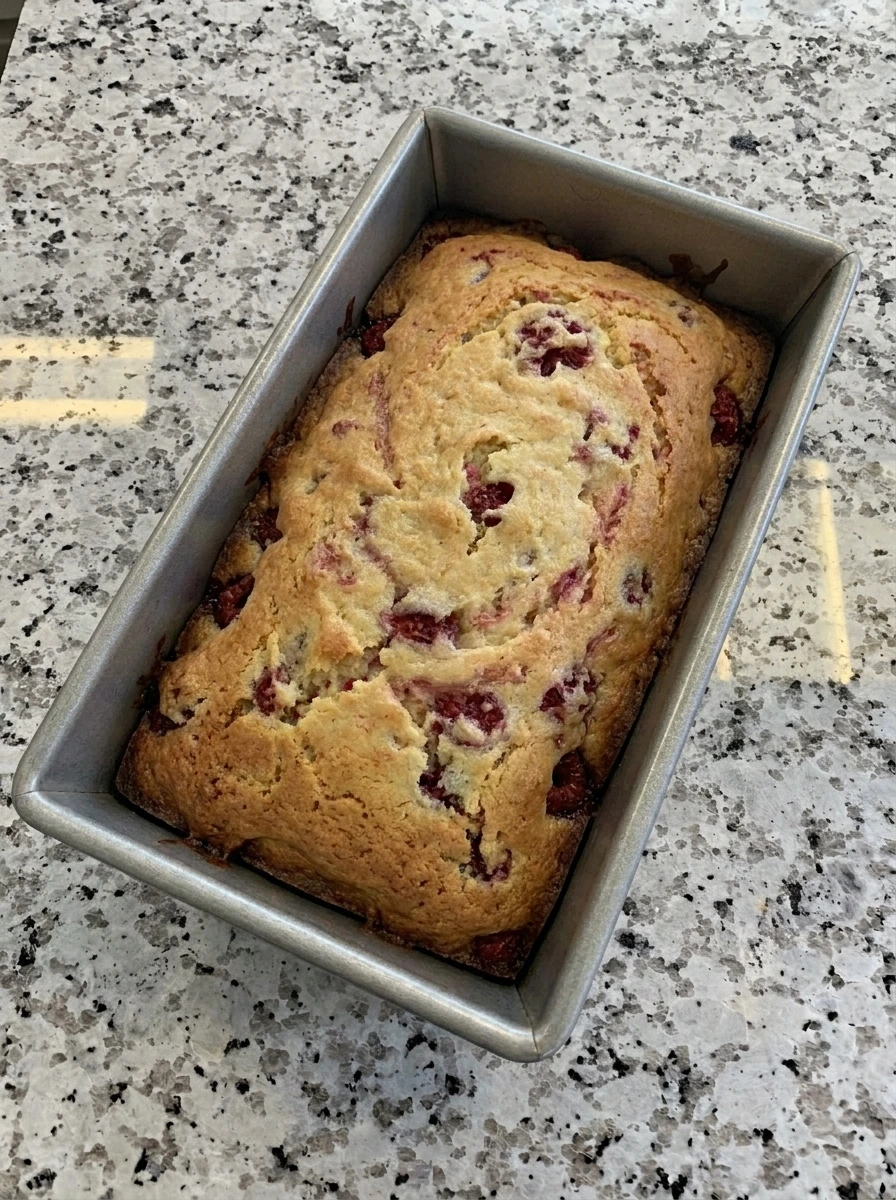
The batter rises into a structured loaf with a domed top and a natural center crack. The pale surface turns golden with darker edges and small raspberry spots showing through the baked crumb.
Tip: Let the loaf cool before glazing so the icing drips slowly instead of melting into the warm cake.
Step 6: Glaze and slice one serving
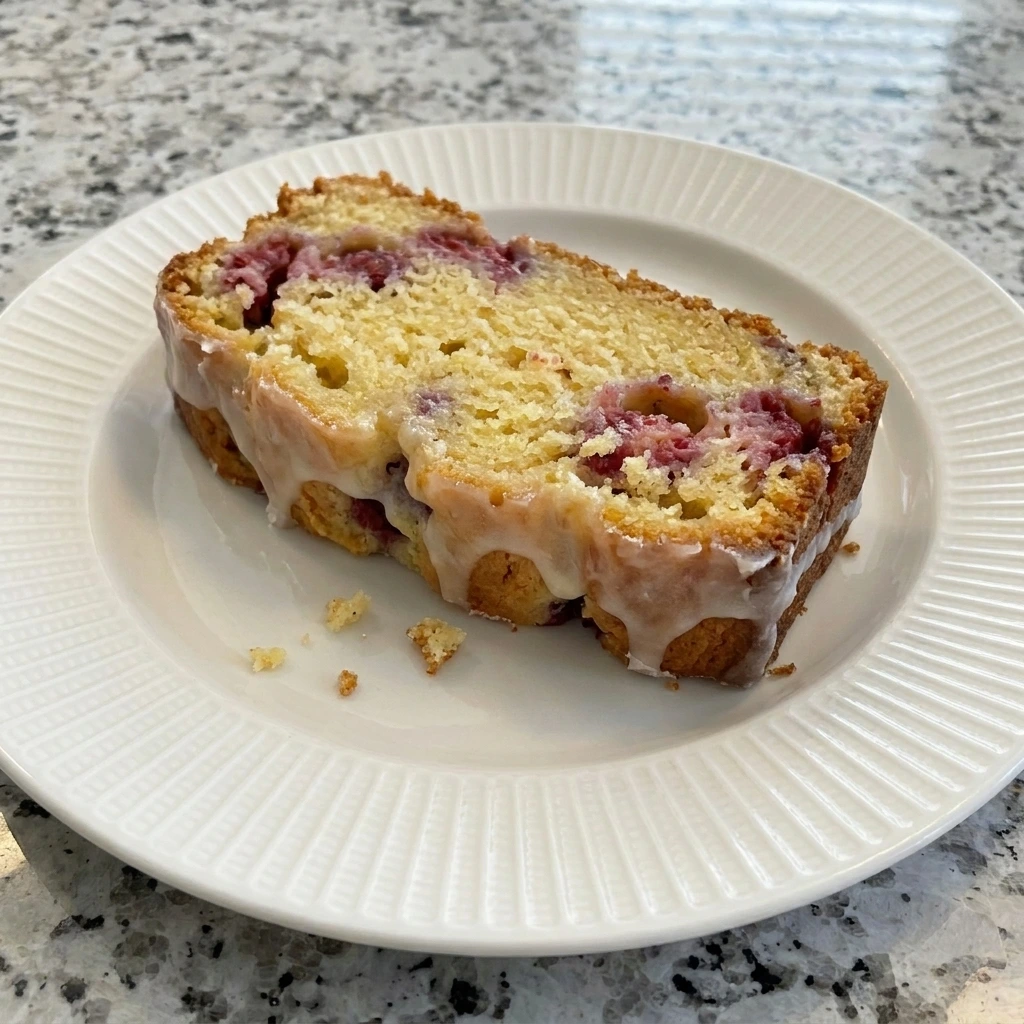
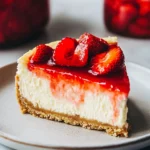
The cooled loaf is finished with lemon glaze that drips in uneven lines across the golden top. A single slice shows a moist yellow crumb with raspberry pockets and small crumbs along the cut edge.
Tip: Slice with gentle pressure so the raspberry pockets stay visible and the glaze keeps its pretty uneven drips.
Pro Tips
- Use fresh raspberries that feel firm because very soft berries can bleed too much and make the batter heavy.
- Toss berries with flour right before folding so they stay visible in the crumb and do not sink to the bottom.
- Cool the loaf completely before adding glaze because warm cake will absorb the icing instead of holding soft drips.
- Store slices in a covered container with parchment between layers so the glaze stays neat and the crumb stays moist.
Storage Instructions
Store the cooled loaf in an airtight container at room temperature for up to two days. Keep it covered so the cut edges do not dry out. For longer storage place slices in the refrigerator for up to five days. Let each slice sit at room temperature before serving so the crumb softens again. To freeze wrap individual slices tightly and place them in a freezer safe bag. Freeze for up to two months and thaw overnight in the refrigerator. Add fresh glaze after thawing if you want the loaf to look newly baked. This helps the top taste bright and fresh again.
Frequently Asked Questions
Yes but keep them frozen and fold them in gently so the batter does not turn too pink.
Use yogurt and oil as written and avoid overbaking so the crumb stays soft for days.
Yes bake it one day ahead and glaze it after cooling for the freshest texture.
It may need more baking time or the batter may have been overmixed before baking.
See You in the Kitchen
I hope you try this Raspberry Lemon Loaf Cake soon!
It’s a simple recipe that looks beautiful and tastes incredible and makes every occasion a little more special especially with another cozy bake like Fresh Fig Muffins or Fig Crumble Bars.
Don’t forget to share your results or save this recipe for later it’s one worth keeping.
Print
Raspberry Lemon Loaf Cake
- Total Time: 1 hour
- Yield: 8 servings
Description
This Raspberry Lemon Loaf Cake is an easy and quick bake with simple ingredients and the best balance of bright lemon and juicy berries. It feels healthy enough for brunch ideas yet sweet enough for holiday tables and potluck slices. The soft crumb and lemon glaze make it party ready while still feeling homemade and cozy for meal prep treats.
Ingredients
- 1 3/4 cups plus 1 tablespoon All purpose flour
- 1 1/2 teaspoons Baking powder
- 1/2 teaspoon Fine salt
- 3/4 cup Granulated sugar
- 2 Large eggs
- 1/2 cup Plain Greek yogurt
- 1/2 cup Neutral oil
- 3 tablespoons Fresh lemon juice
- 1 tablespoon Lemon zest
- 1 teaspoon Vanilla extract
- 1 cup Fresh raspberries
- 3/4 cup Powdered sugar
- 1 tablespoon Milk
Instructions
- The raspberries begin as whole bright berries and then become lightly dusted with flour so their surfaces look soft and powdery. This change helps the berries stay suspended in the batter instead of sinking to the bottom during baking.
- The sugar and eggs and yogurt and oil and lemon juice and lemon zest blend into a pale glossy mixture with tiny yellow zest flecks. The batter base turns smoother and thicker while the lemon zest spreads unevenly through the liquid.
- The flour mixture disappears into the lemon base and the batter changes from glossy liquid to thick spoonable cake batter. The raspberries are folded in gently so red streaks and uneven berry pockets stay visible instead of turning the batter fully pink.
- The thick batter moves from the bowl into the loaf pan and spreads into a rough mound with berries peeking through the top. The surface looks uneven and homemade with thicker batter near the center and small raspberry spots scattered naturally.
- The batter rises into a structured loaf with a domed top and a natural center crack. The pale surface turns golden with darker edges and small raspberry spots showing through the baked crumb.
- The cooled loaf is finished with lemon glaze that drips in uneven lines across the golden top. A single slice shows a moist yellow crumb with raspberry pockets and small crumbs along the cut edge.
Notes
Pro Tips:
- Use fresh raspberries that feel firm because very soft berries can bleed too much and make the batter heavy.
- Toss berries with flour right before folding so they stay visible in the crumb and do not sink to the bottom.
- Cool the loaf completely before adding glaze because warm cake will absorb the icing instead of holding soft drips.
- Store slices in a covered container with parchment between layers so the glaze stays neat and the crumb stays moist.
Storage: Store the cooled loaf in an airtight container at room temperature for up to two days. Keep it covered so the cut edges do not dry out. For longer storage place slices in the refrigerator for up to five days. Let each slice sit at room temperature before serving so the crumb softens again. To freeze wrap individual slices tightly and place them in a freezer safe bag. Freeze for up to two months and thaw overnight in the refrigerator. Add fresh glaze after thawing if you want the loaf to look newly baked. This helps the top taste bright and fresh again.
- Prep Time: 15 minutes
- Cook Time: 45 minutes
- Category: Desserts
- Cuisine: American
Nutrition
- Serving Size: 1 slice
- Calories: 310
- Sugar: 24g
- Sodium: 210mg
- Fat: 14g
- Carbohydrates: 42g
- Fiber: 2g
- Protein: 5g
- Cholesterol: 45mg