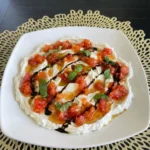

Seriously and no joke and this is the best Fig and Goat Cheese Tart recipe. It is the one I make when I want something pretty and easy without acting like I spent the whole day in the kitchen. It is a classic little tart with simple and delicious ingredients. Flaky pastry is layered with creamy goat cheese and sweet figs and a glossy drizzle of honey.

Perfect for brunch slices or party appetizers with a crisp green salad on the side. A classic fig tart recipe is one of my go-to easy brunch ideas. Not only does it make for a super delicious bite but it feels fancy while still being simple. Also there are no complicated methods or ingredients needed.
And meal prep is a cinch. I often make a tart on Sunday to enjoy for brunch and a snack on Monday and Tuesday. If you love fig recipes then try our Vanilla Bean Fig Preserves for another sweet fig idea. With just a few basic ingredients probably already in the fridge and pantry you can whip up a tart or appetizer board or even slice it into small squares for a fancy party dish.
Ingredients
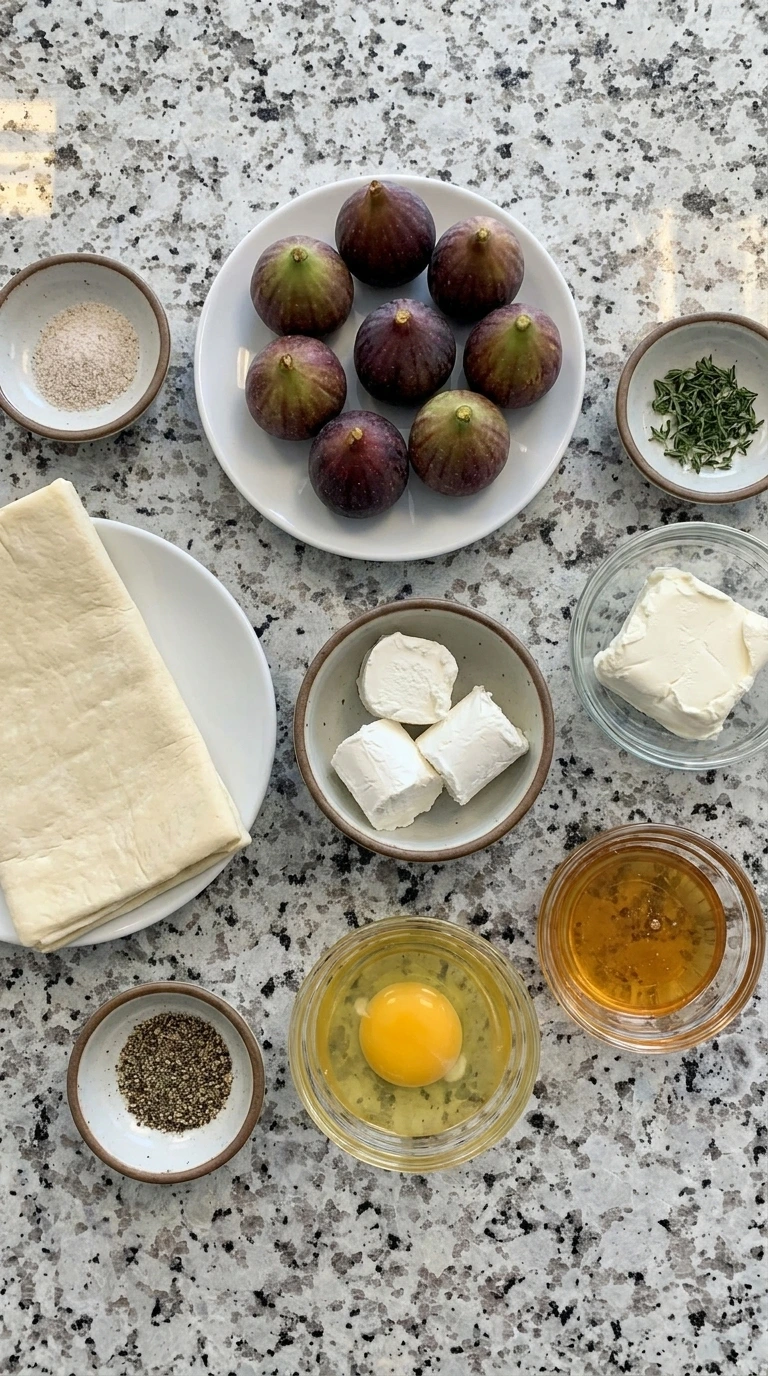
Here is what I use for this recipe and you can adjust nuts or spices based on preference:
- puff pastry sheet: Creates the flaky base that rises around the fig and cheese filling.
- fresh figs: Add soft jammy sweetness and a pretty fruit layer across the tart.
- goat cheese: Adds creamy tangy richness that balances the sweet figs and honey.
- cream cheese: Softens the goat cheese spread so it bakes into a smooth creamy layer.
- honey: Adds glossy sweetness and helps the figs caramelize lightly.
- fresh thyme leaves: Adds a gentle herb note that keeps the tart balanced and savory.
- egg: Brushed on the pastry edges to create a golden shiny crust.
- black pepper: Adds mild warmth that contrasts with the sweet figs.
- fine salt: Sharpens the cheese flavor and balances the honey.
Tools You’ll Need
- Baking tray: Holds the tart while the pastry puffs and browns evenly.
- Mixing bowl: Combines the cheeses into a spreadable filling.
- Small bowl: Holds the beaten egg for brushing the pastry edges.
- Knife: Slices the figs into uneven pieces for natural tart texture.
- Cutting board: Gives a stable surface for slicing the fresh figs.
- Pastry brush: Brushes the egg over the pastry border for golden color.
Instructions
Step 1: Slice the figs and soften the cheese
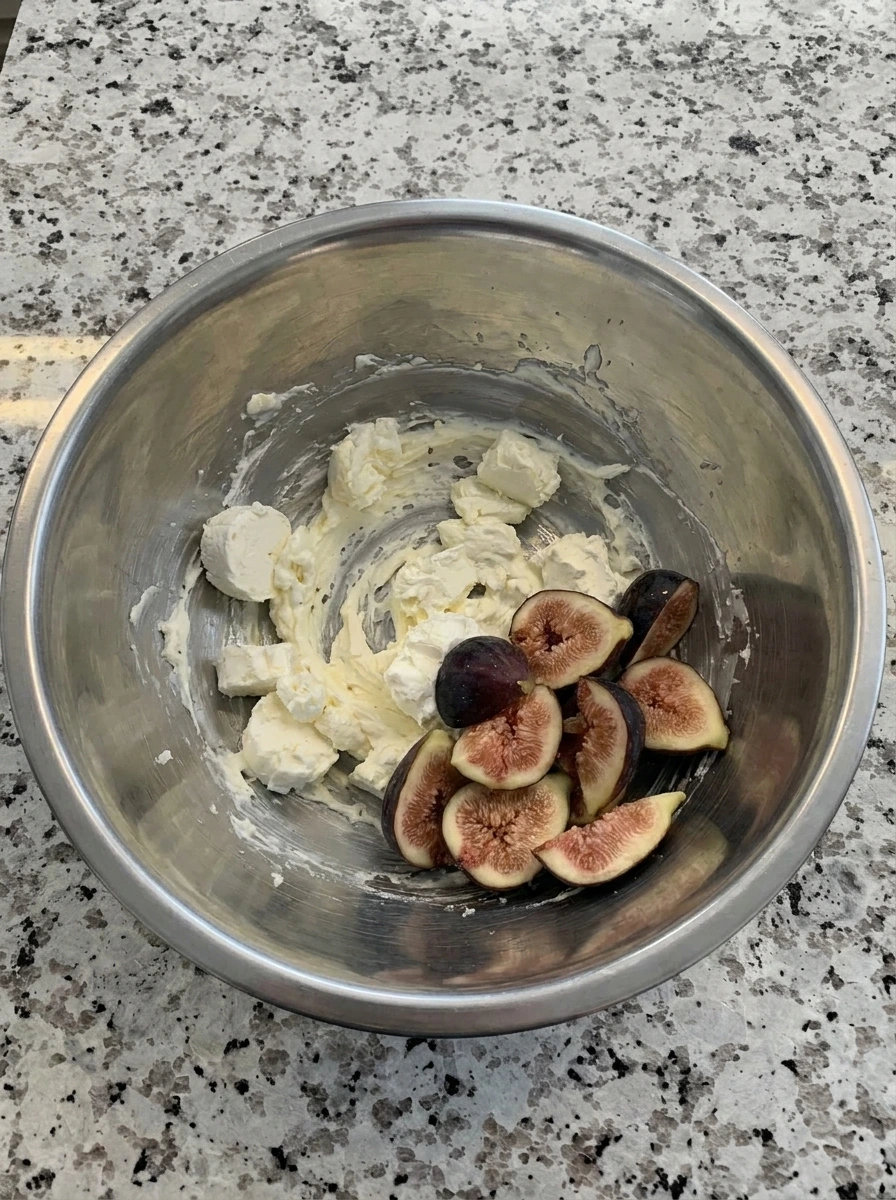
The figs change from whole fruit into uneven thin slices with soft purple edges and pale centers. The goat cheese and cream cheese are partly blended into a thick spread with small creamy streaks still visible.
Tip: Keep the cheese slightly textured so the baked tart looks homemade and not overly smooth.
Step 2: Spread the cheese over the pastry
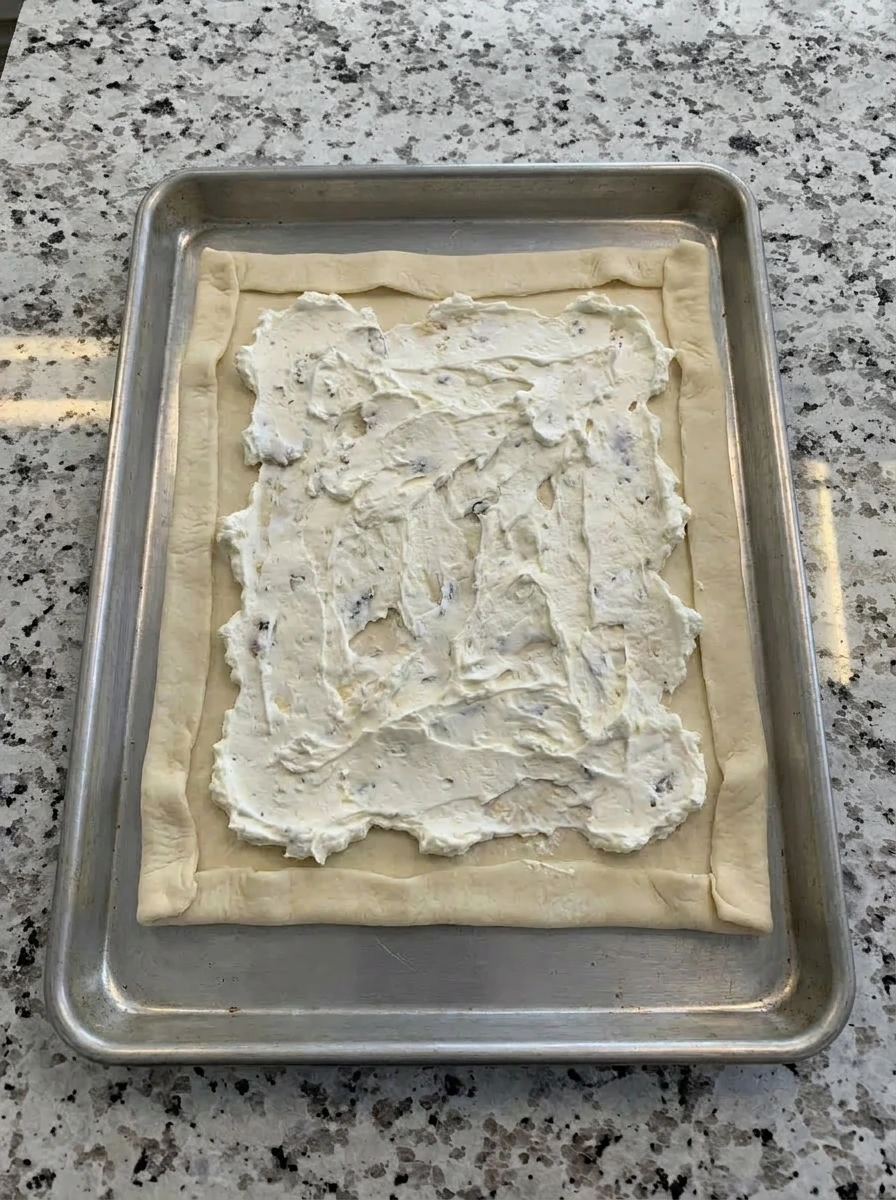
The pastry becomes a structured tart base with raised edges and a creamy center. The cheese is spread unevenly across the middle while the border stays bare so it can puff and brown.
Tip: Leave a clear pastry border because it gives the tart a flaky frame after baking.
Step 3: Layer the sliced figs
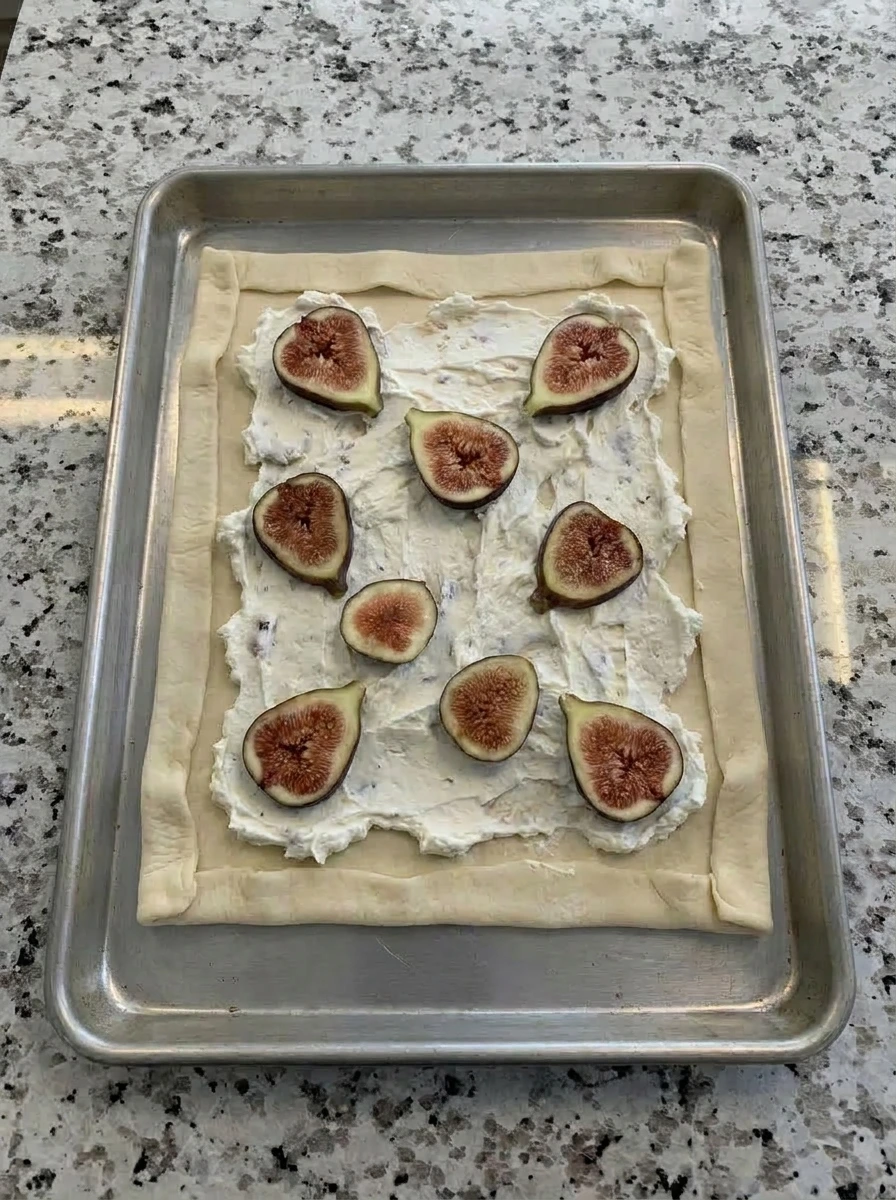
The tart changes from a plain cheese base into a fruit topped tart with color and texture. The 8 sliced figs are scattered over the cheese with slight overlap and open spaces so the creamy layer still shows through.
Tip: Overlap some fig slices and leave small gaps for a natural baked fruit tart look.
Step 4: Drizzle honey and season the tart
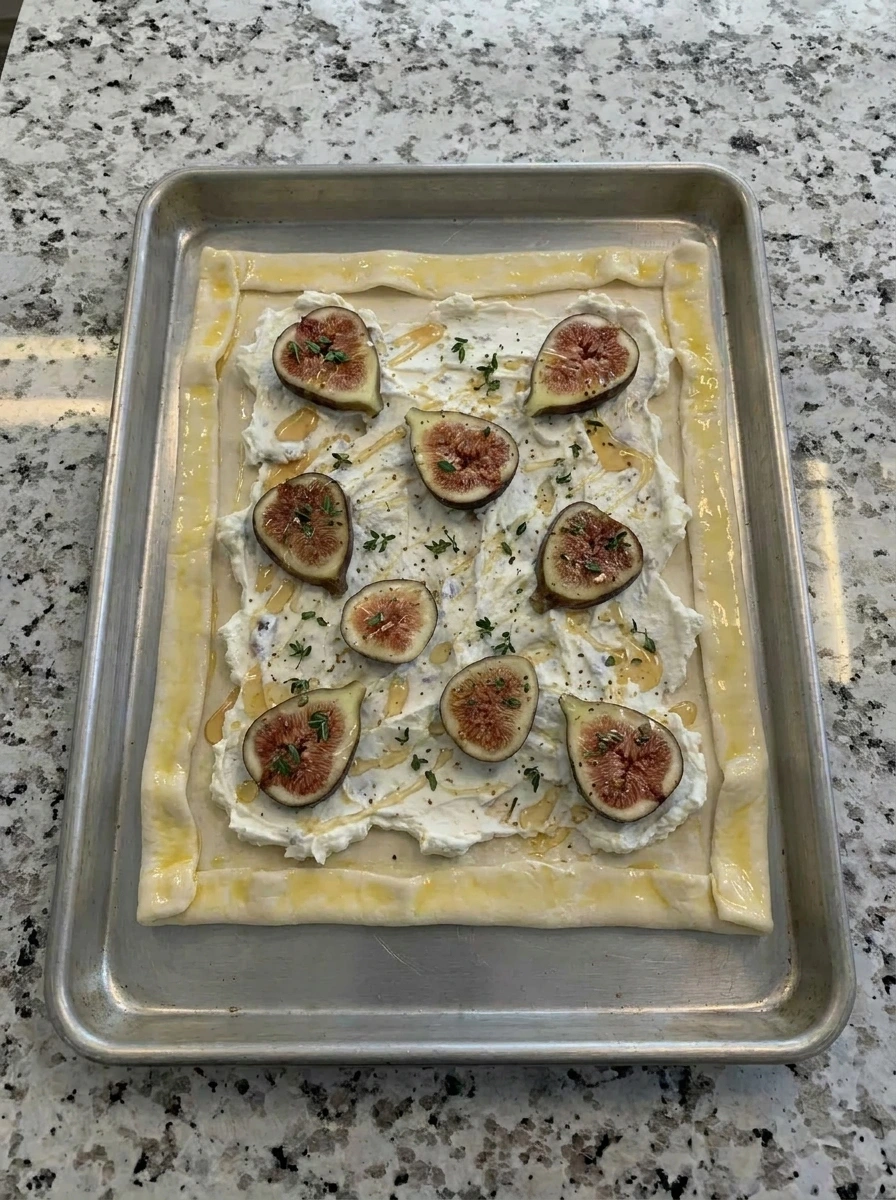
The tart becomes glossy and seasoned as honey streaks run across the figs and cheese. Tiny thyme leaves and pepper specks sit unevenly over the fruit while the pastry border remains exposed.
Tip: Use a light drizzle so the figs shine without making the pastry soggy.
Step 5: Bake until golden and melted
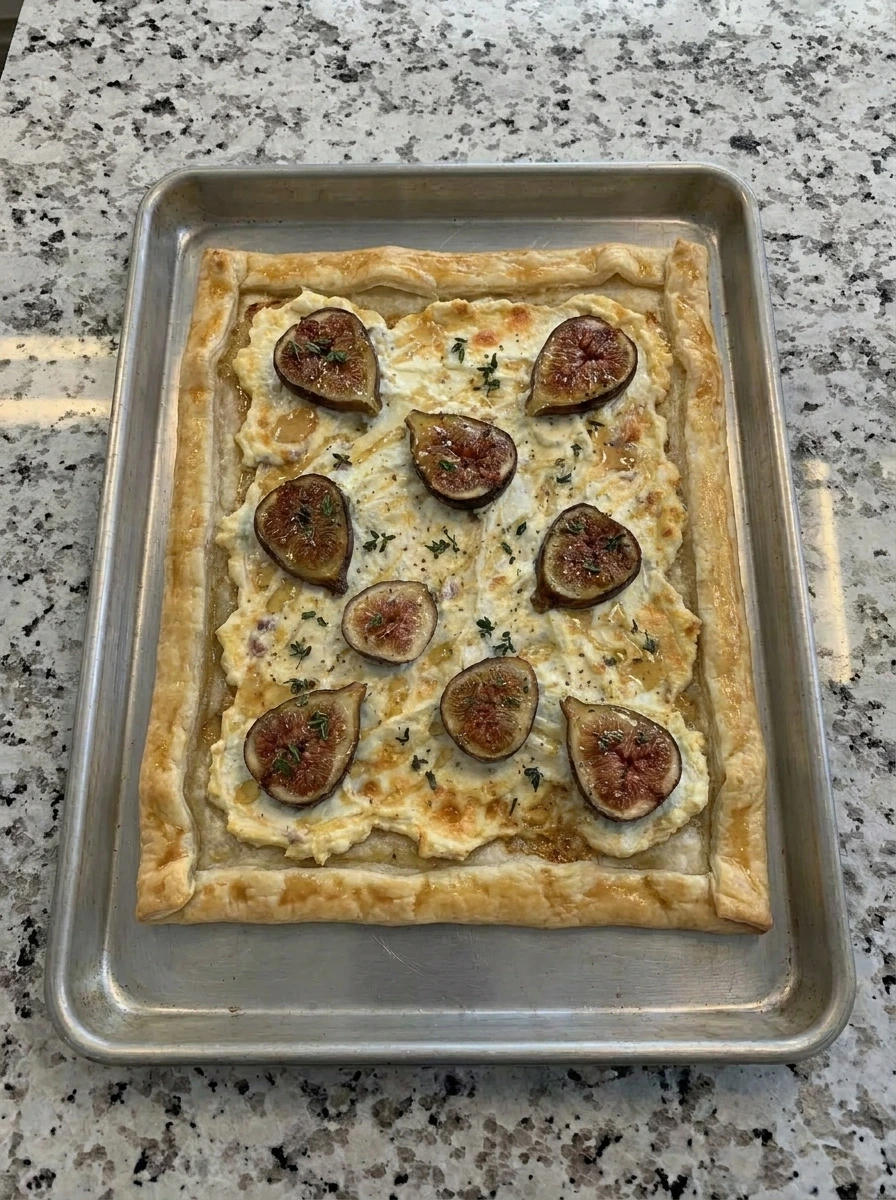
The pastry changes from pale and flat to puffed and golden with uneven browned corners. The cheese melts around the figs and the fruit softens into jammy edges with glossy caramelized spots.
Tip: Look for puffed golden edges and softened figs rather than a perfectly even color.
Step 6: Serve one warm slice
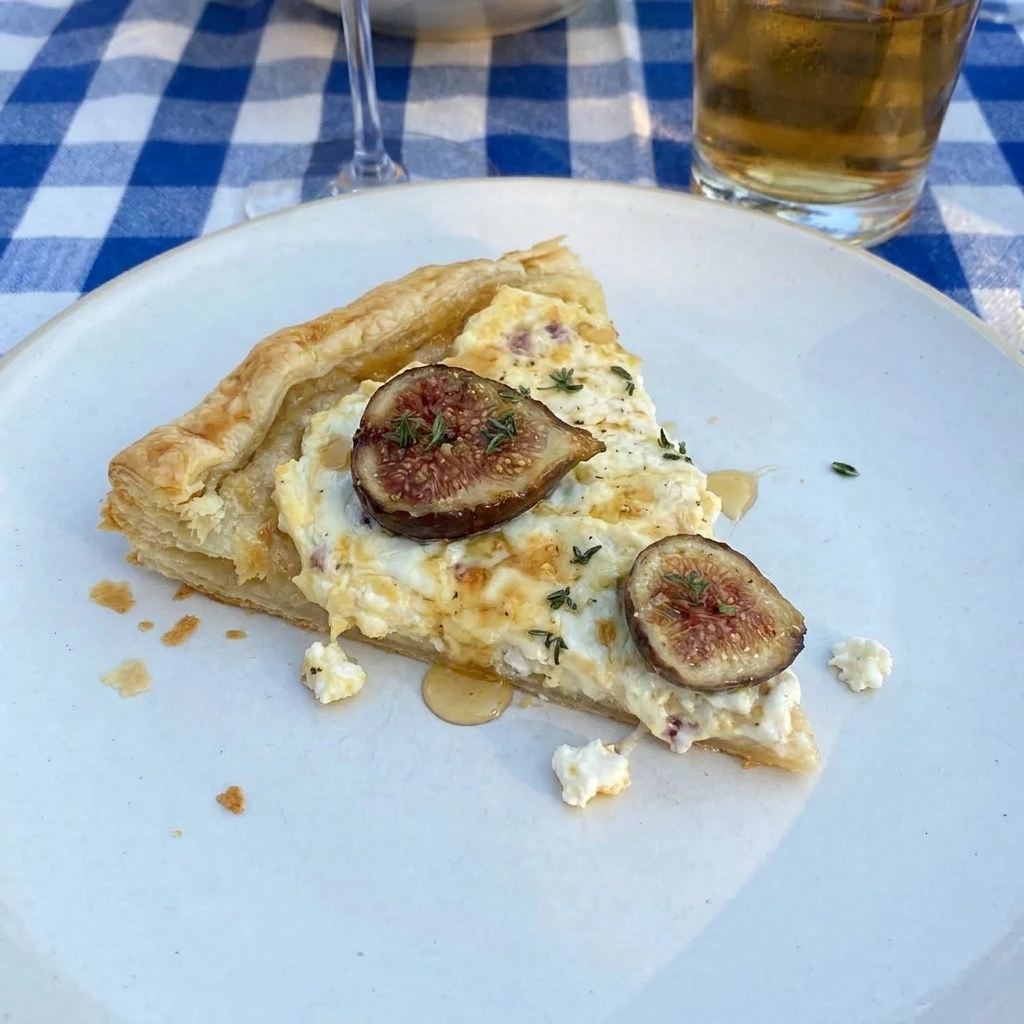
The finished tart becomes a plated portion with a visible flaky base and creamy melted cheese under jammy figs. One slice sits slightly tilted on the plate with uneven crumbs and glossy honey on the top.
Tip: Let the tart rest briefly so each slice holds together while the cheese stays soft.
Pro Tips
- Use ripe figs that feel slightly soft because they bake into a jammy texture without turning watery.
- Keep the pastry cold until assembly because chilled pastry puffs higher and creates crisp flaky edges.
- Do not cover the whole tart with figs because small cheese gaps help the filling bubble and brown.
- Serve the tart warm rather than hot so the cheese sets slightly and the slices hold their shape.
Storage Instructions
Store leftover tart in an airtight container once it has cooled completely. Keep it in the refrigerator for up to 3 days and place parchment between slices if they overlap. Reheat slices in a warm oven until the pastry crisps again and the cheese softens. Avoid microwaving when possible because the pastry can turn soft instead of flaky.
Frequently Asked Questions
Yes. Assemble it a few hours ahead and bake it close to serving for the crispest pastry.
Fresh ripe figs work best because they soften quickly and create sweet jammy edges.
Yes. It tastes good at room temperature though the pastry is best when freshly baked.
Yes. It is easy to slice and pairs well with salads, fruit, eggs, or party boards.
See You in the Kitchen
This Fig and Goat Cheese Tart is a great way to satisfy your bakery style appetizer cravings without picking up the phone to order something fancy.
I typically start a simple salad at the same time I bake my tart and that way all of my brunch components will be ready at the same time.
Even my family loves this one and if you love fruit forward bakes try our Southern Peach Pie Perfection or keep the fig theme going with Vanilla Bean Fig Preserves.
Print
Fig and Goat Cheese Tart
- Total Time: 45 minutes
- Yield: 4 servings
Description
This Fig and Goat Cheese Tart is an easy and quick recipe with simple steps and the best mix of sweet figs, creamy cheese, and crisp pastry. It feels elegant enough for a holiday party or brunch and still works for a healthy weeknight dinner idea with a fresh salad. Use it for potluck tables, meal prep lunches, or appetizer ideas when you want something homemade and impressive without extra stress.
Ingredients
- 1 sheet puff pastry sheet
- 8 medium figs fresh figs
- 5 ounces goat cheese
- 3 ounces cream cheese
- 2 tablespoons honey
- 1 teaspoon fresh thyme leaves
- 1 large egg egg
- 1/4 teaspoon black pepper
- 1/4 teaspoon fine salt
Instructions
- The figs change from whole fruit into uneven thin slices with soft purple edges and pale centers. The goat cheese and cream cheese are partly blended into a thick spread with small creamy streaks still visible.
- The pastry becomes a structured tart base with raised edges and a creamy center. The cheese is spread unevenly across the middle while the border stays bare so it can puff and brown.
- The tart changes from a plain cheese base into a fruit topped tart with color and texture. The 8 sliced figs are scattered over the cheese with slight overlap and open spaces so the creamy layer still shows through.
- The tart becomes glossy and seasoned as honey streaks run across the figs and cheese. Tiny thyme leaves and pepper specks sit unevenly over the fruit while the pastry border remains exposed.
- The pastry changes from pale and flat to puffed and golden with uneven browned corners. The cheese melts around the figs and the fruit softens into jammy edges with glossy caramelized spots.
- The finished tart becomes a plated portion with a visible flaky base and creamy melted cheese under jammy figs. One slice sits slightly tilted on the plate with uneven crumbs and glossy honey on the top.
Notes
Pro Tips:
- Use ripe figs that feel slightly soft because they bake into a jammy texture without turning watery.
- Keep the pastry cold until assembly because chilled pastry puffs higher and creates crisp flaky edges.
- Do not cover the whole tart with figs because small cheese gaps help the filling bubble and brown.
- Serve the tart warm rather than hot so the cheese sets slightly and the slices hold their shape.
Storage: Store leftover tart in an airtight container once it has cooled completely. Keep it in the refrigerator for up to 3 days and place parchment between slices if they overlap. Reheat slices in a warm oven until the pastry crisps again and the cheese softens. Avoid microwaving when possible because the pastry can turn soft instead of flaky.
- Prep Time: 15 minutes
- Cook Time: 30 minutes
- Category: Appetizers
- Cuisine: American
Nutrition
- Serving Size: 1 slice
- Calories: 385
- Sugar: 14g
- Sodium: 360mg
- Fat: 24g
- Carbohydrates: 34g
- Fiber: 3g
- Protein: 10g
- Cholesterol: 65mg